
MAKING A THREE BEDROOM HOUSE IN TO A FOUR BEDROOM
This is a basic documentary of how we turned our three bedroom home in to a four bedroom. This is for entertainment purposes and nothing contained in this so-called documentary should be imitated or attempted unless you are a licensed contractor and know what you are getting in to and know what you are doing! You’ve been warned.
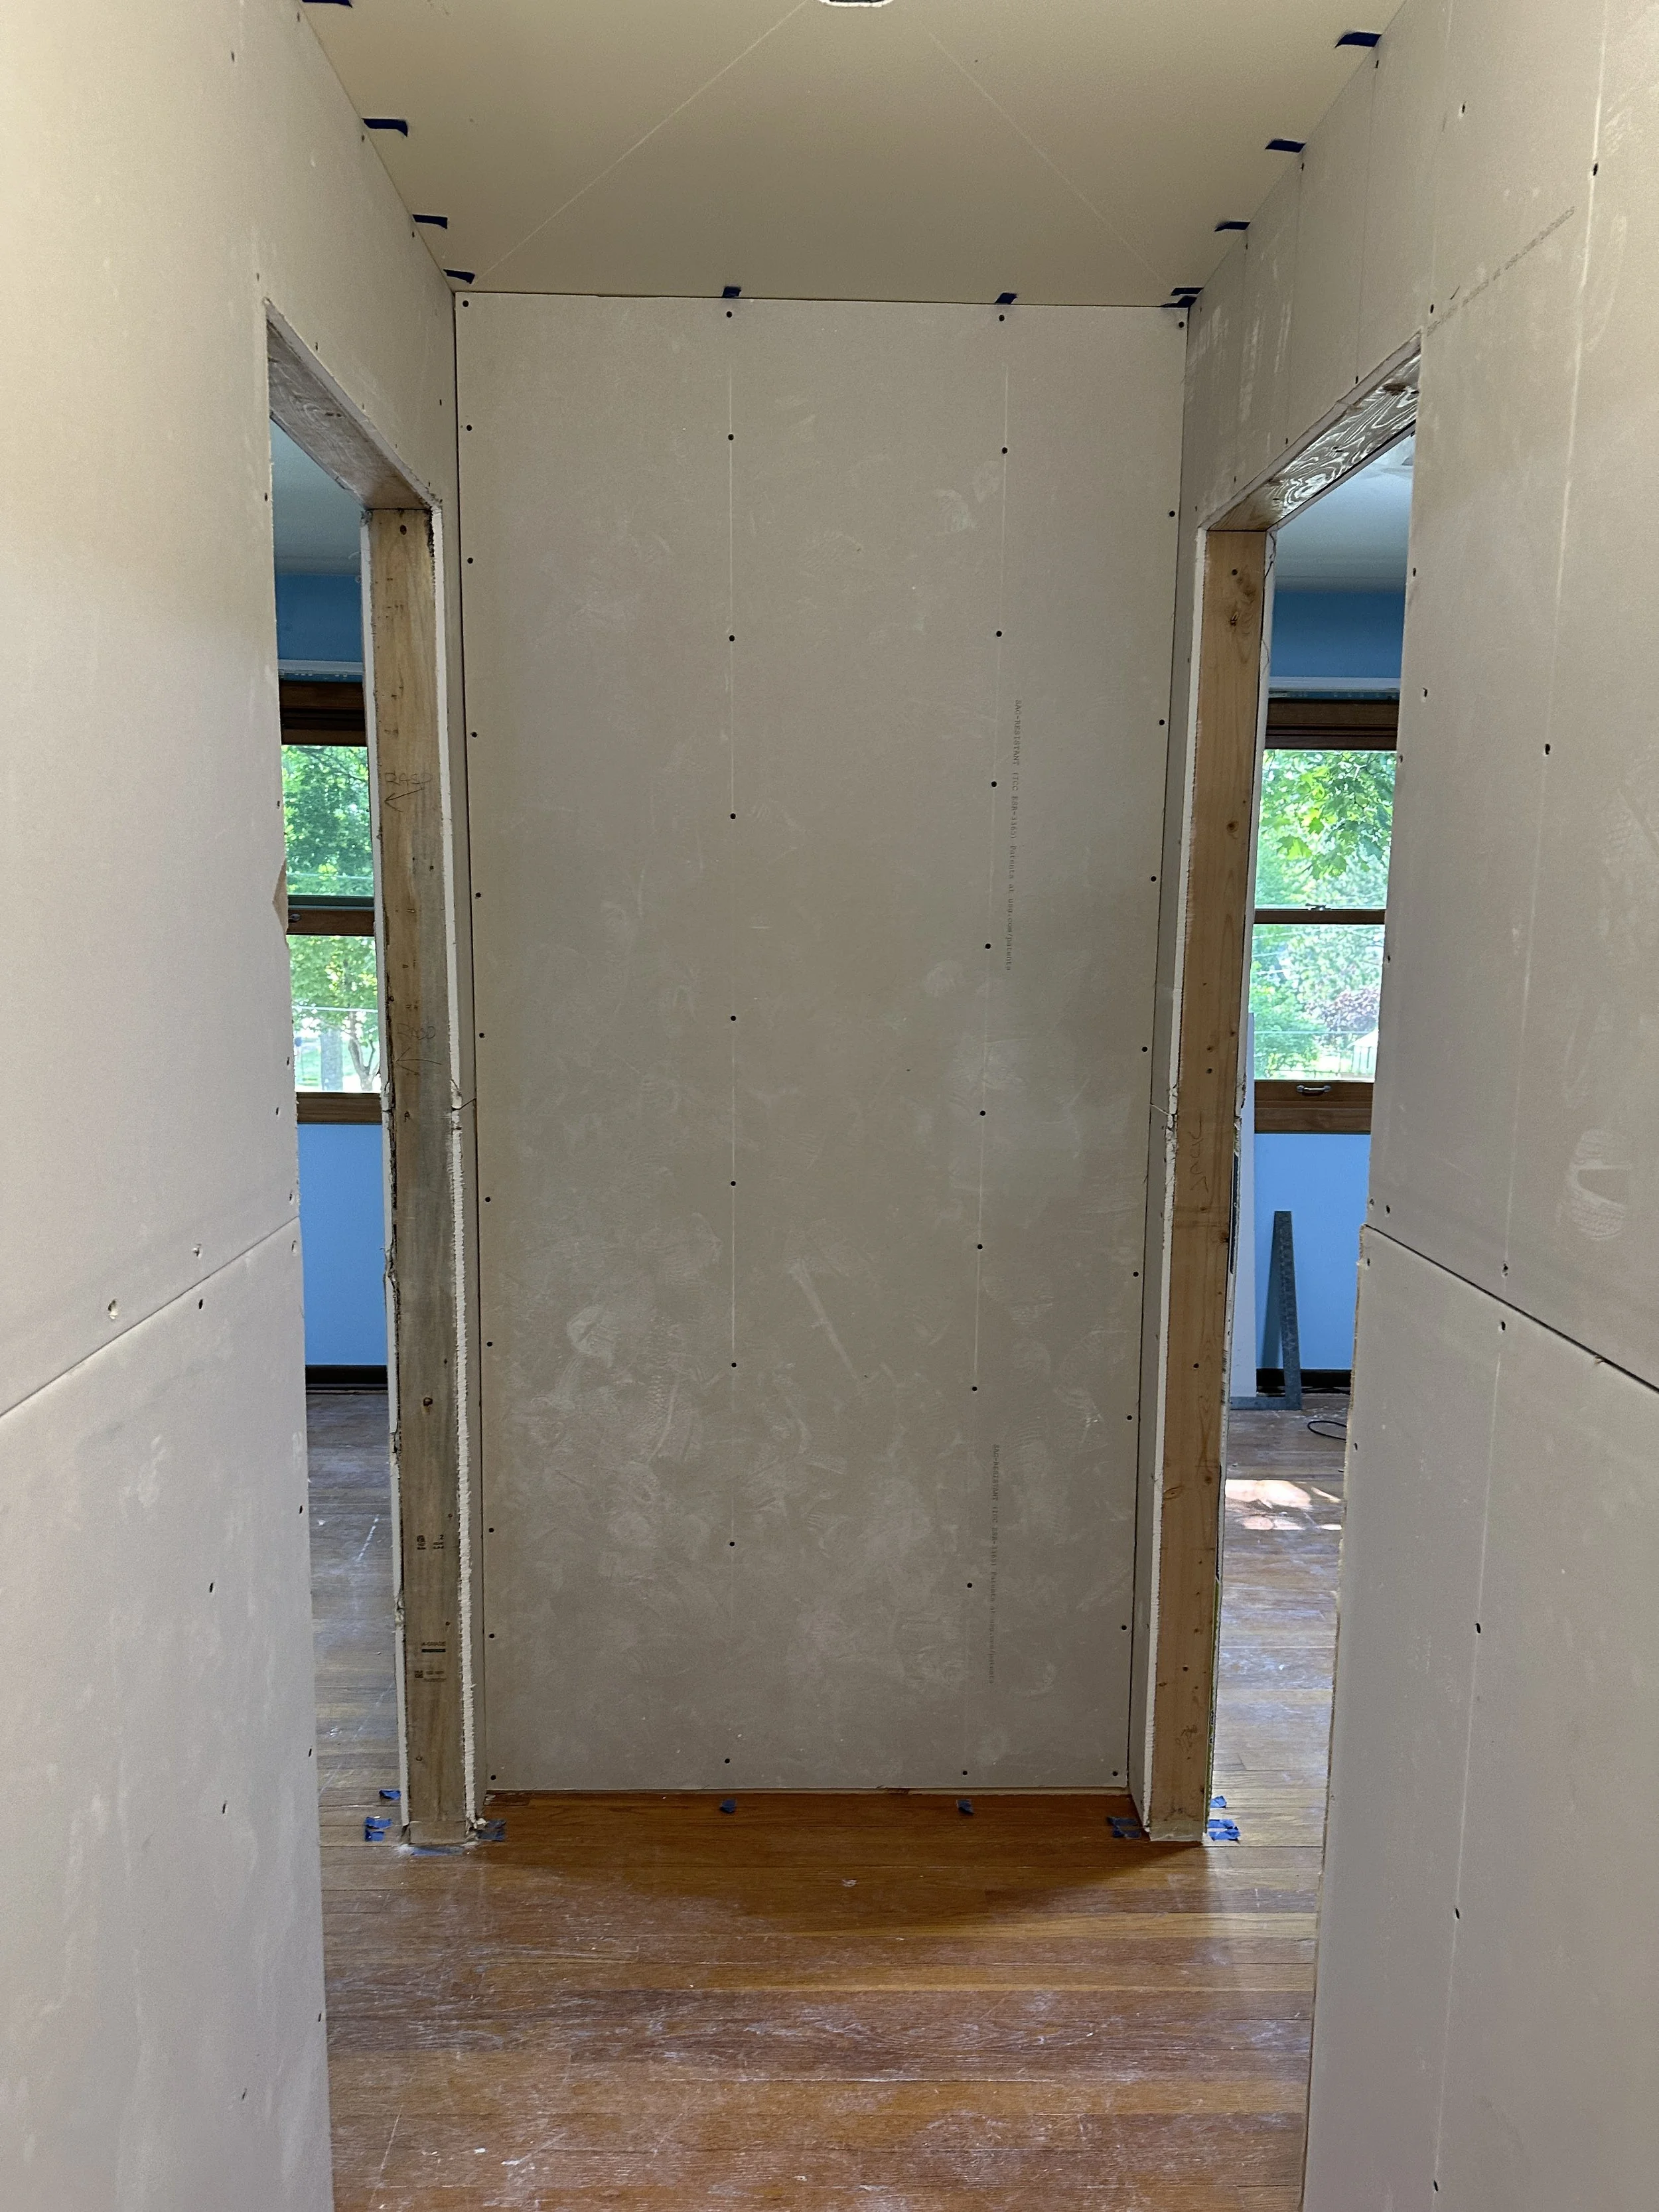
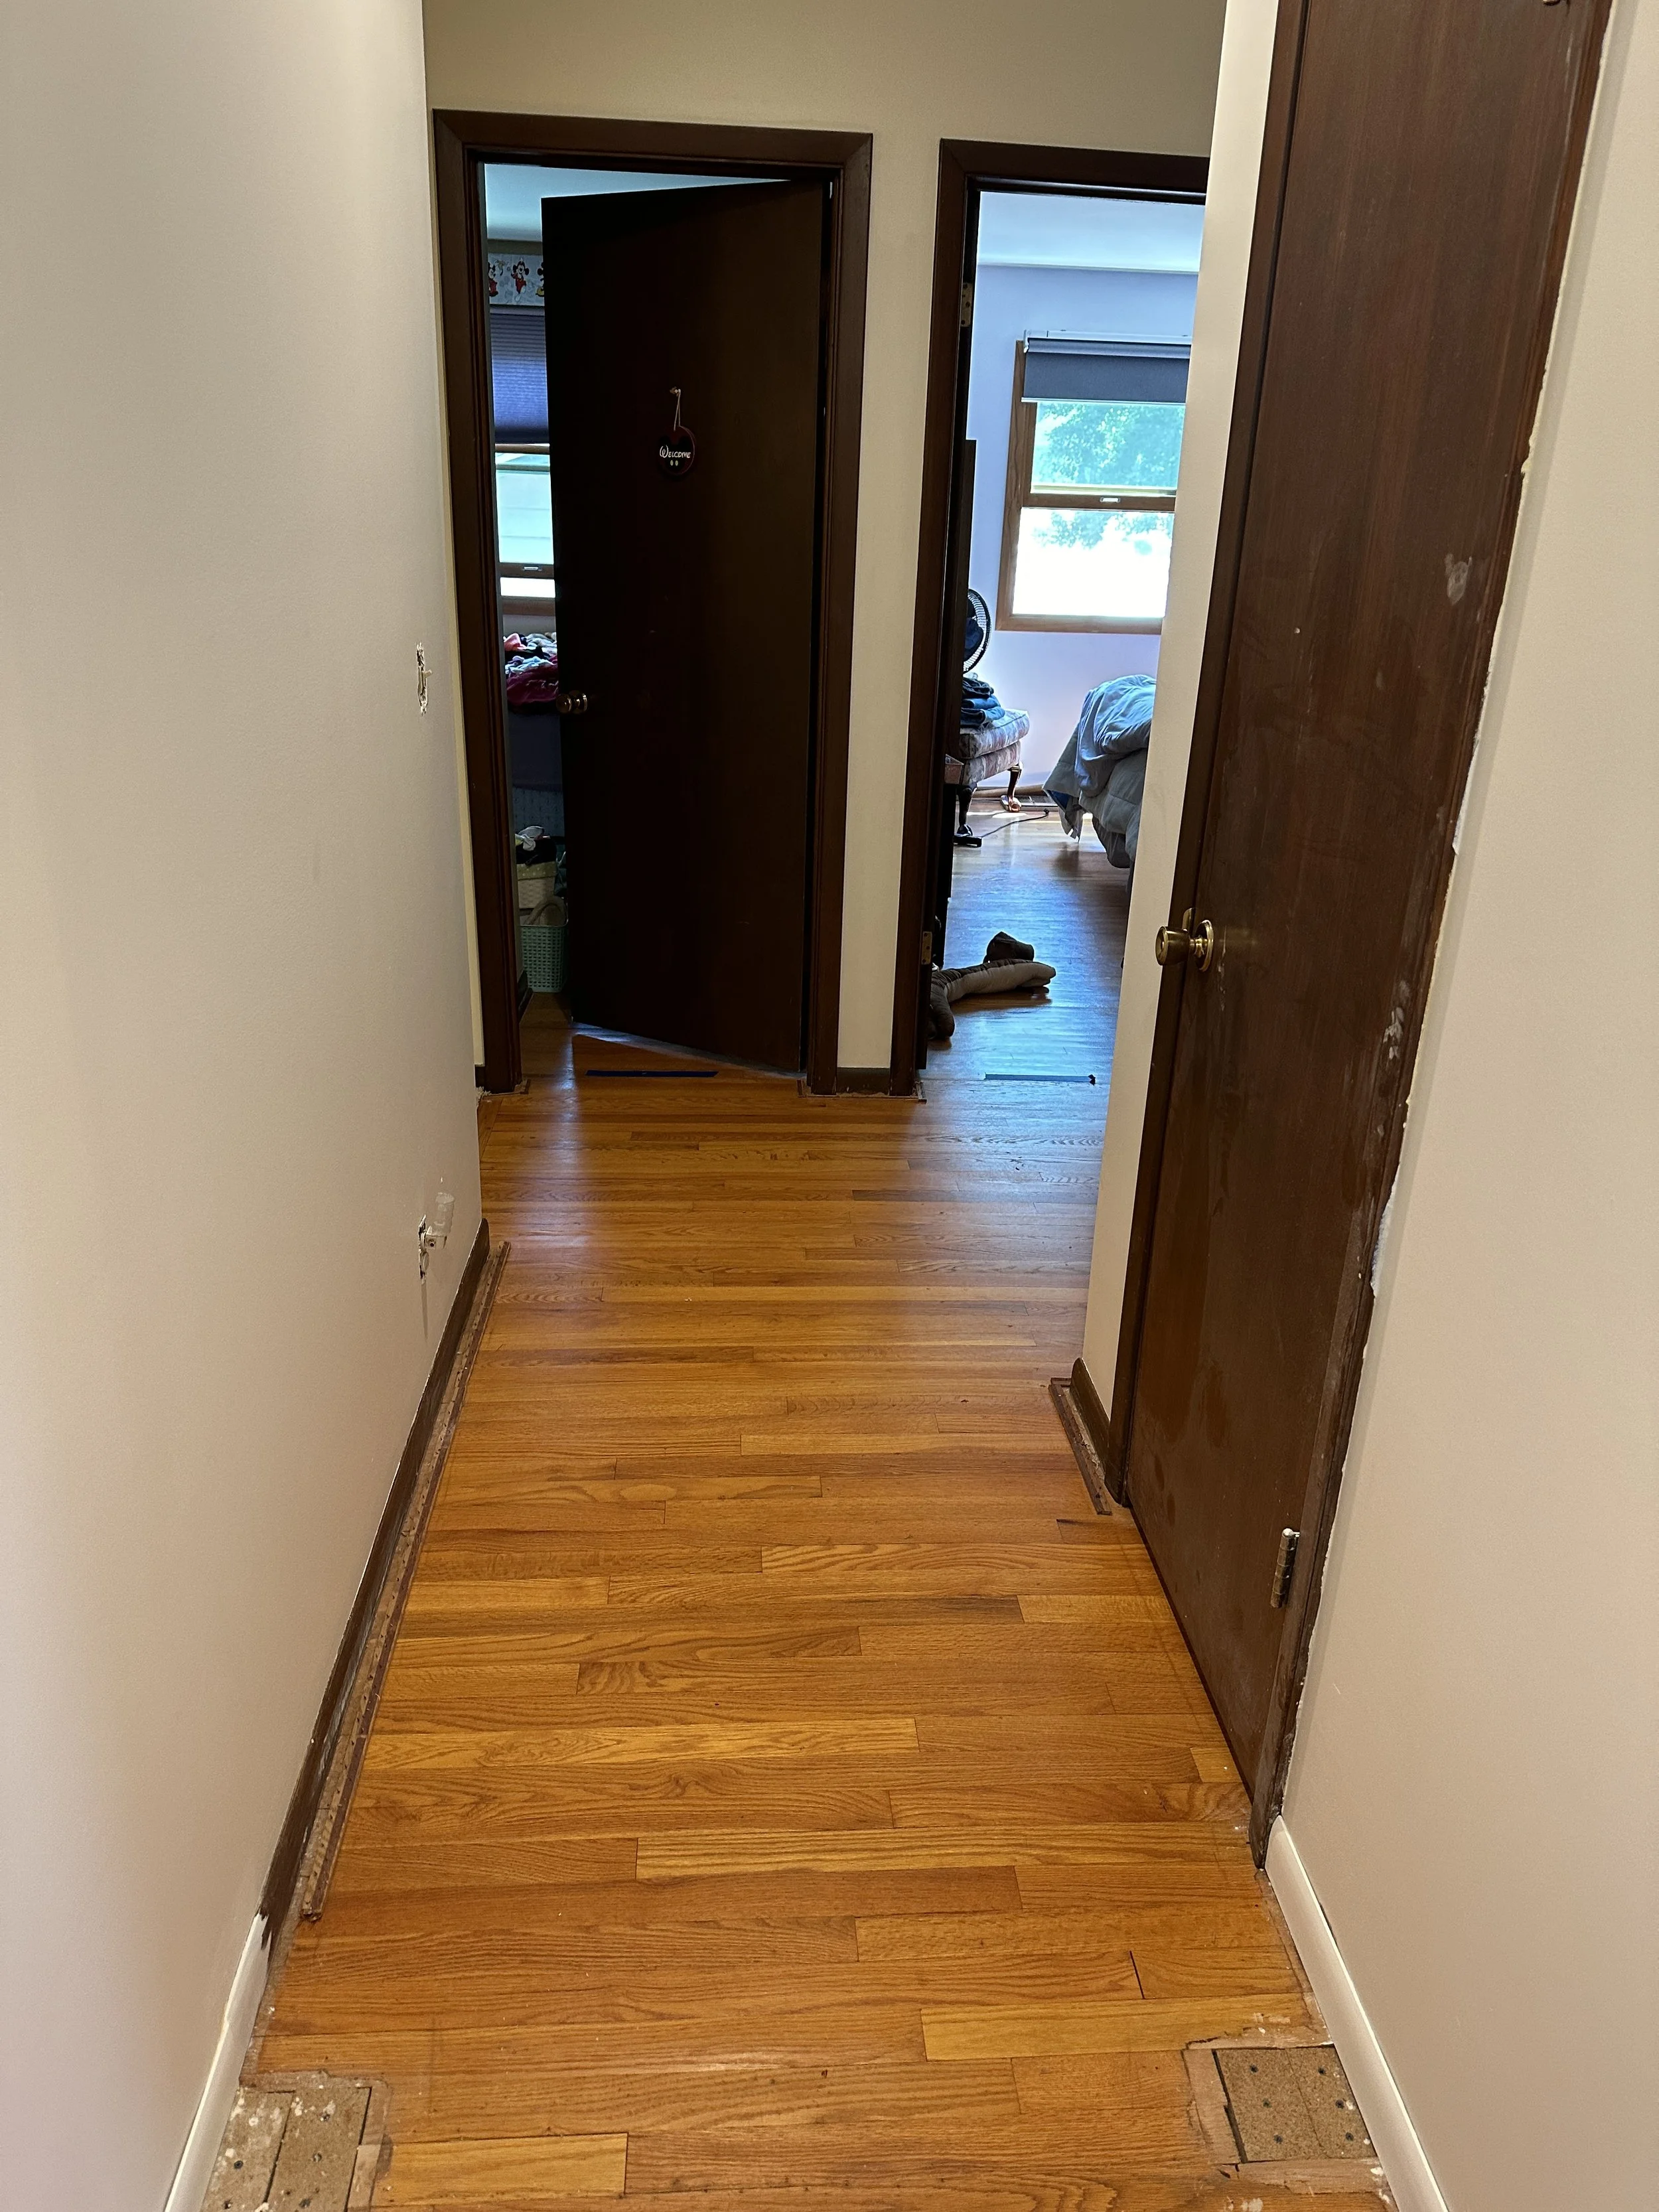
In the beginning, we had a three bedroom home. The main bedroom was being shared by our grand daughters. The room was approximately 23 long by 13 feet wide. It had a single entrance from a hallway directly off the stairs. We calculated by dividing the room in half, we could make two smaller but useable rooms. The problem is that each room needed its own access door. There wasn’t any room to widen the hallway as a linen closet was in the way. The only solution would be to extend the hallway in to one of the bedrooms to create a hallway extension. We could then provide a doorway to each room from this extension. Believe it or not, this didn’t diminish the square footage of the room it was encroaching on.
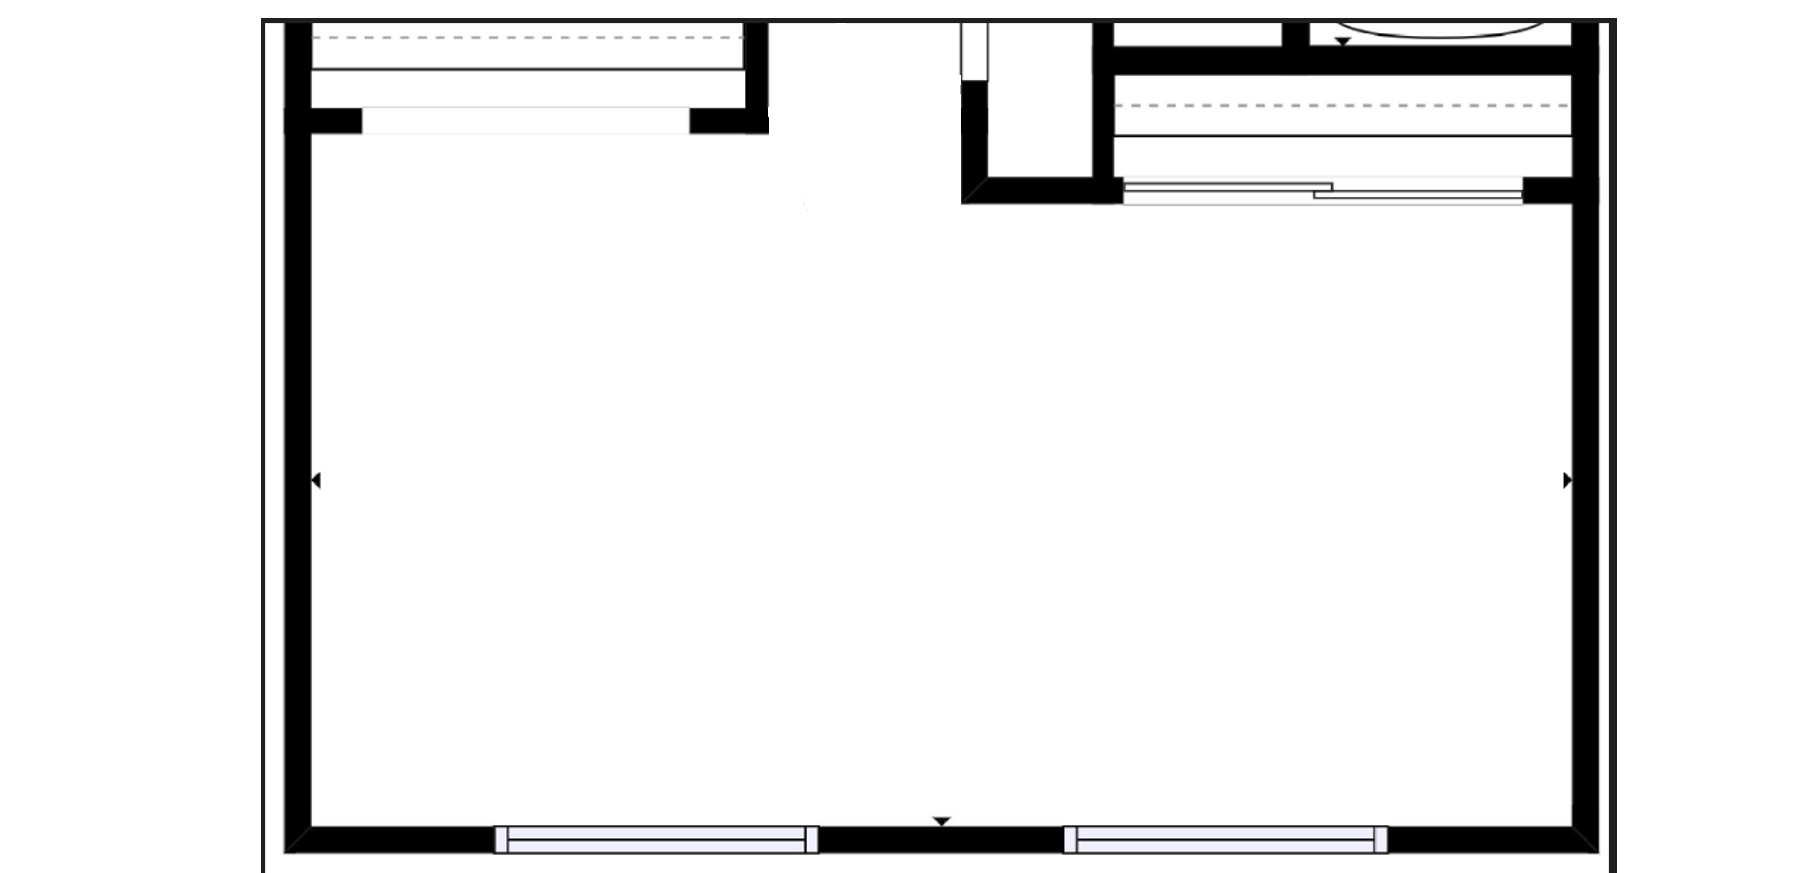
Above is the footprint of the main bedroom. On the right is an early rendering of how we envisioned the main bedroom being split in to two smaller rooms. Note that we thought pocket doors would be a good idea. Glad we didn’t run with that.

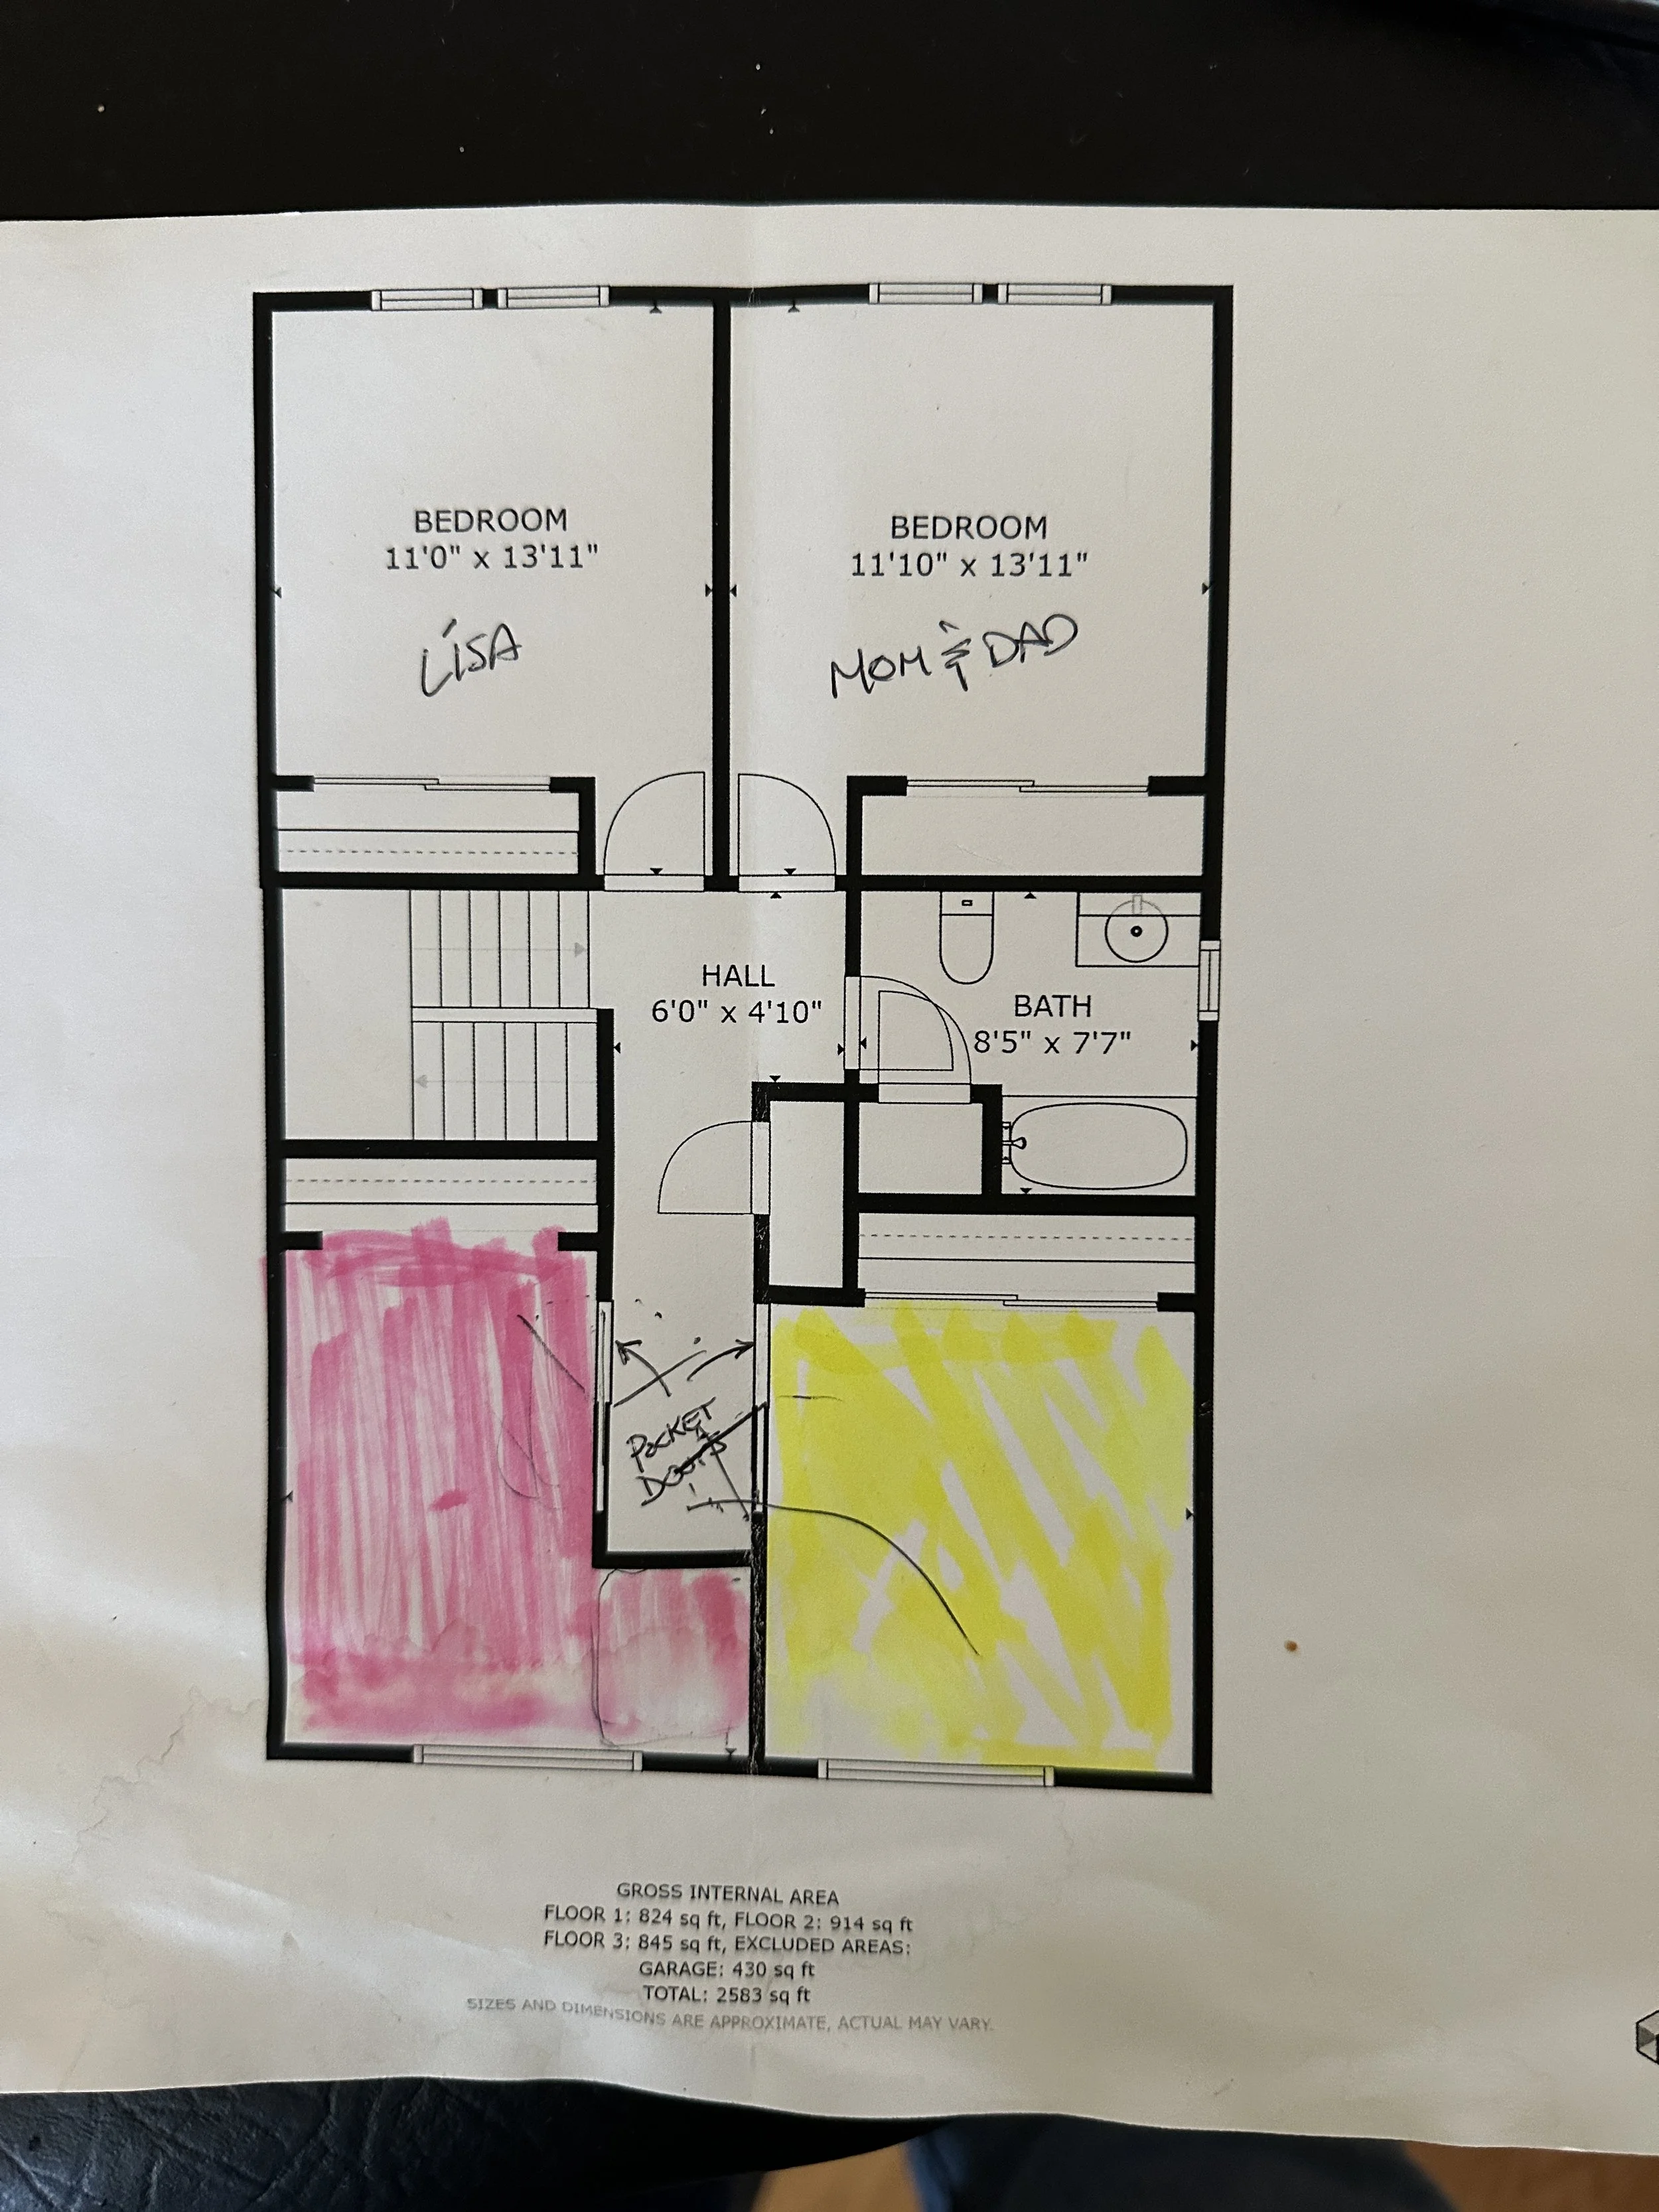
On the left is our final rendering of how the build would look. Note that despite extending the wall in to the room on the left, it still measures 5.5 square feet larger. This is because the closet in the room on the right is forced in to the room because of the bathroom.
There are many aspects of such a project that it’s only at the end when I sit back and marvel at how many details there are. If you’re wondering if we had a plan, yes sort of — divide a large room in to two smaller rooms.
CLEARING THE FIELD
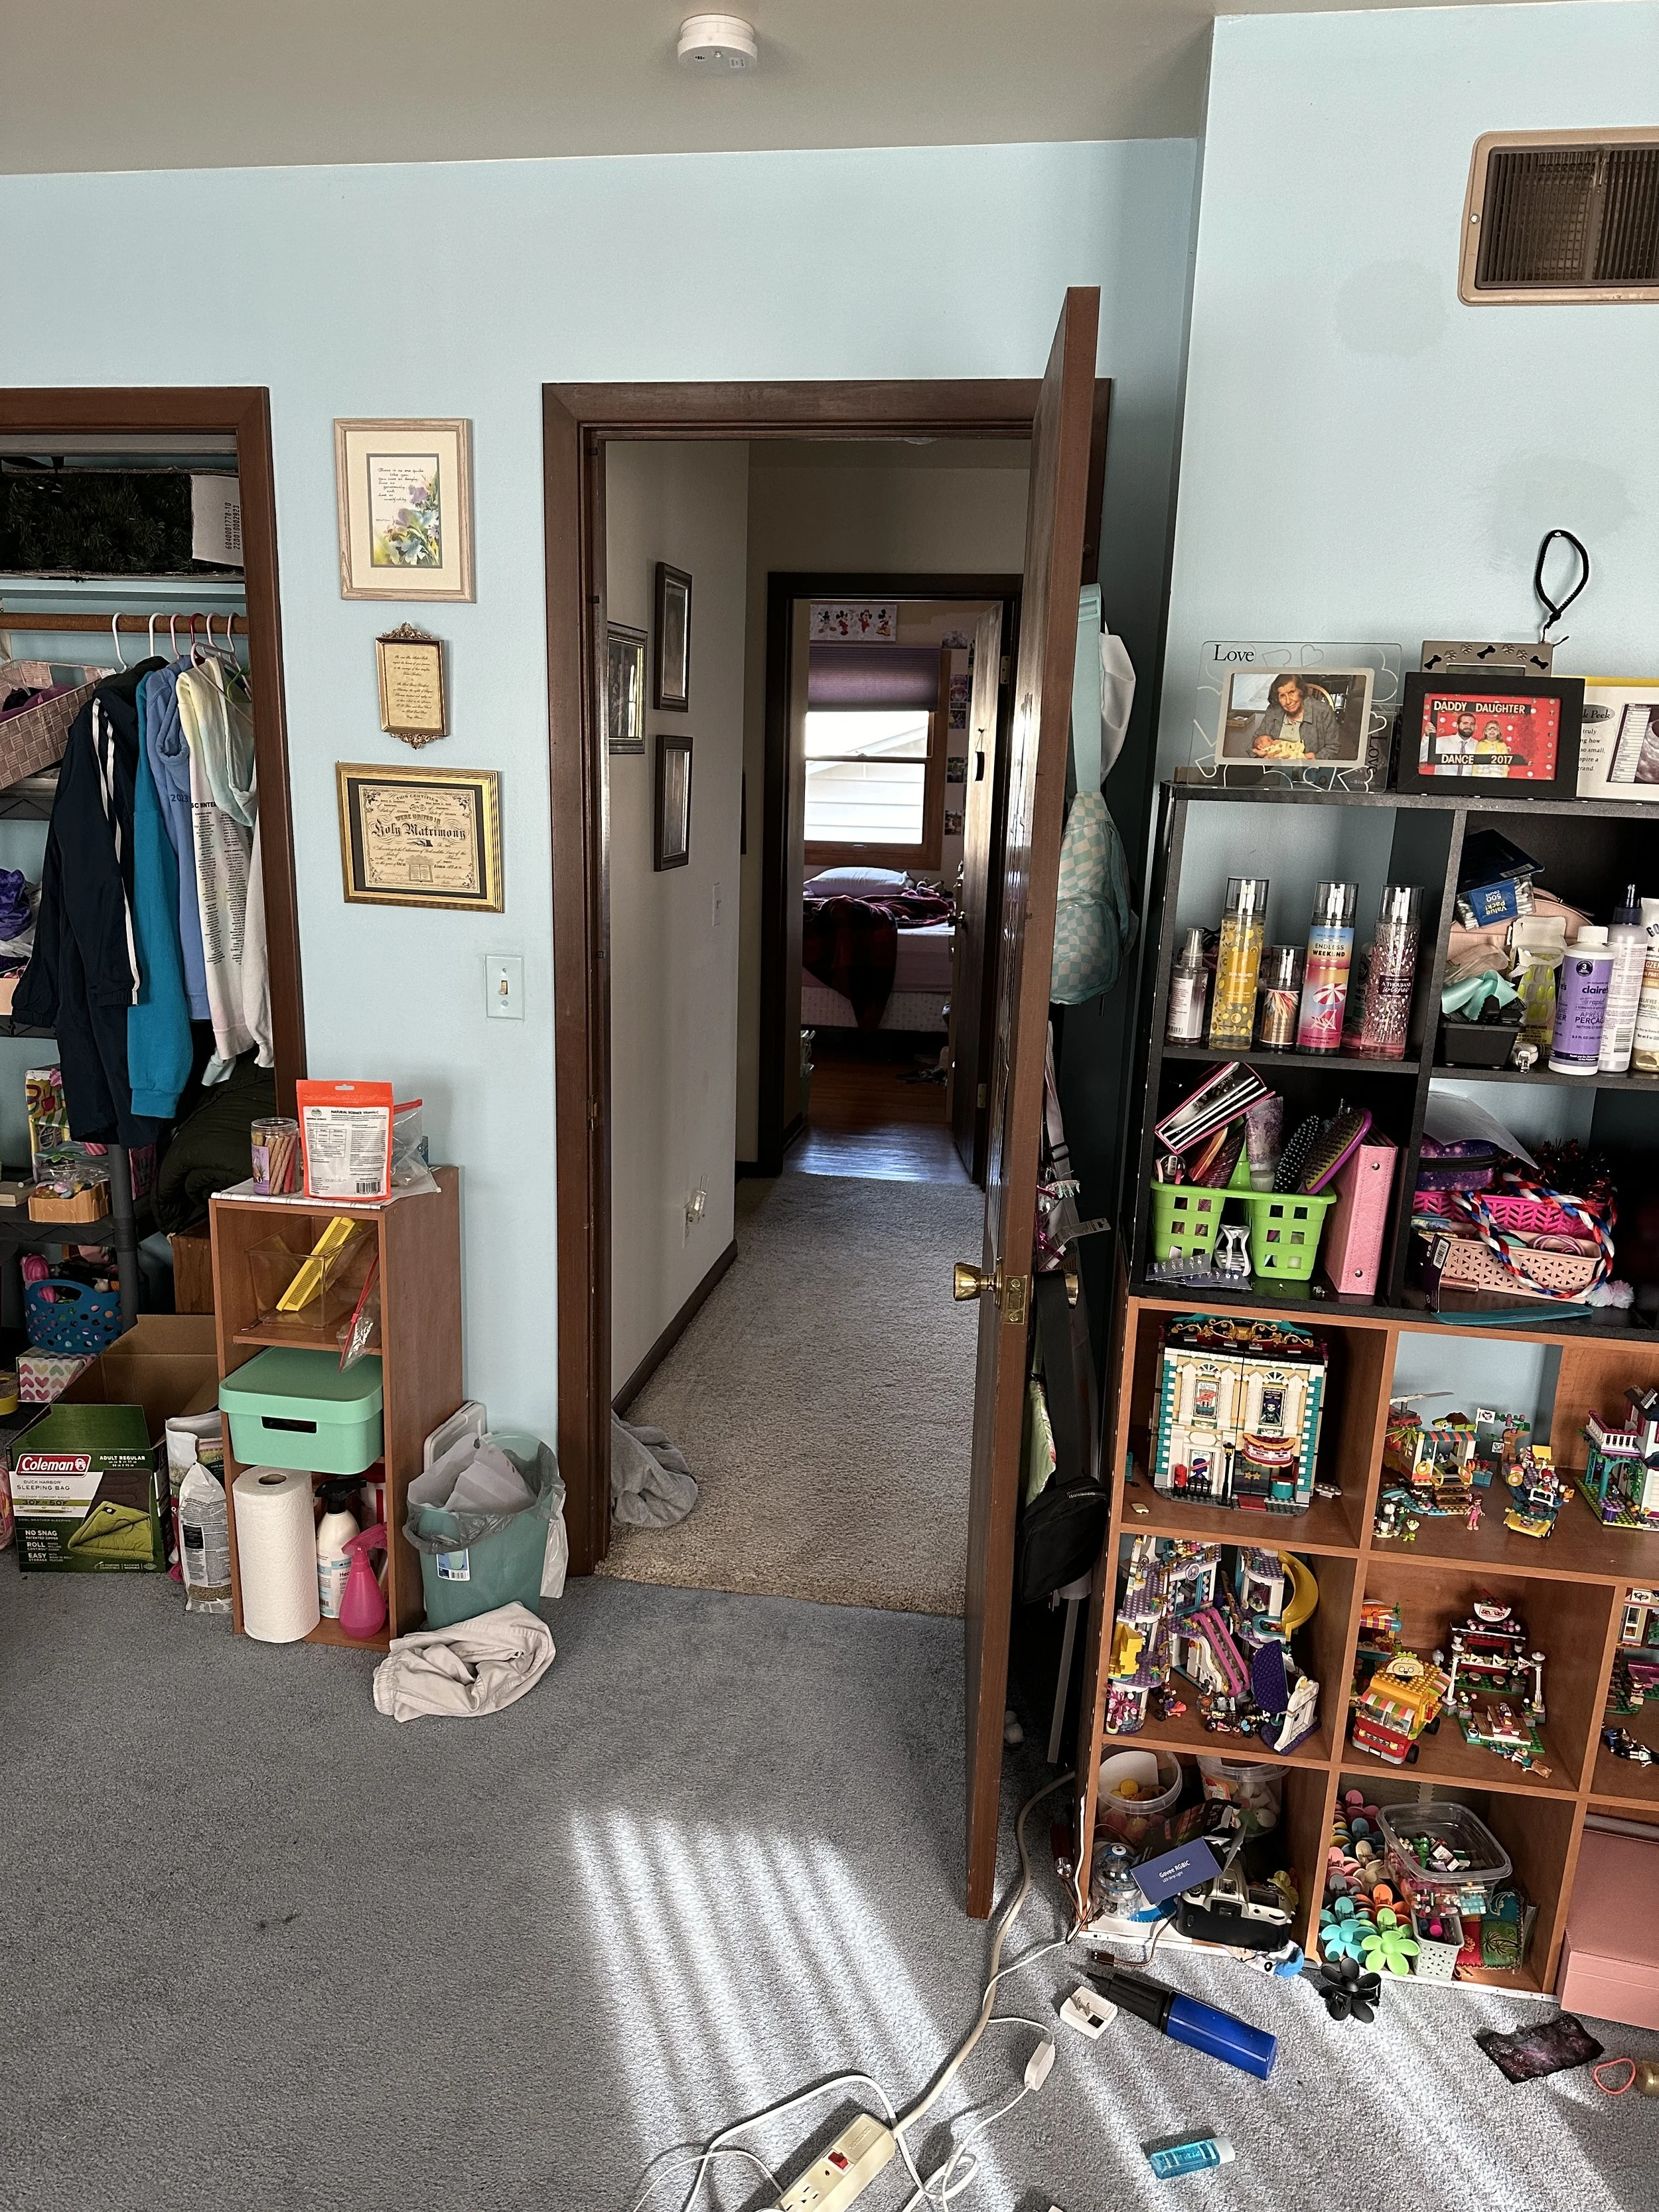
The first thing to do is get everything out of the room. Fortunately our garage would become the holding area for furniture, curtains, clothes and other stuff that the kids had.
As you walk in the front door, there is a hall closet to your right. The image (HALL CLOSET #1) shows the view of the front door with respect to the hall closet. Images (HALL CLOSET 1 -4) are from 10 years ago. In image (HALL CLOSET #5) present day, we were unable to get inside the closet. In image (HALL CLOSET #6) this view is looking in to the kitchen, the hall closet would be on your right.
CONSTRUCTION BEGINS
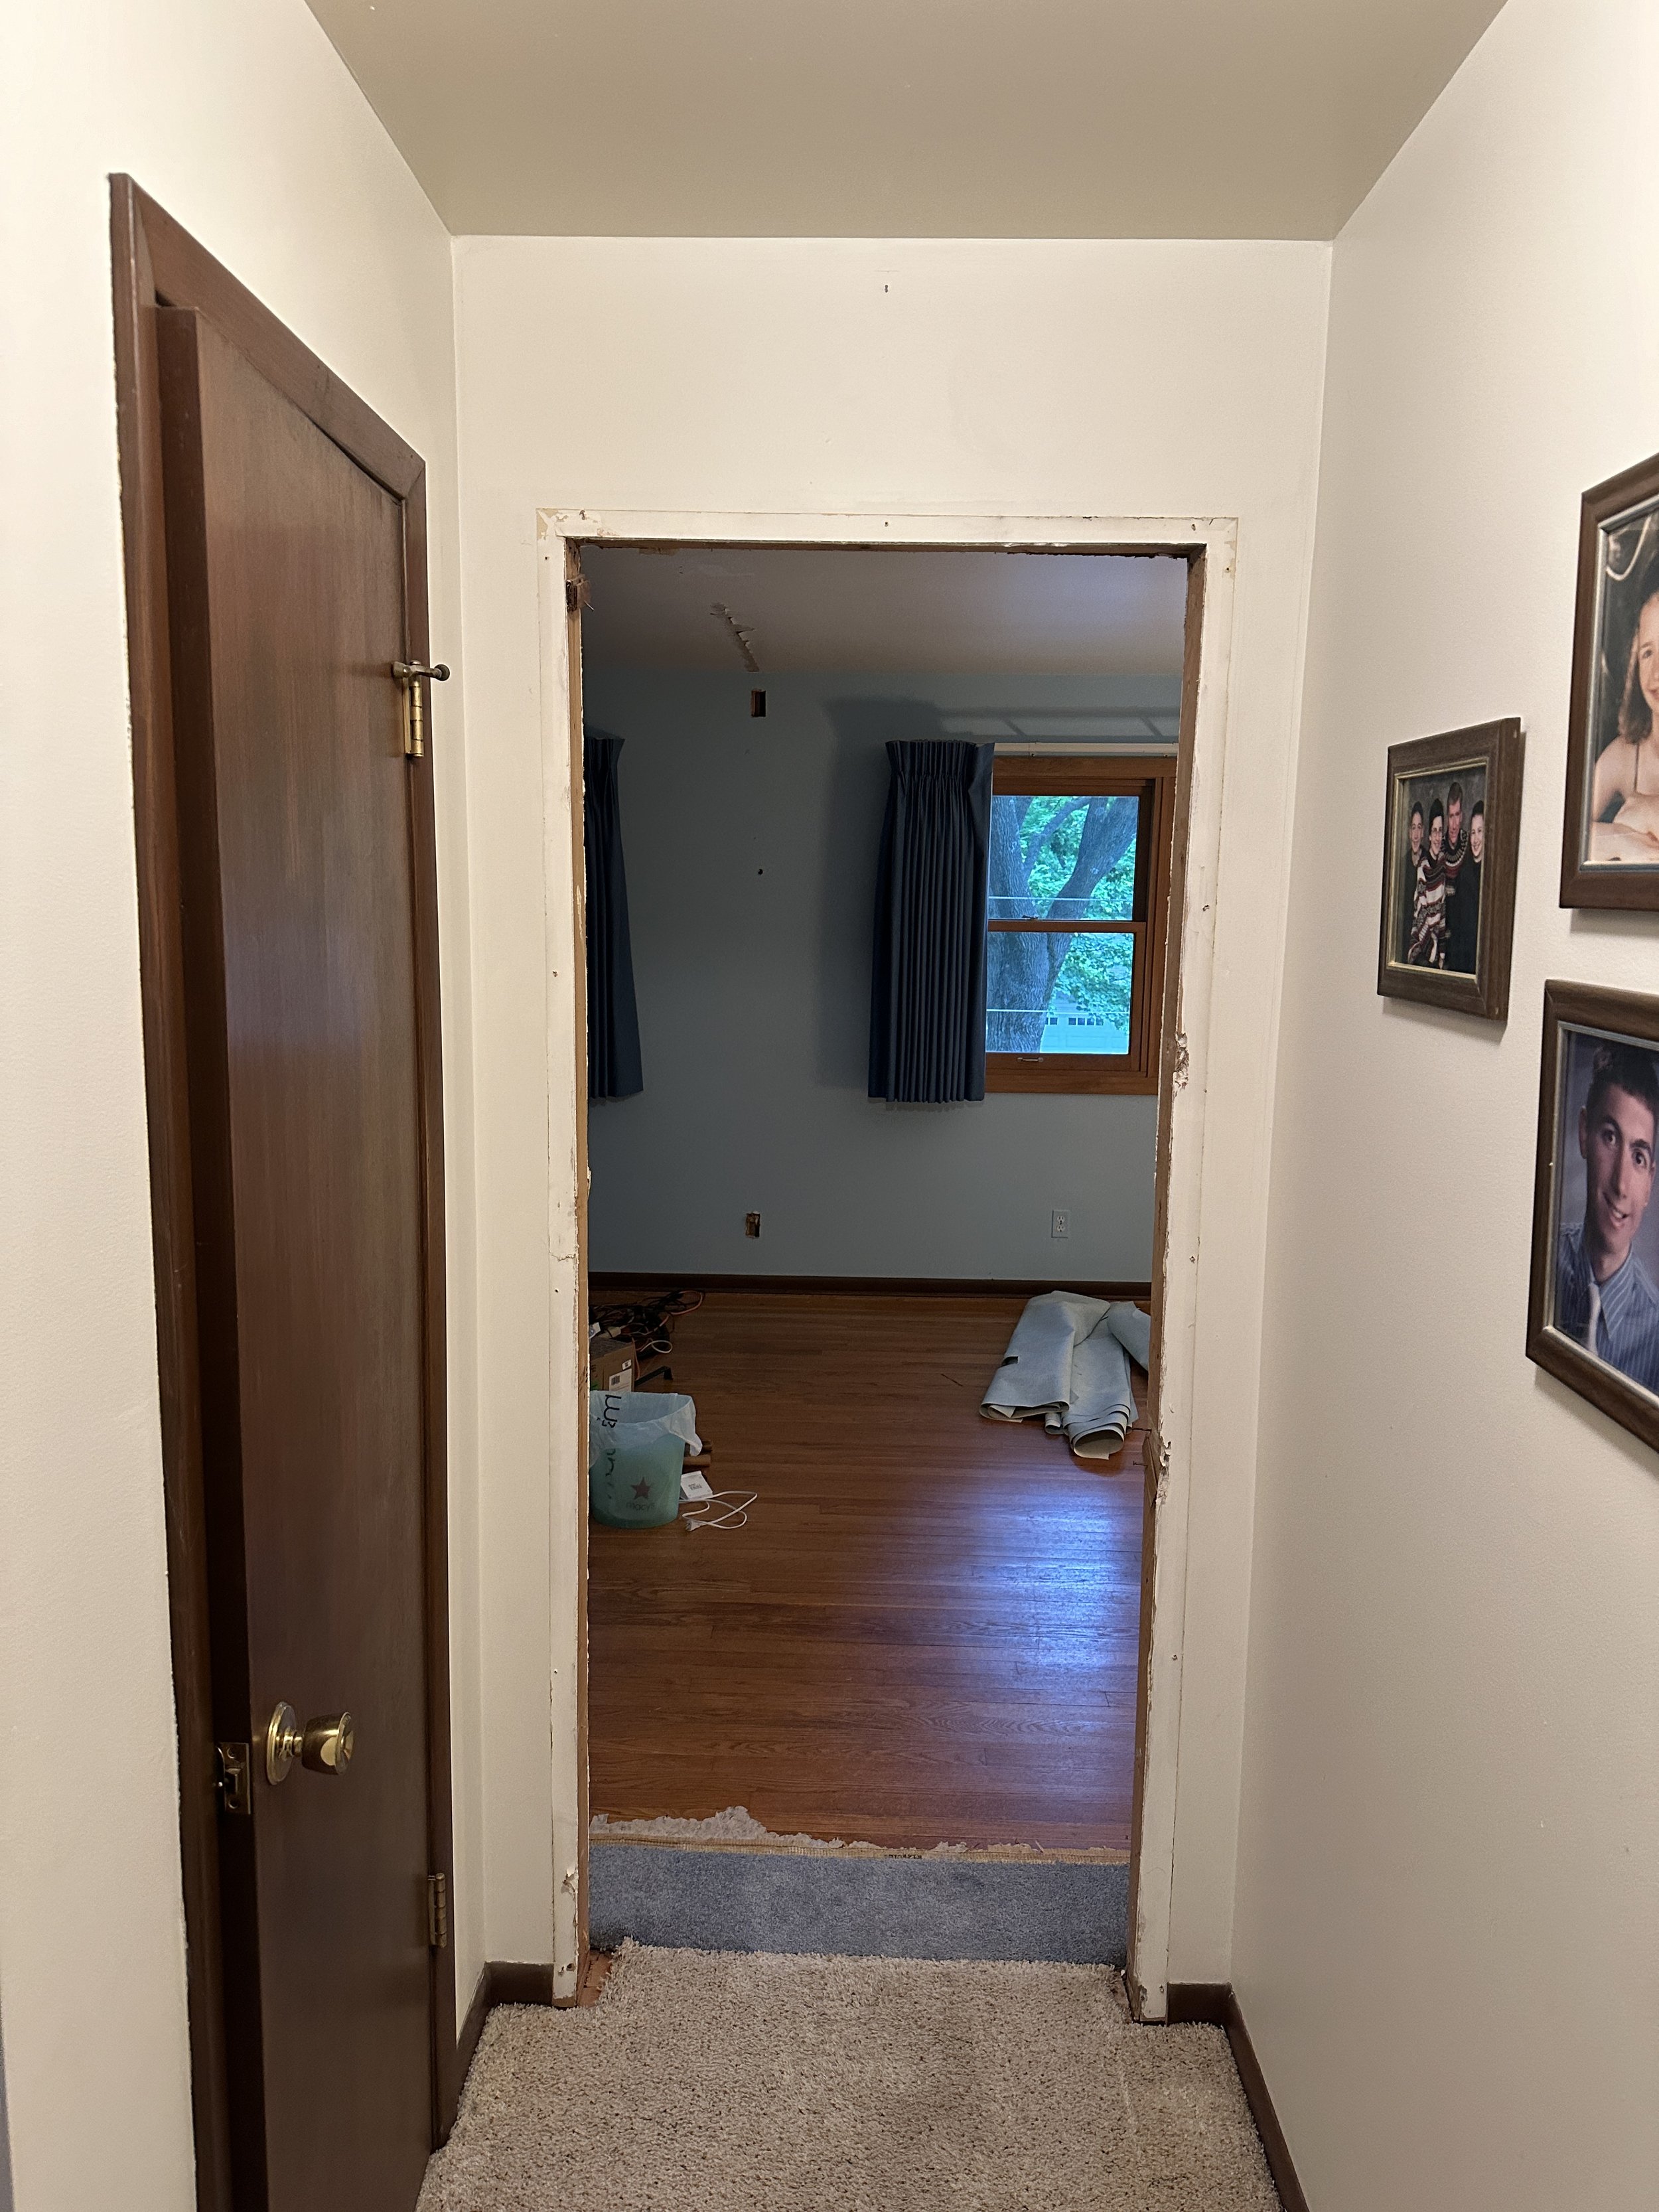
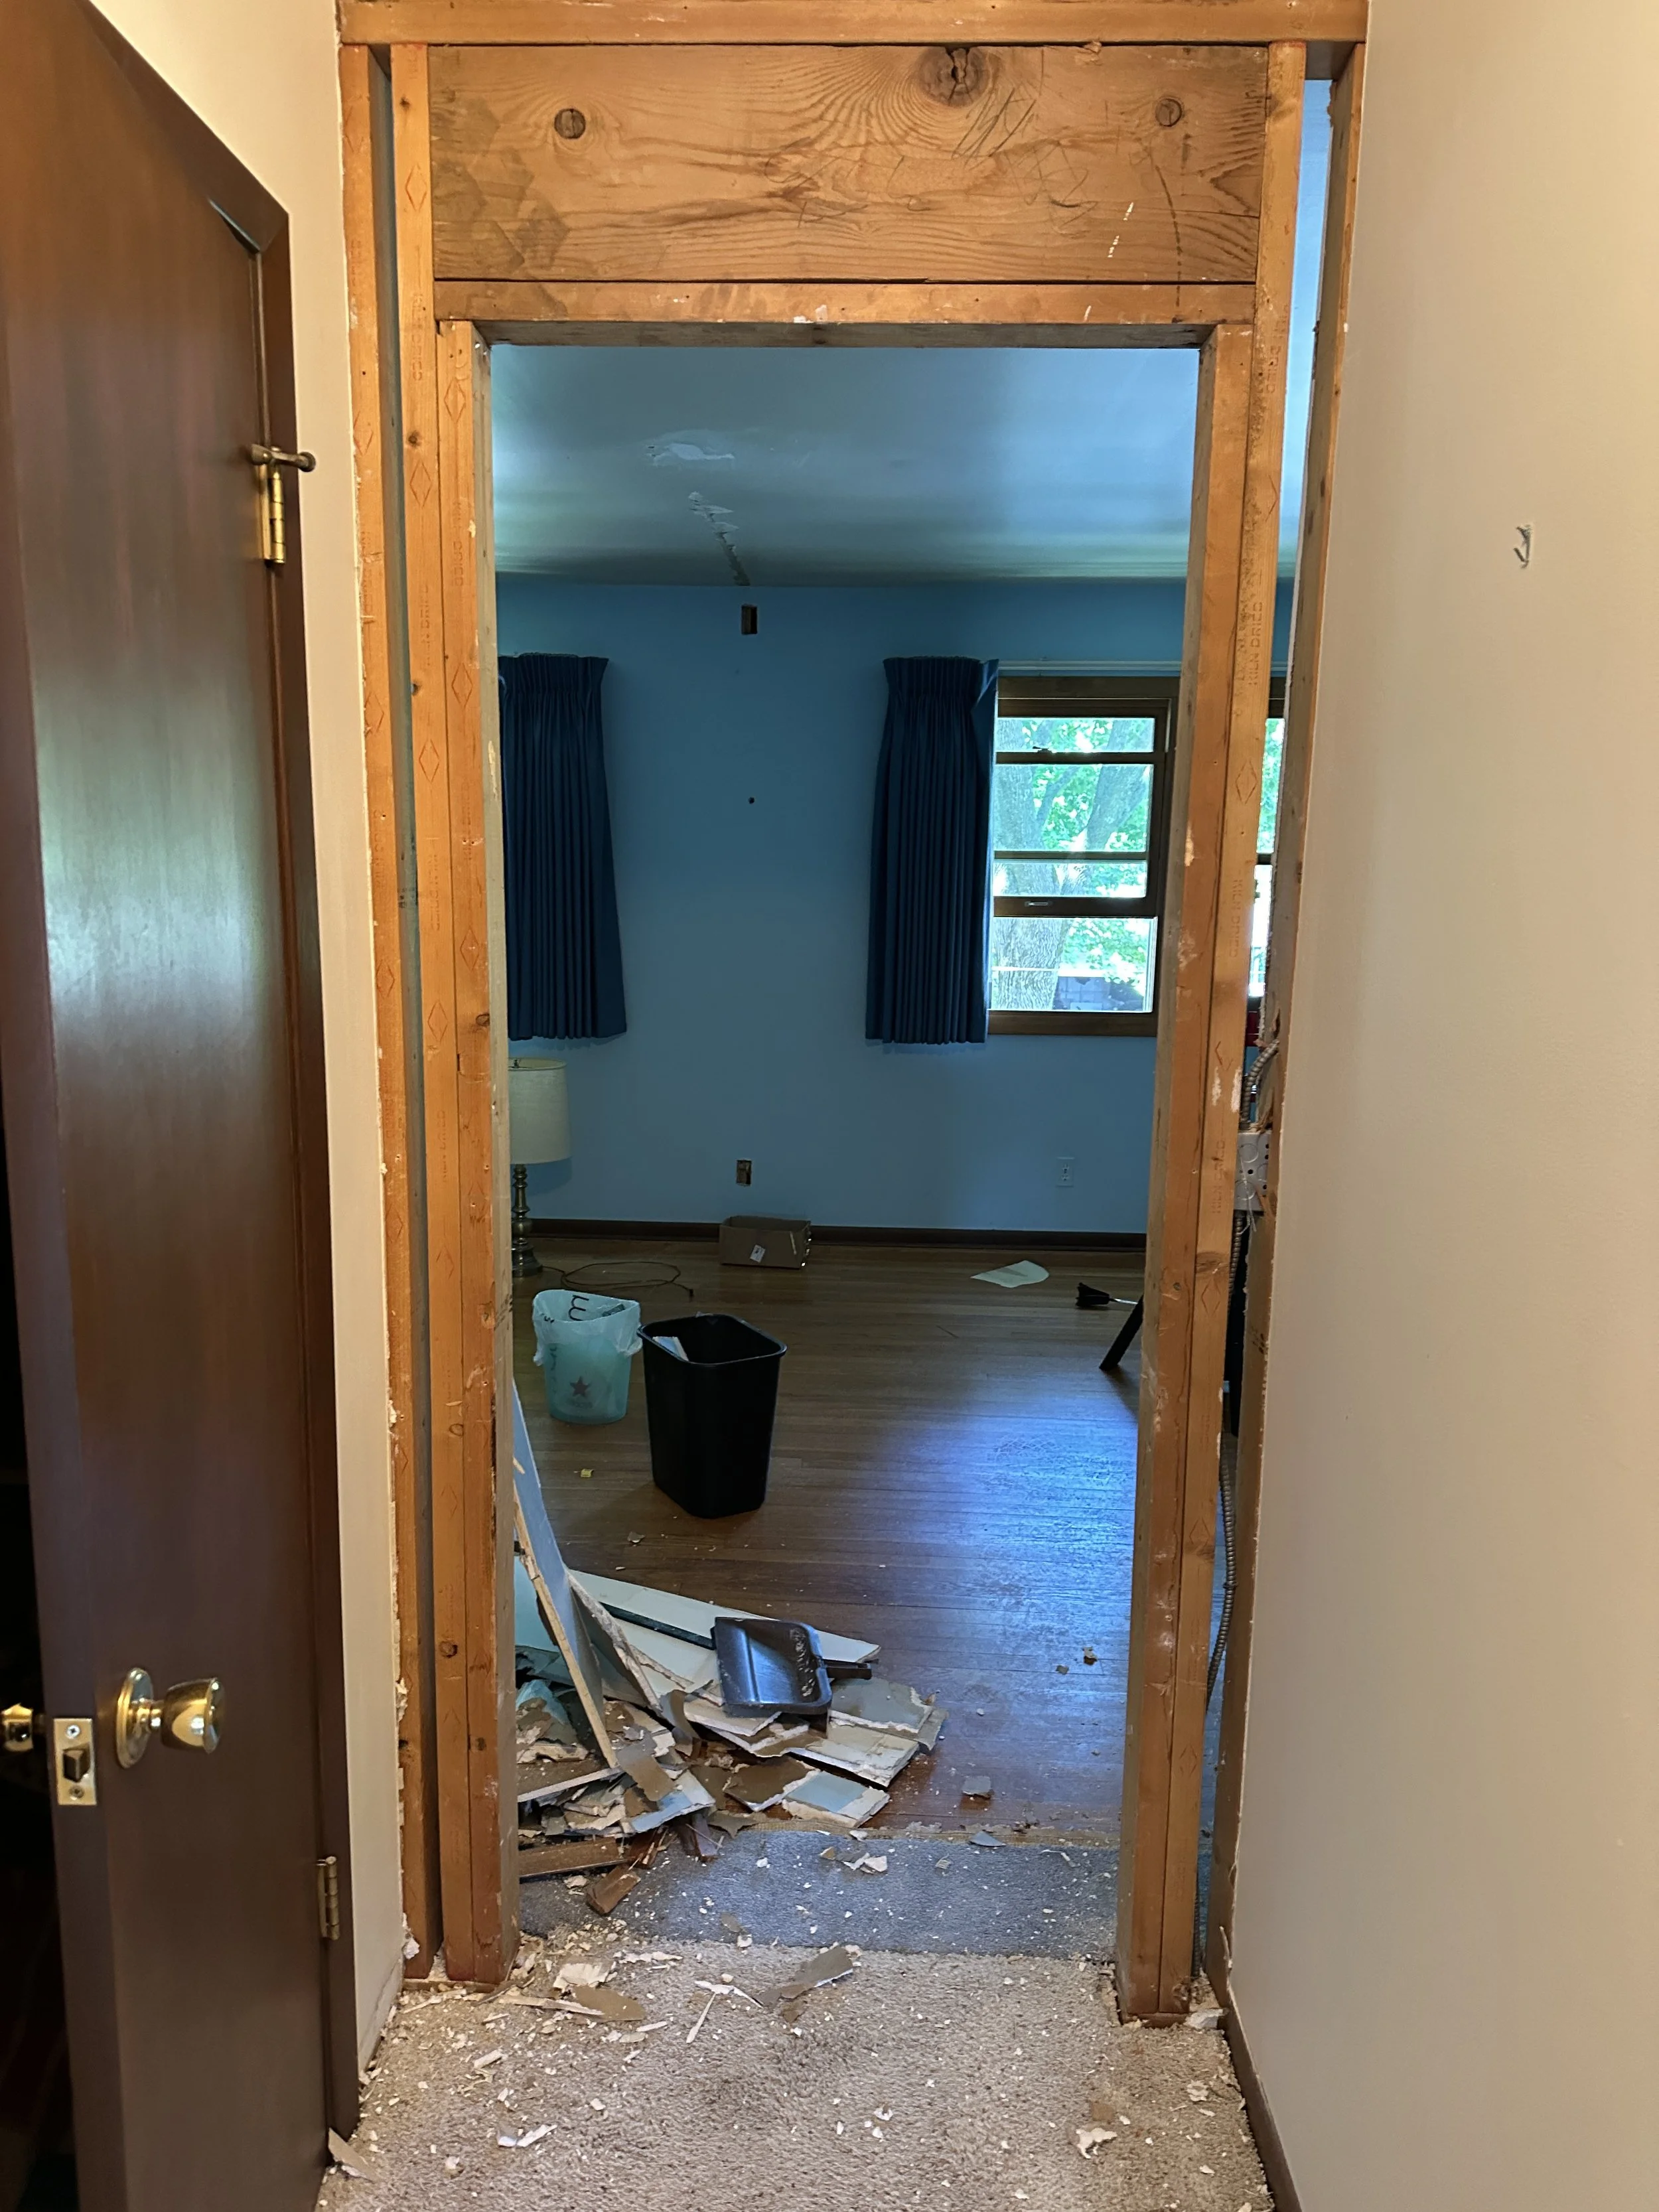
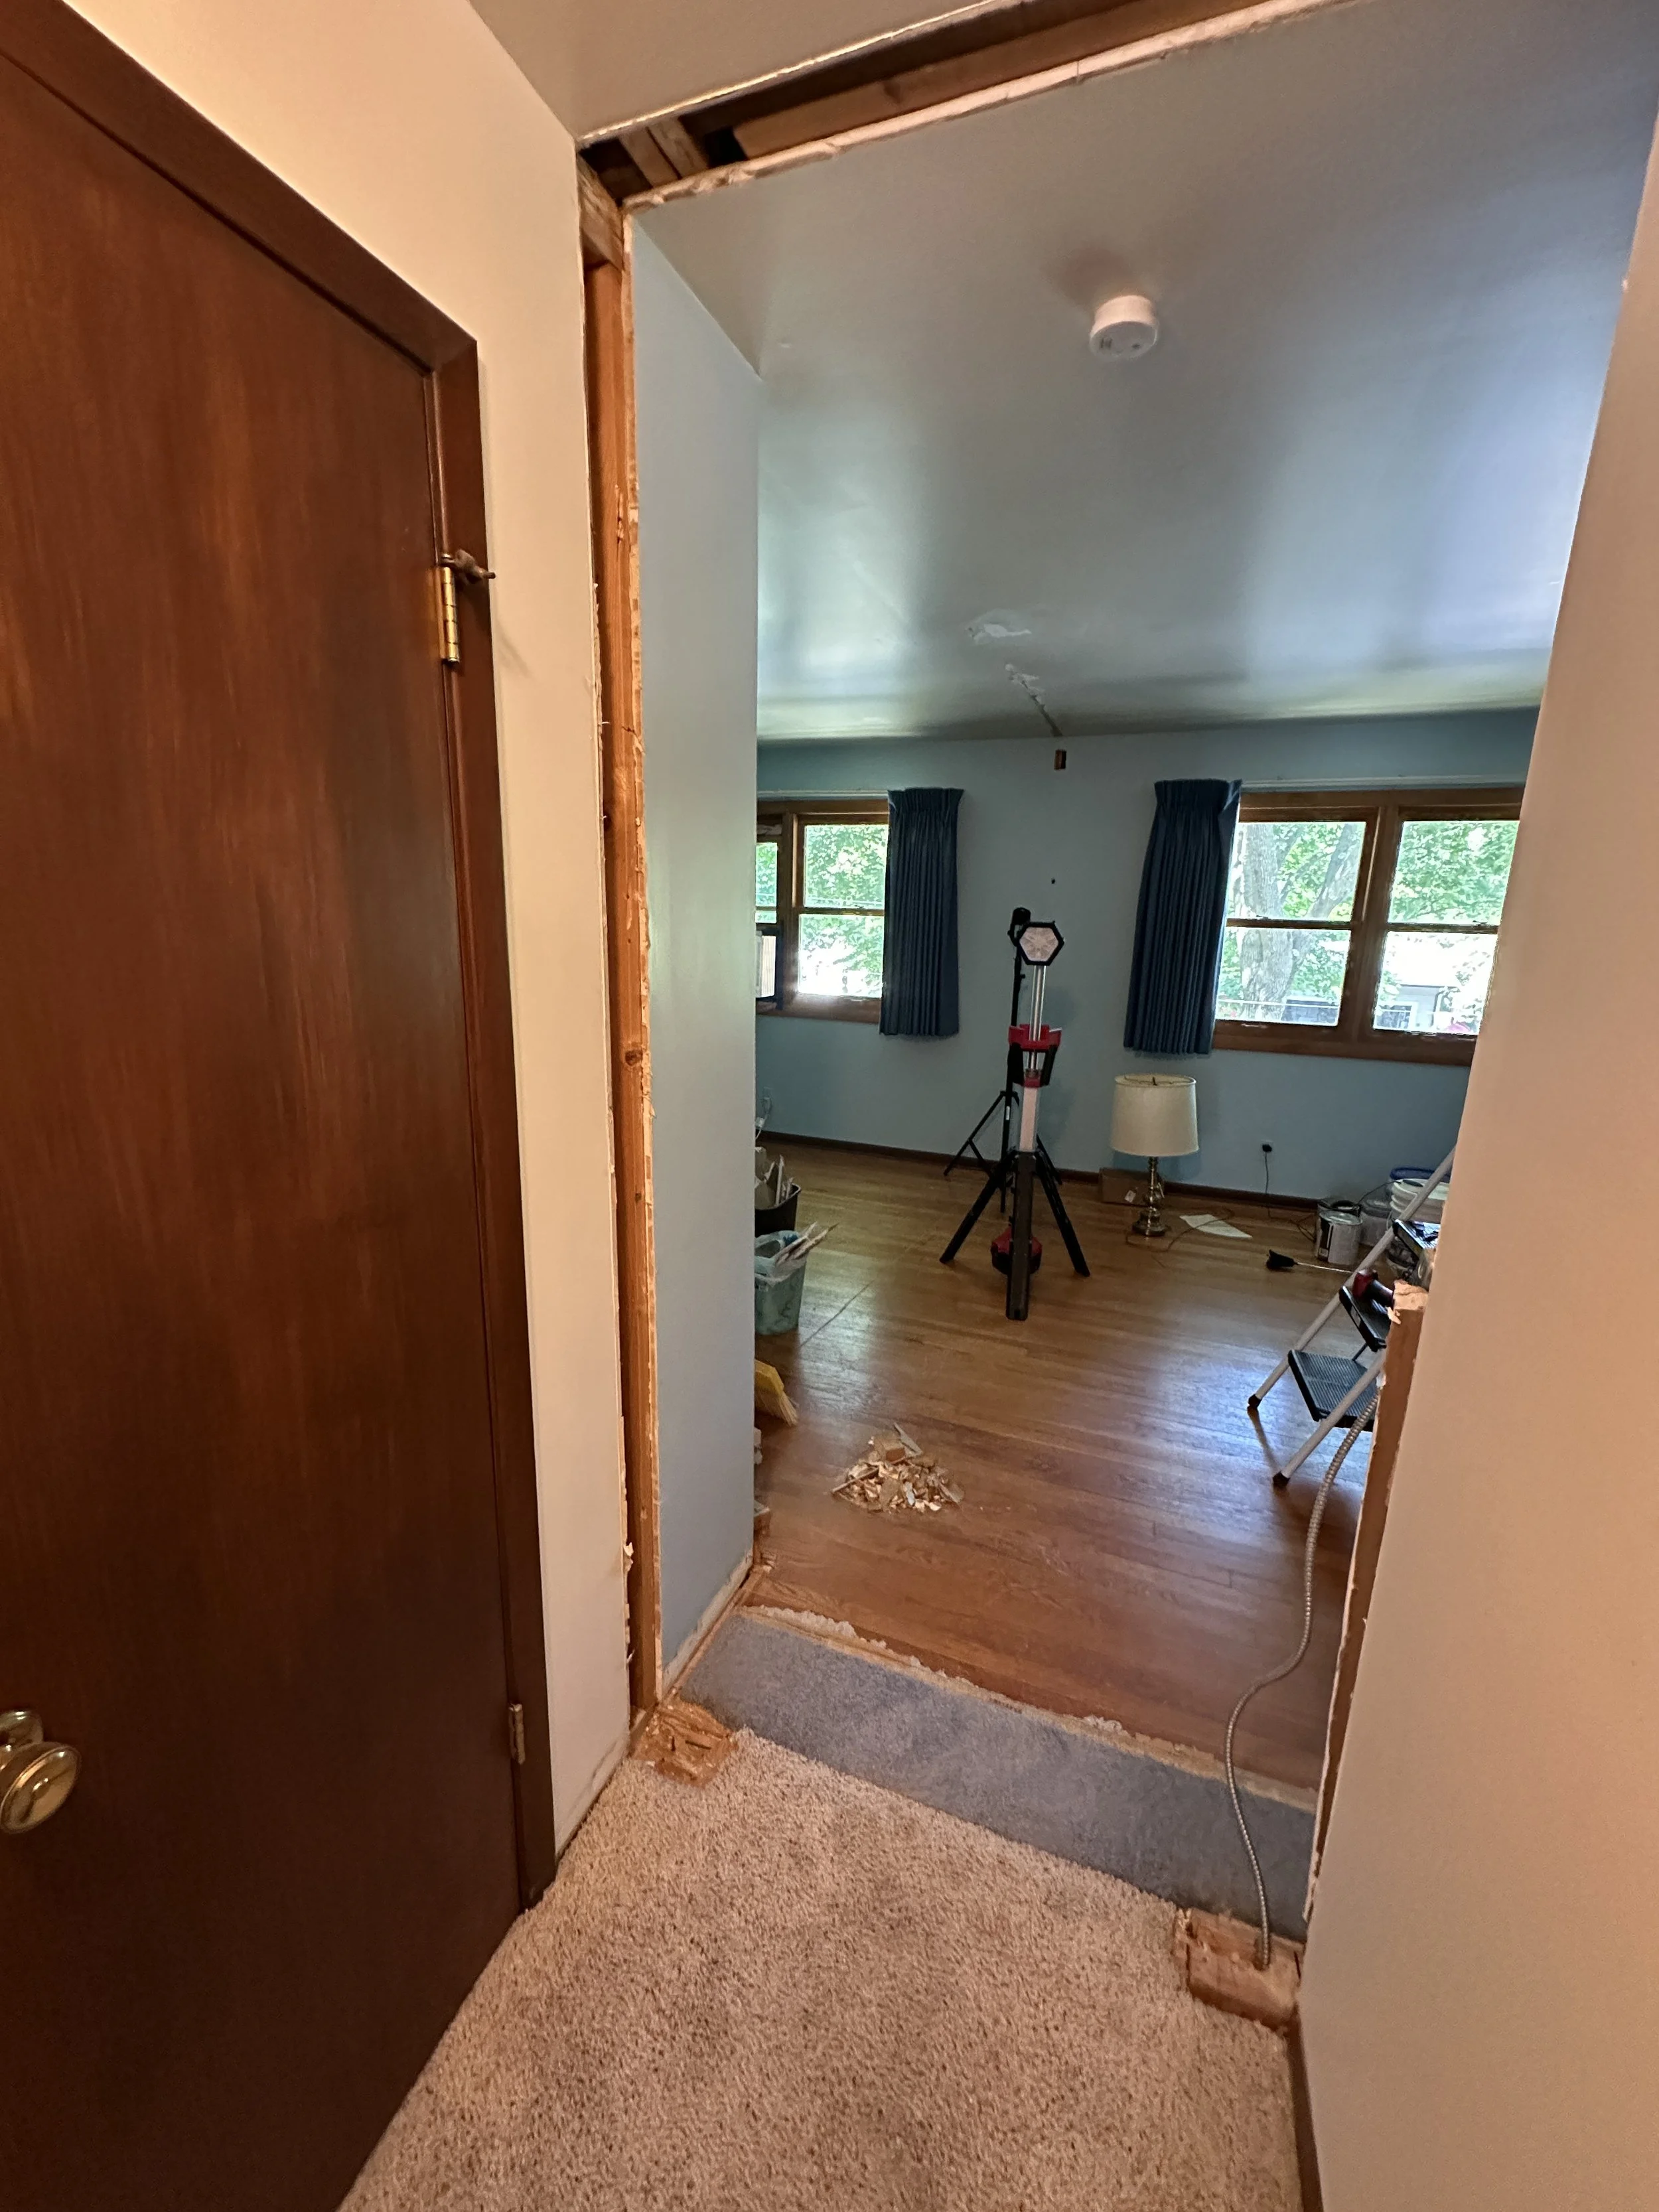
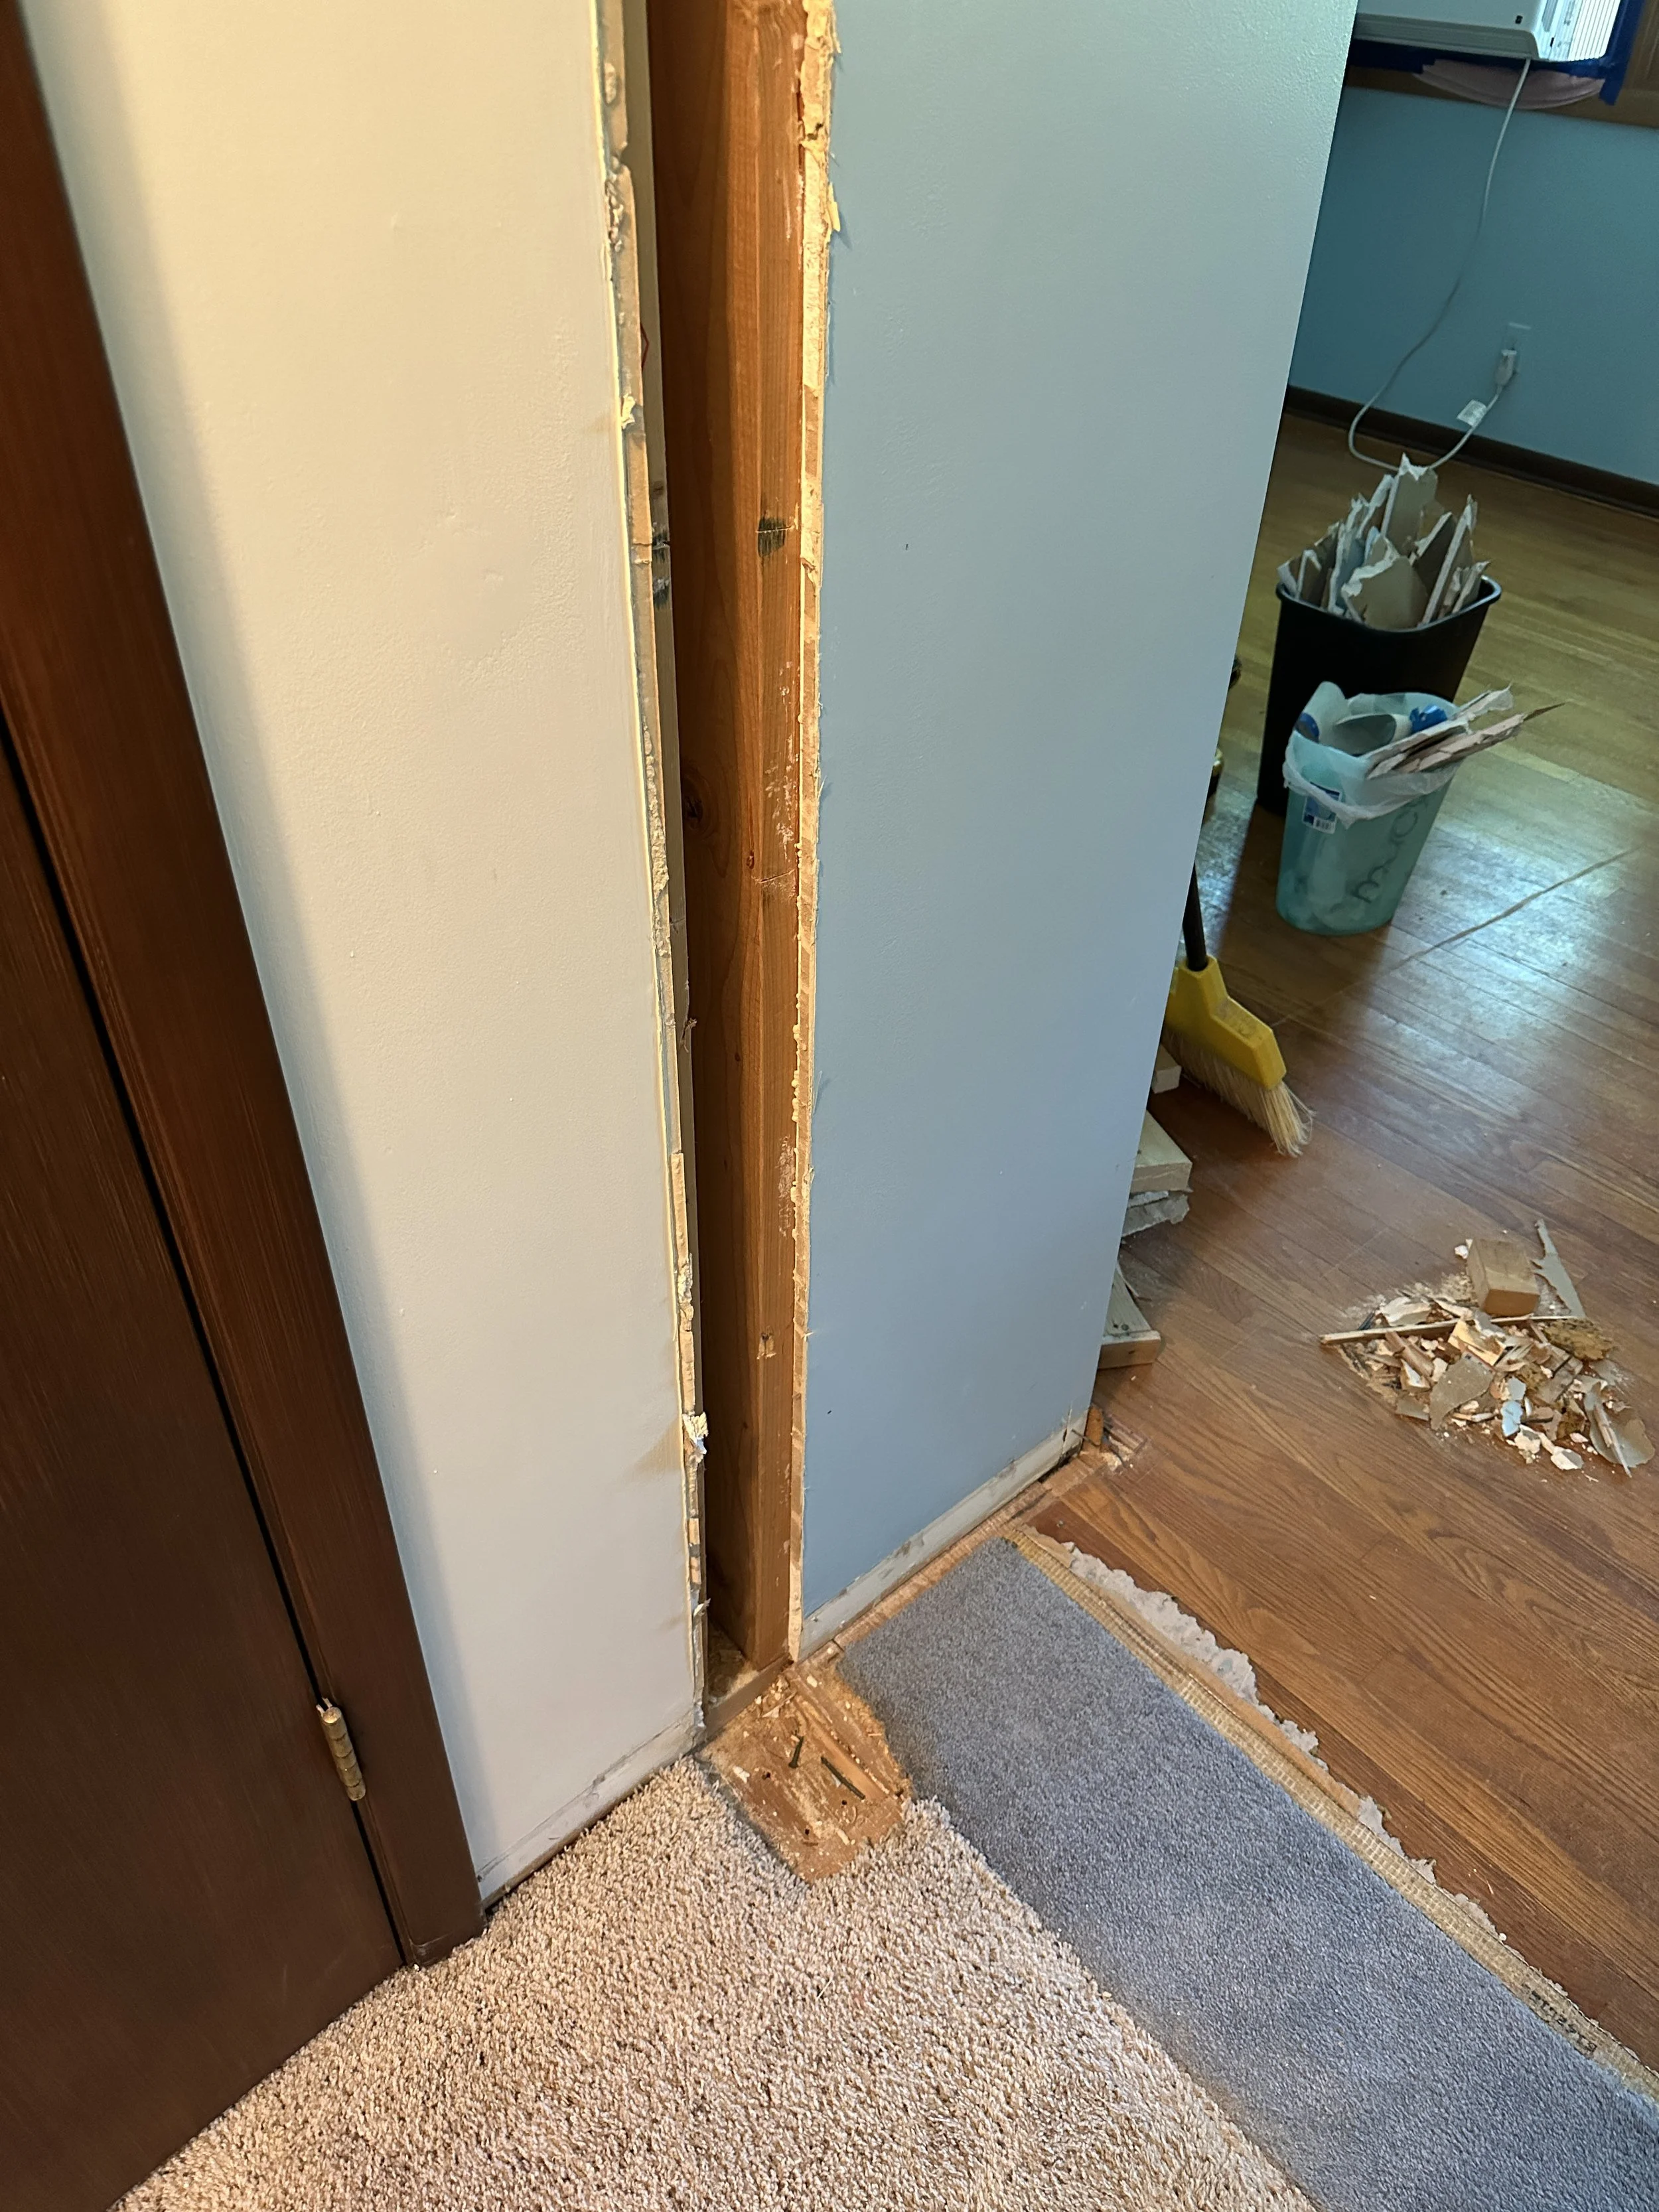
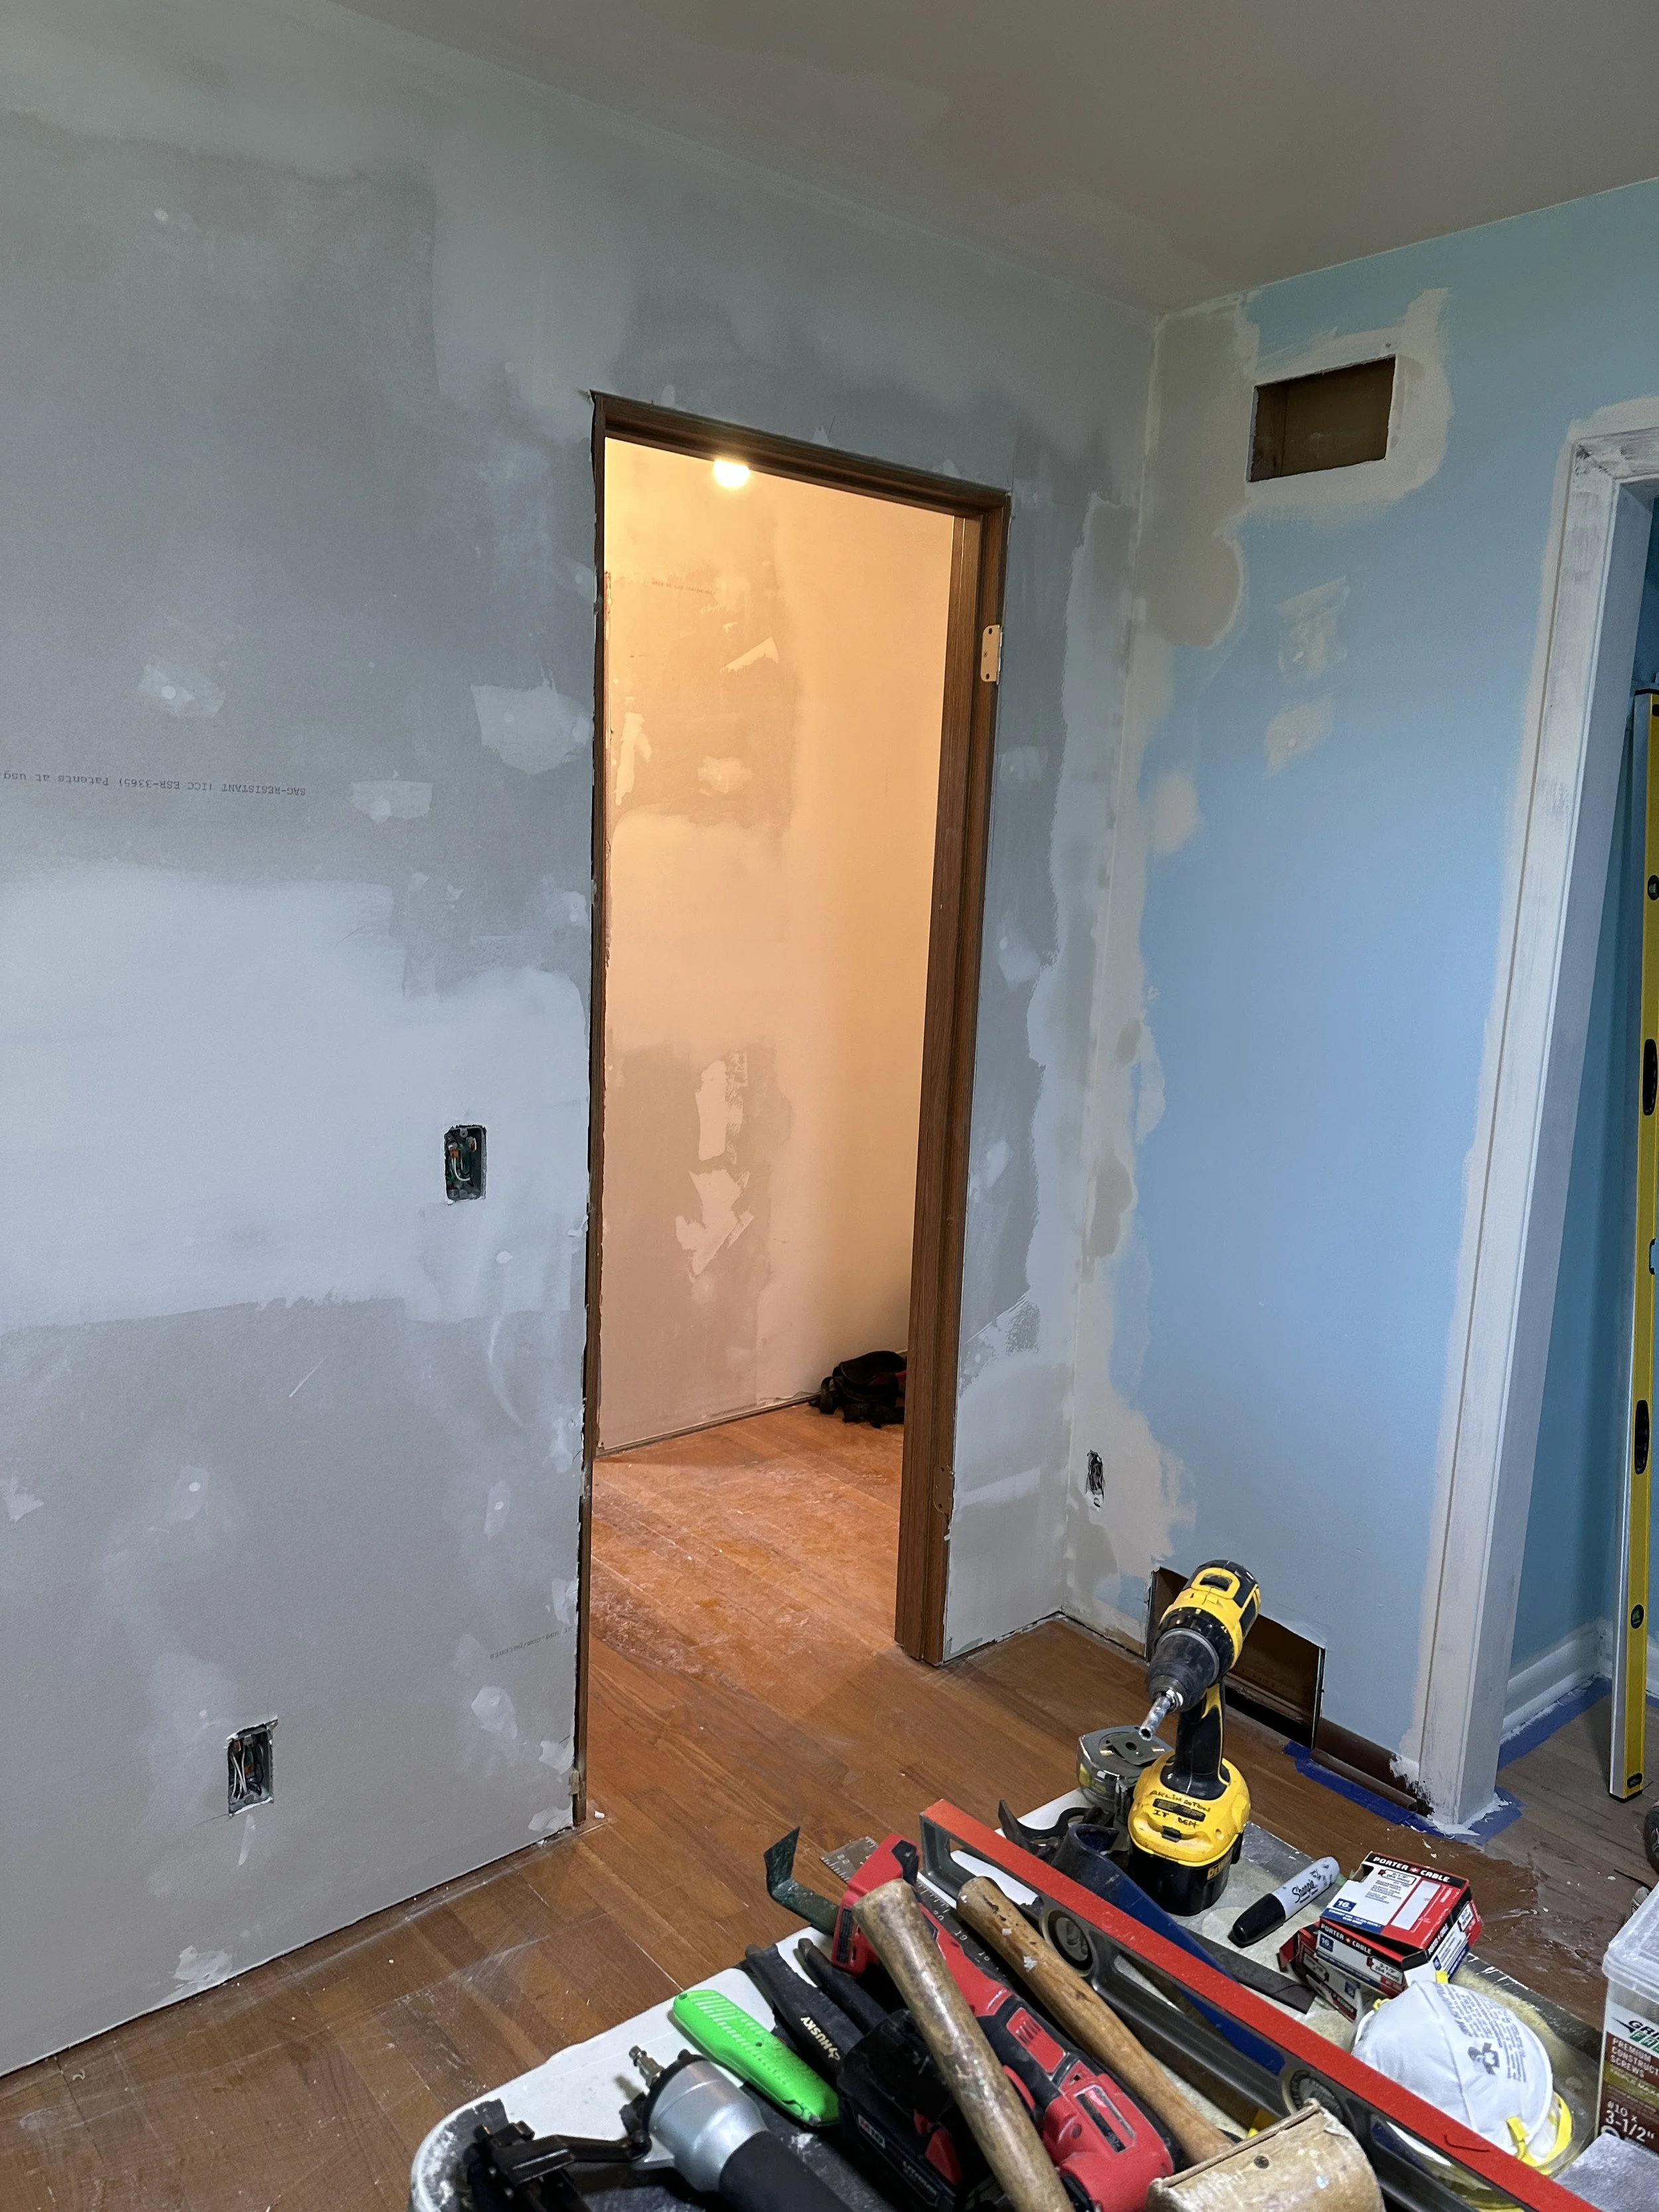
The first order of business after clearing the room was to remove the entrance door, header and frame.
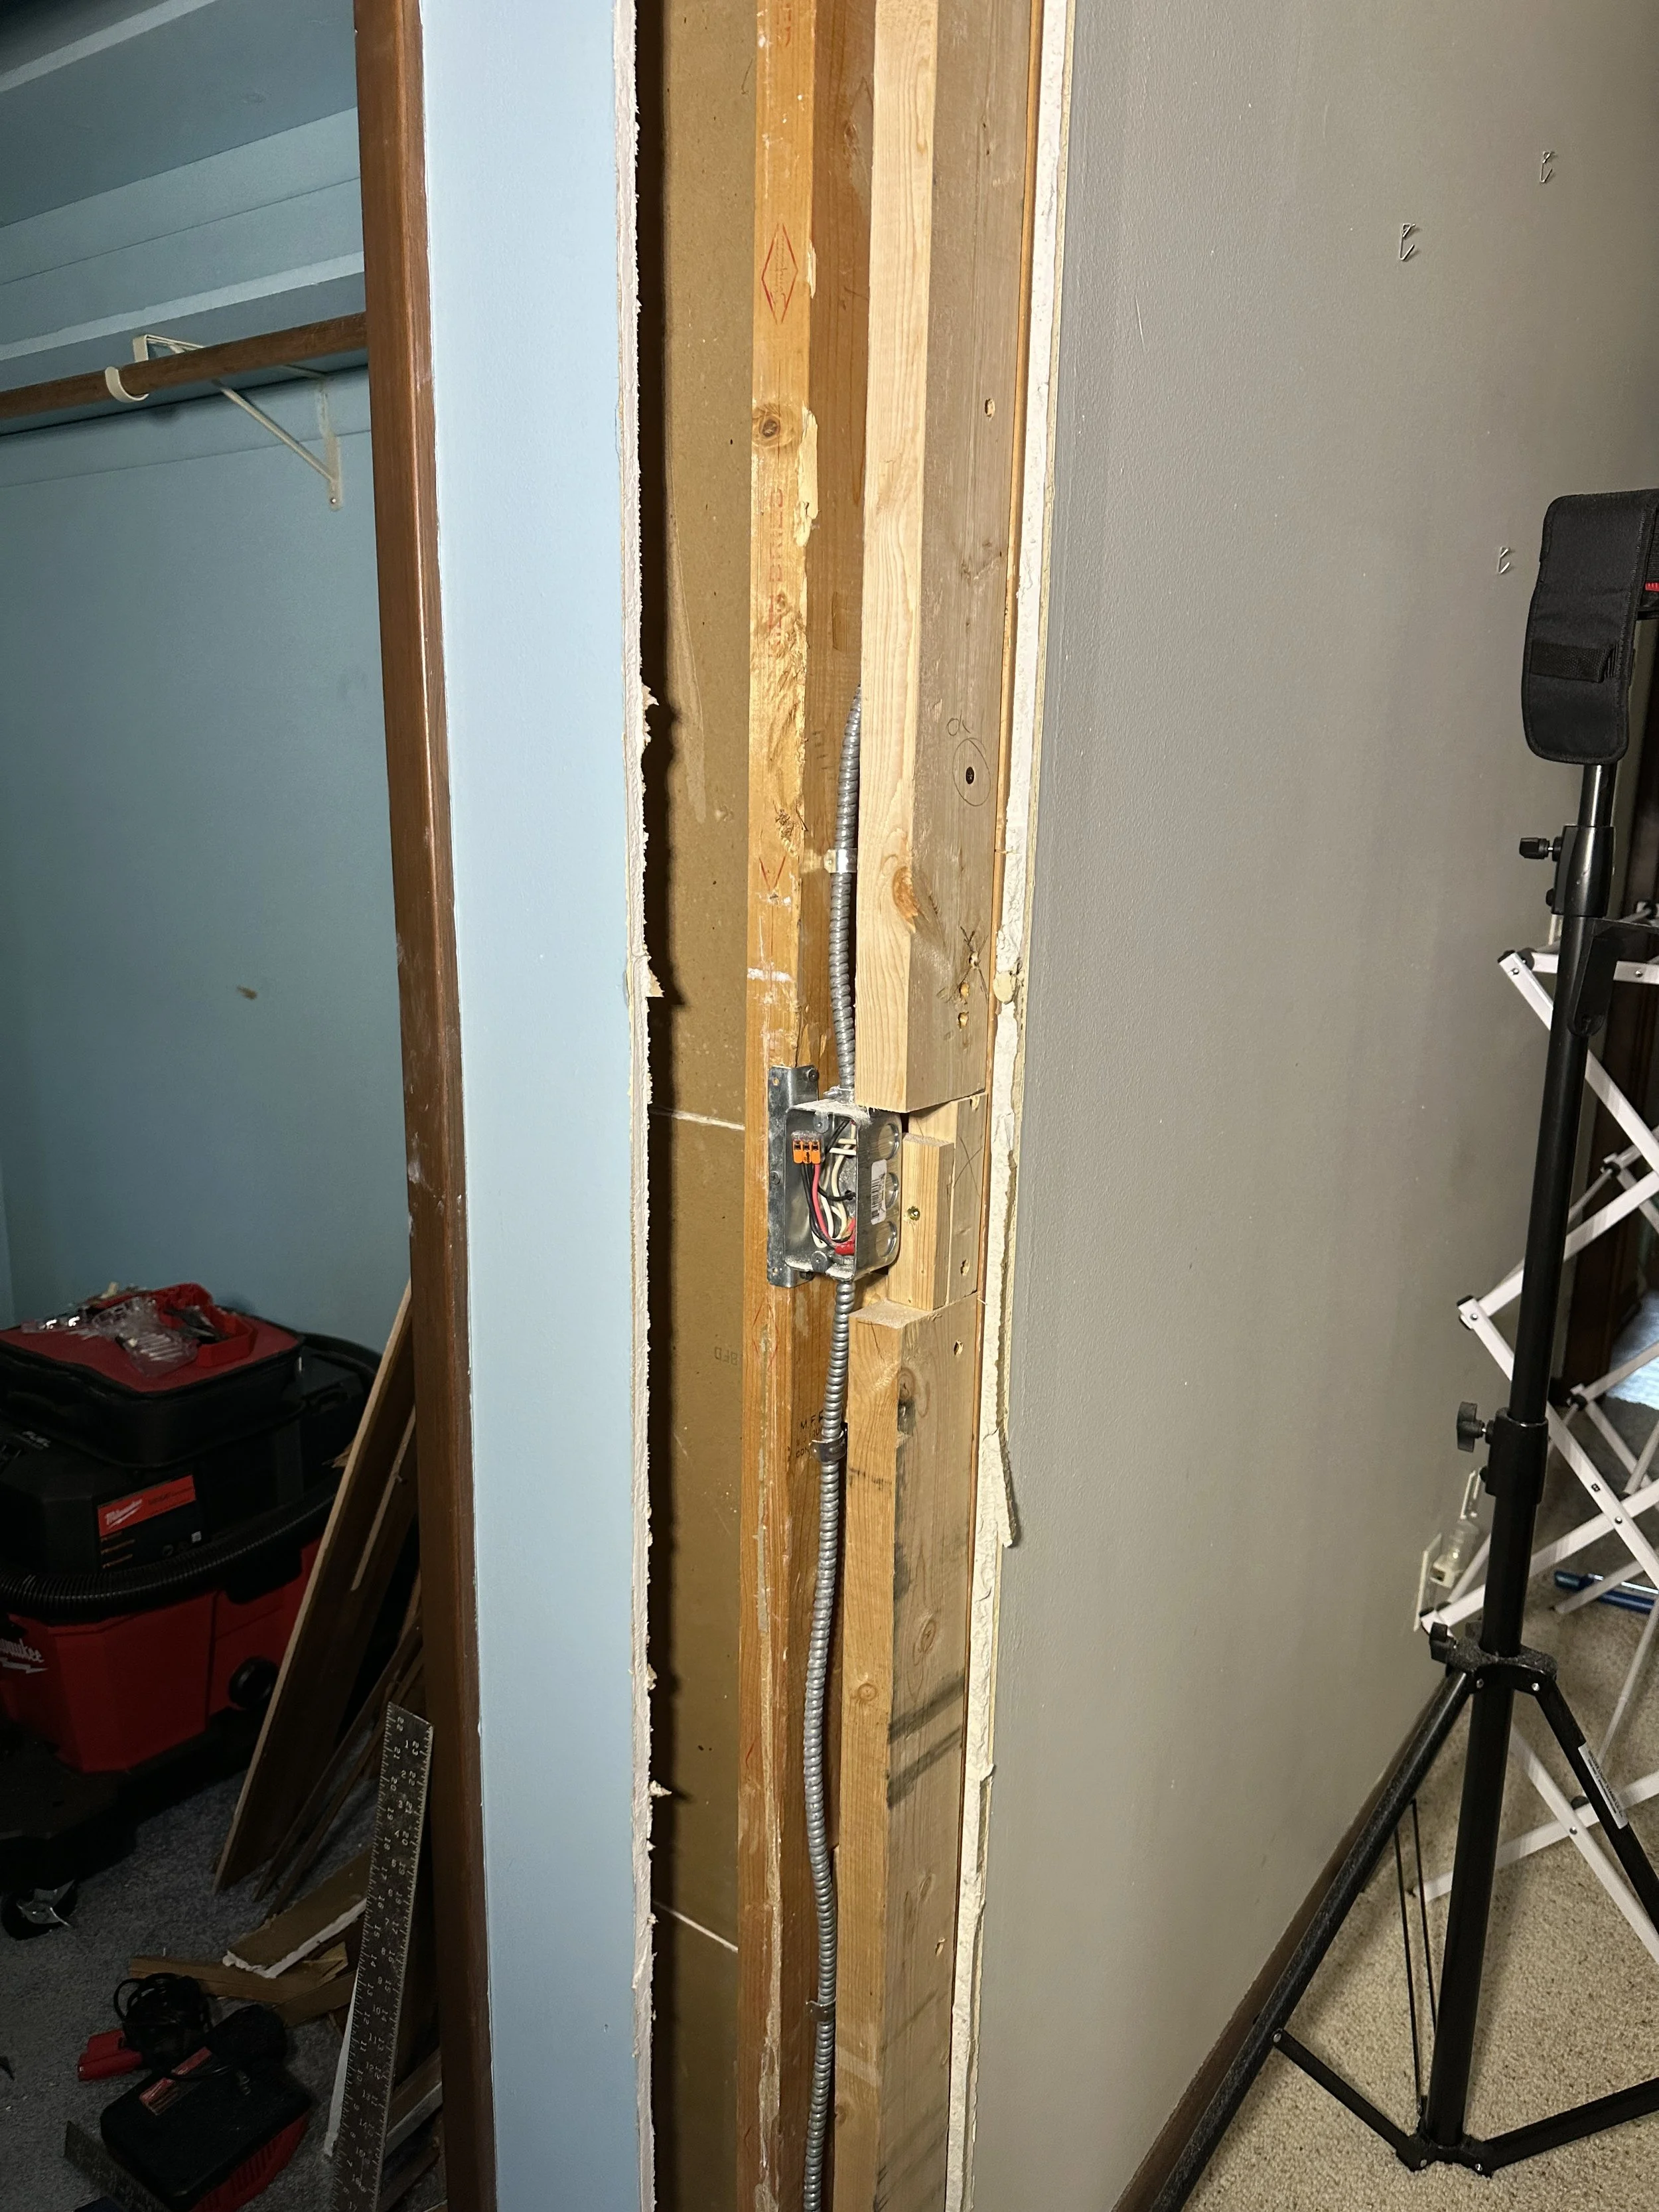
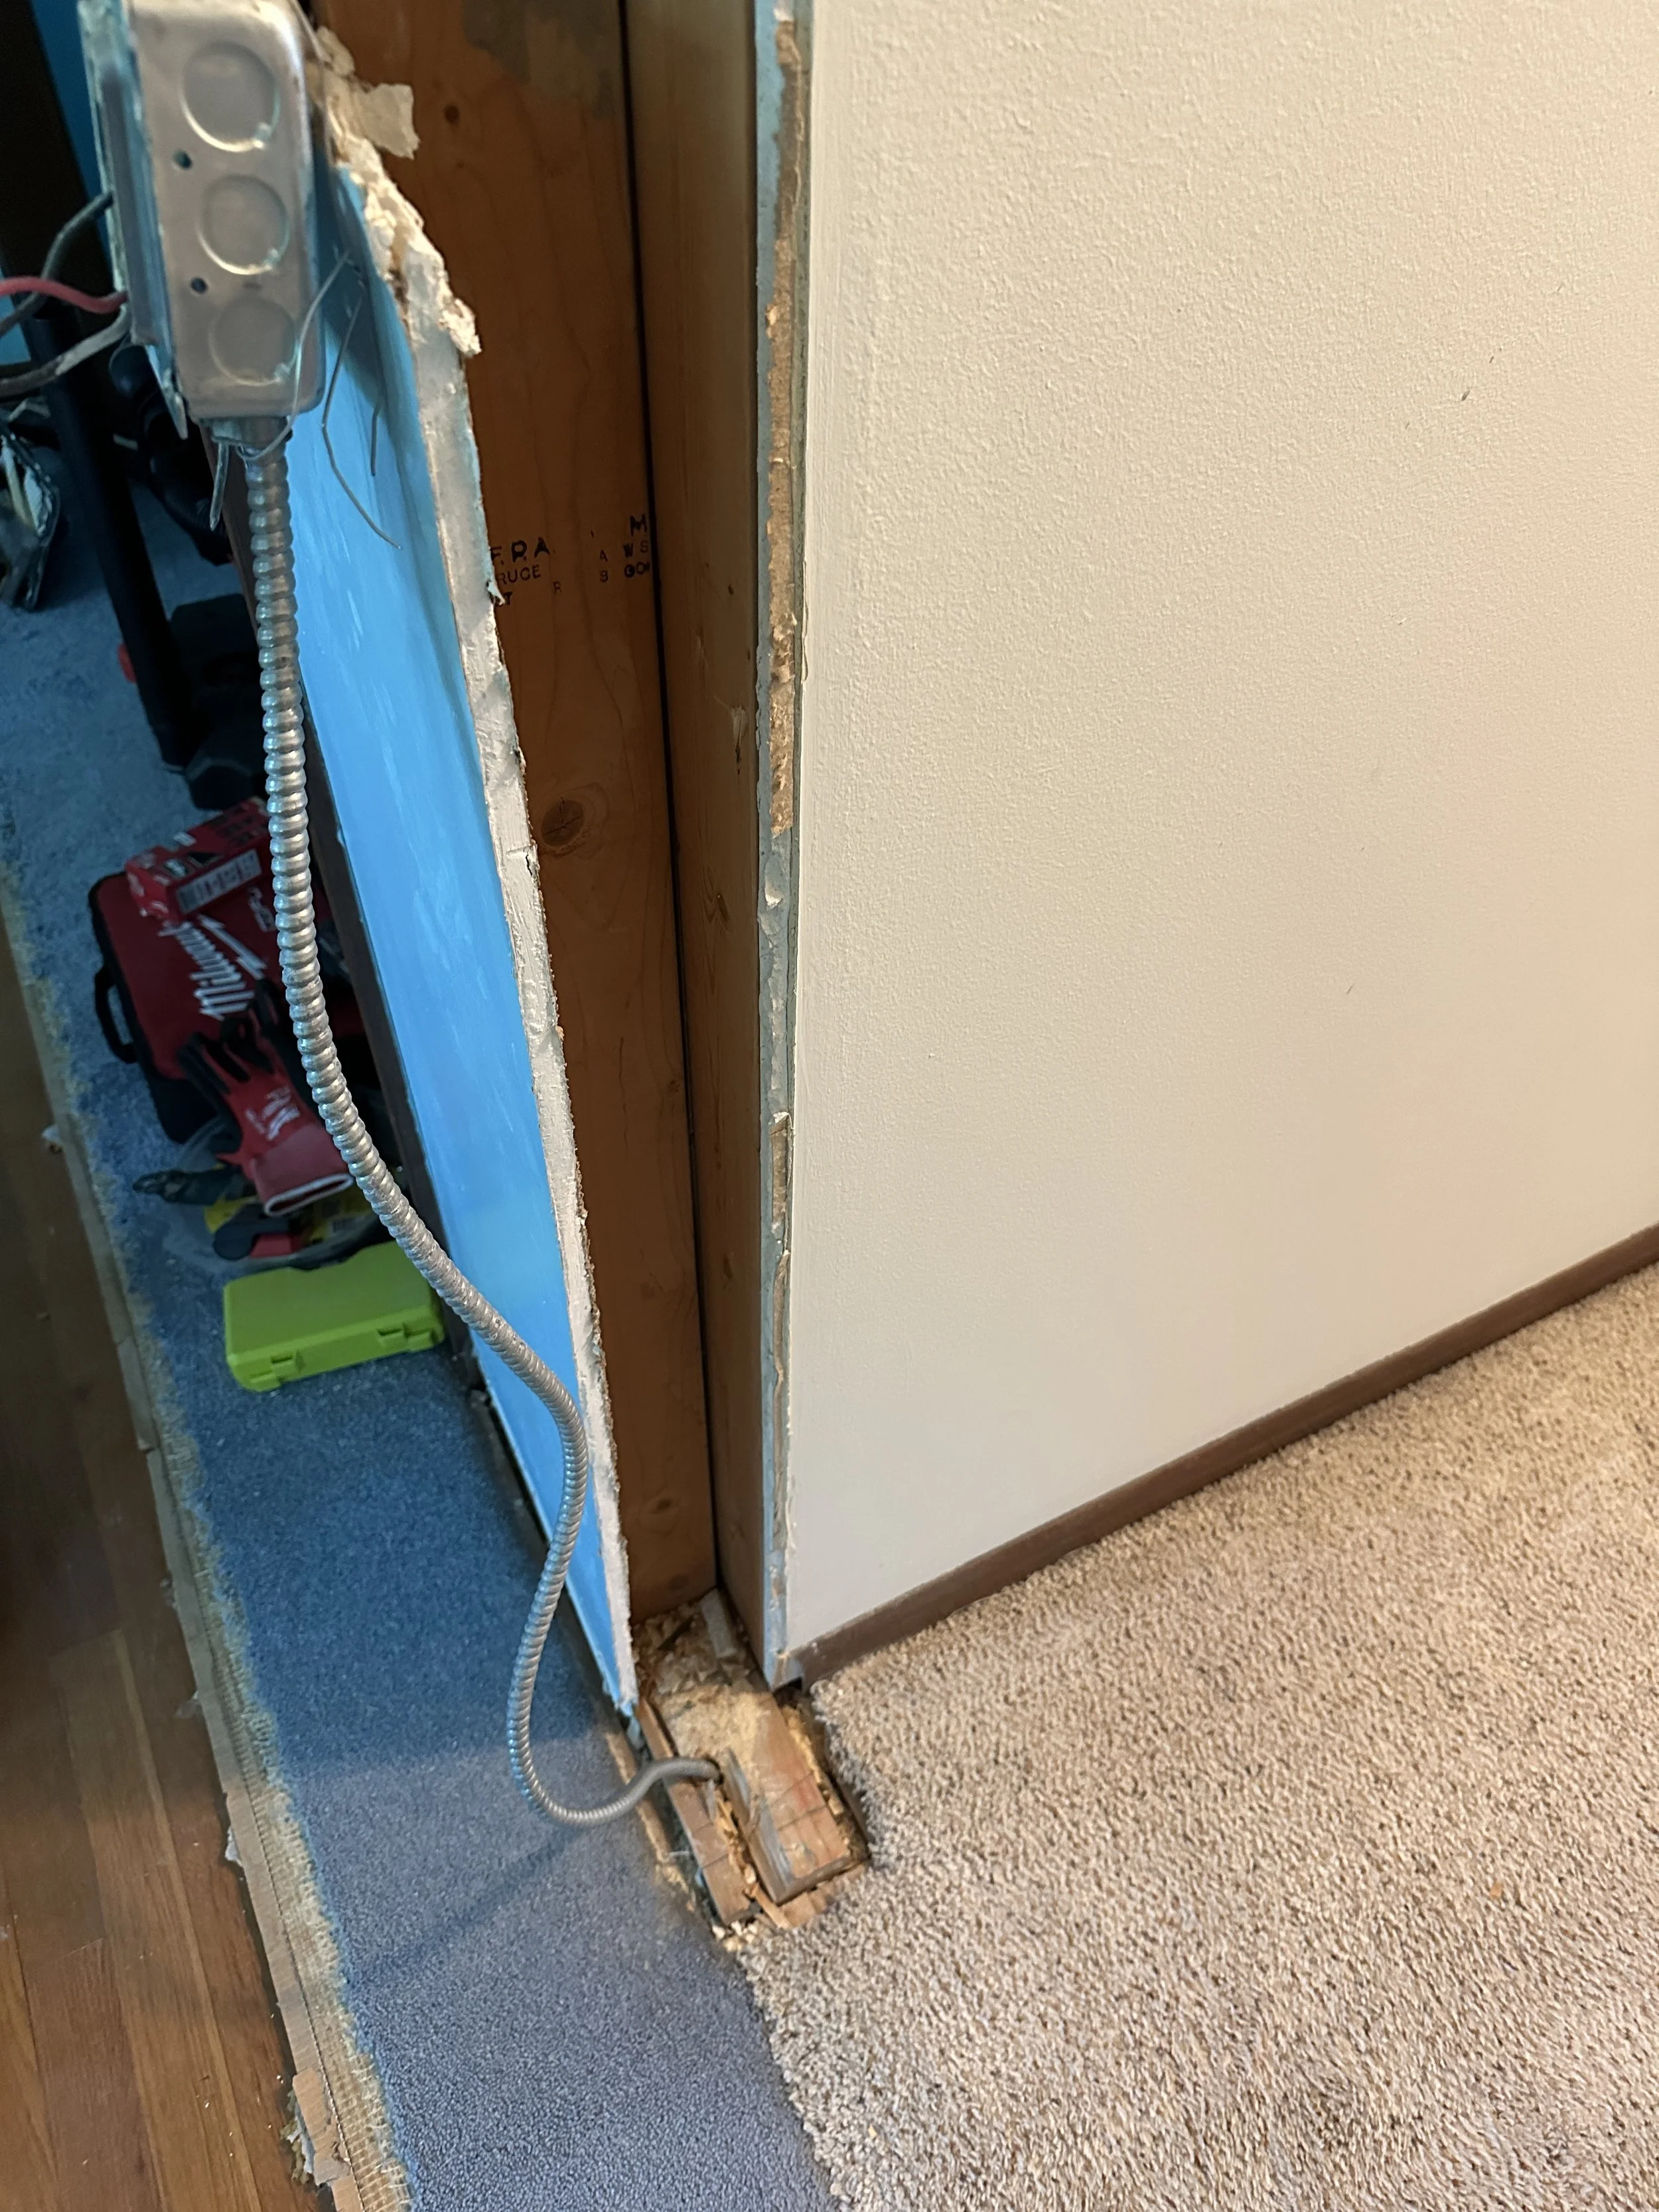
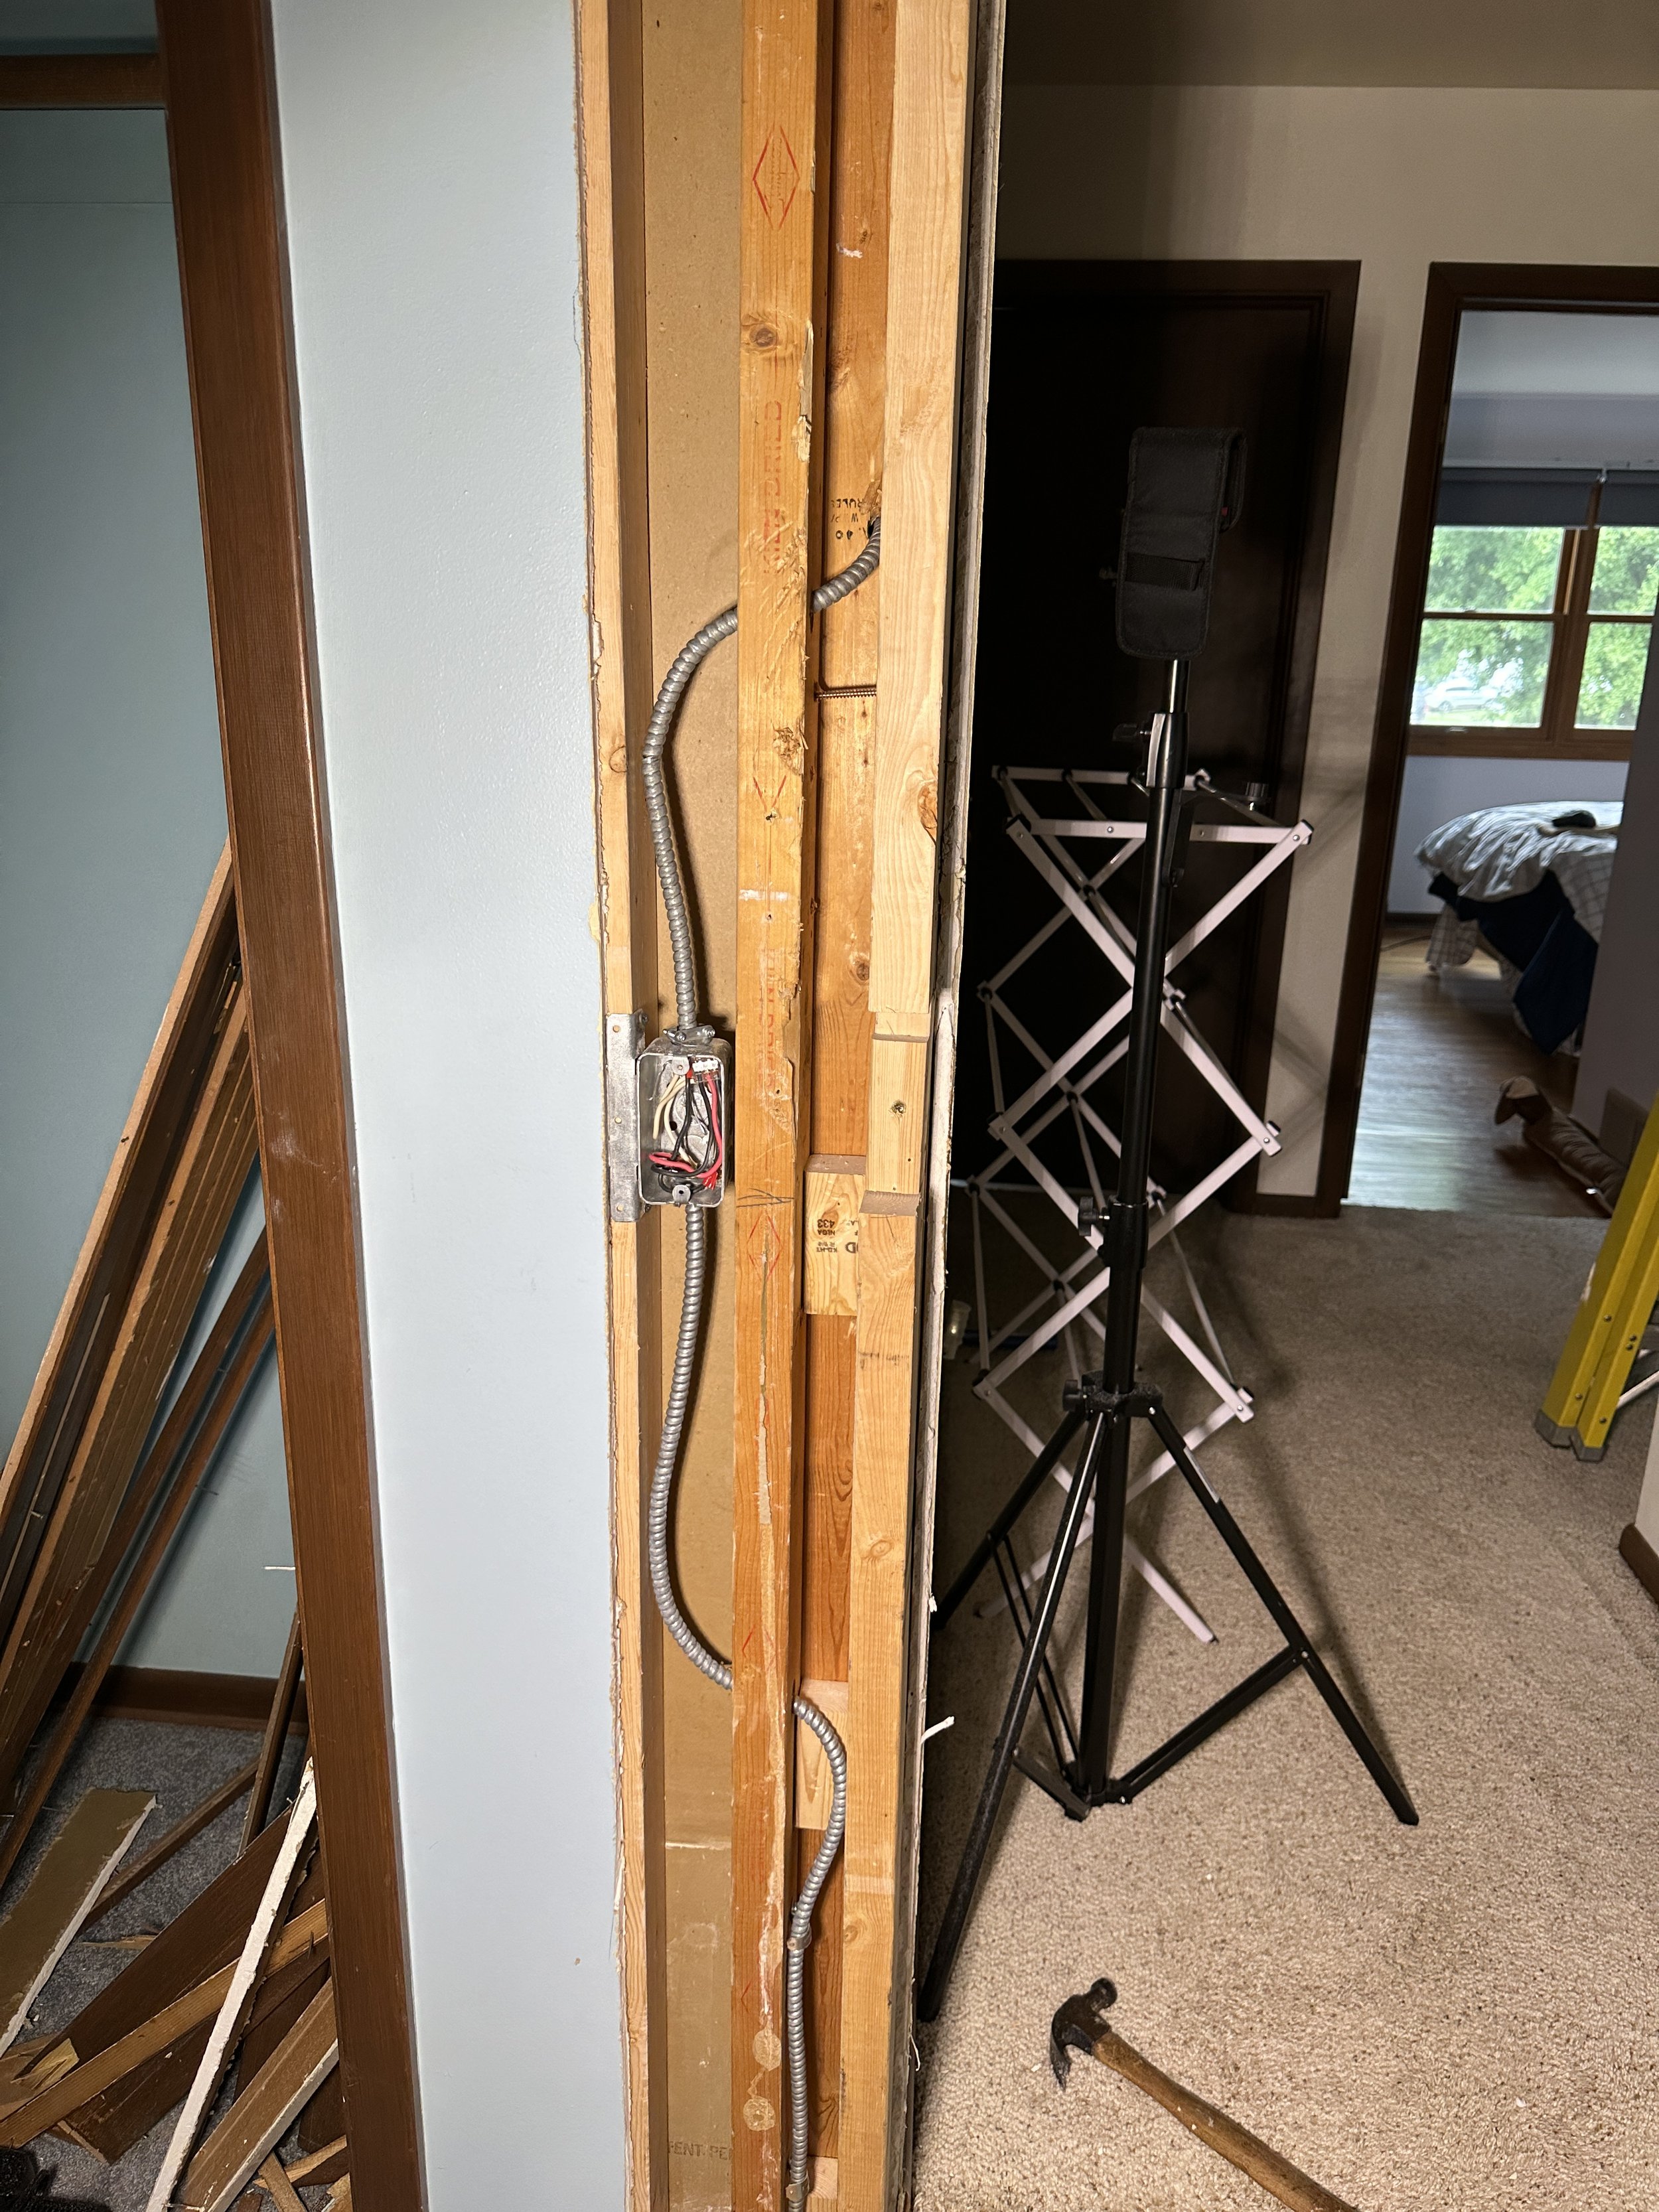
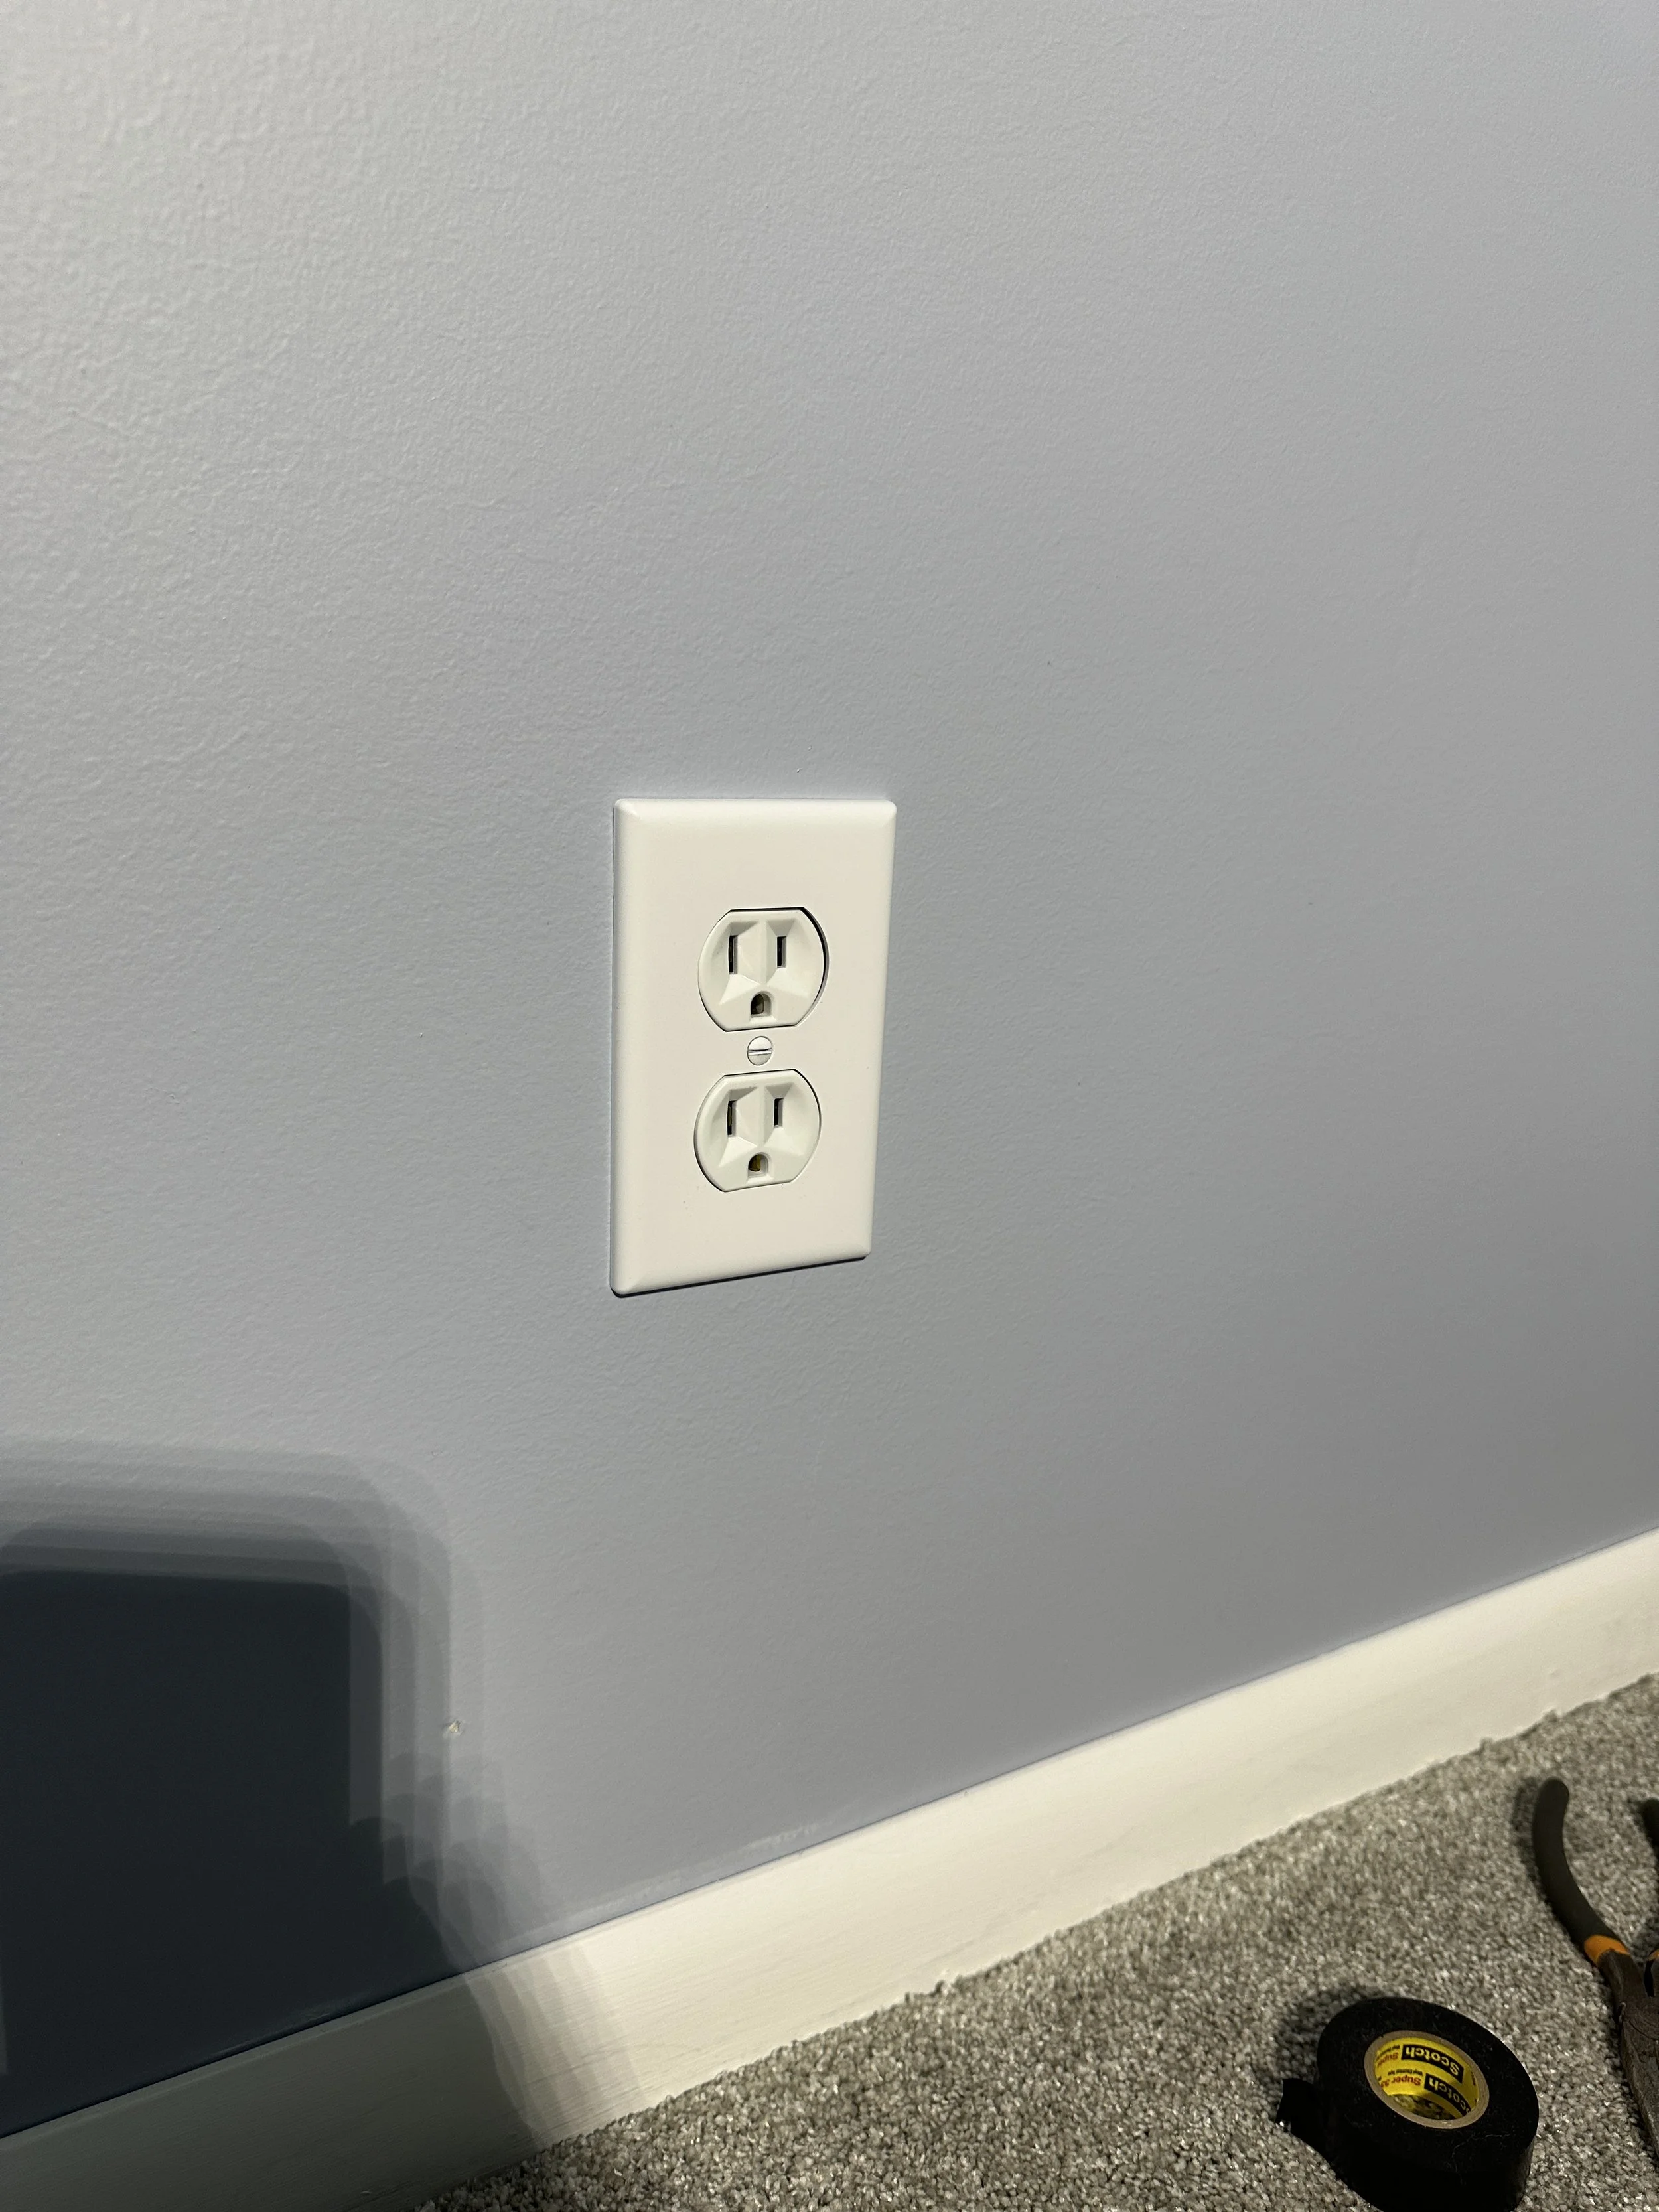
There was an existing light switch which controlled one of the outlets in the room. It posed a problem because of its location. We had to move it inward towards the closet so it didn’t get in the way of extending the hallway. This became tricky because of how the original builders brought in the feed through the floor — see above middle picture. We eventually got the switch moved over enough — see above picture right.
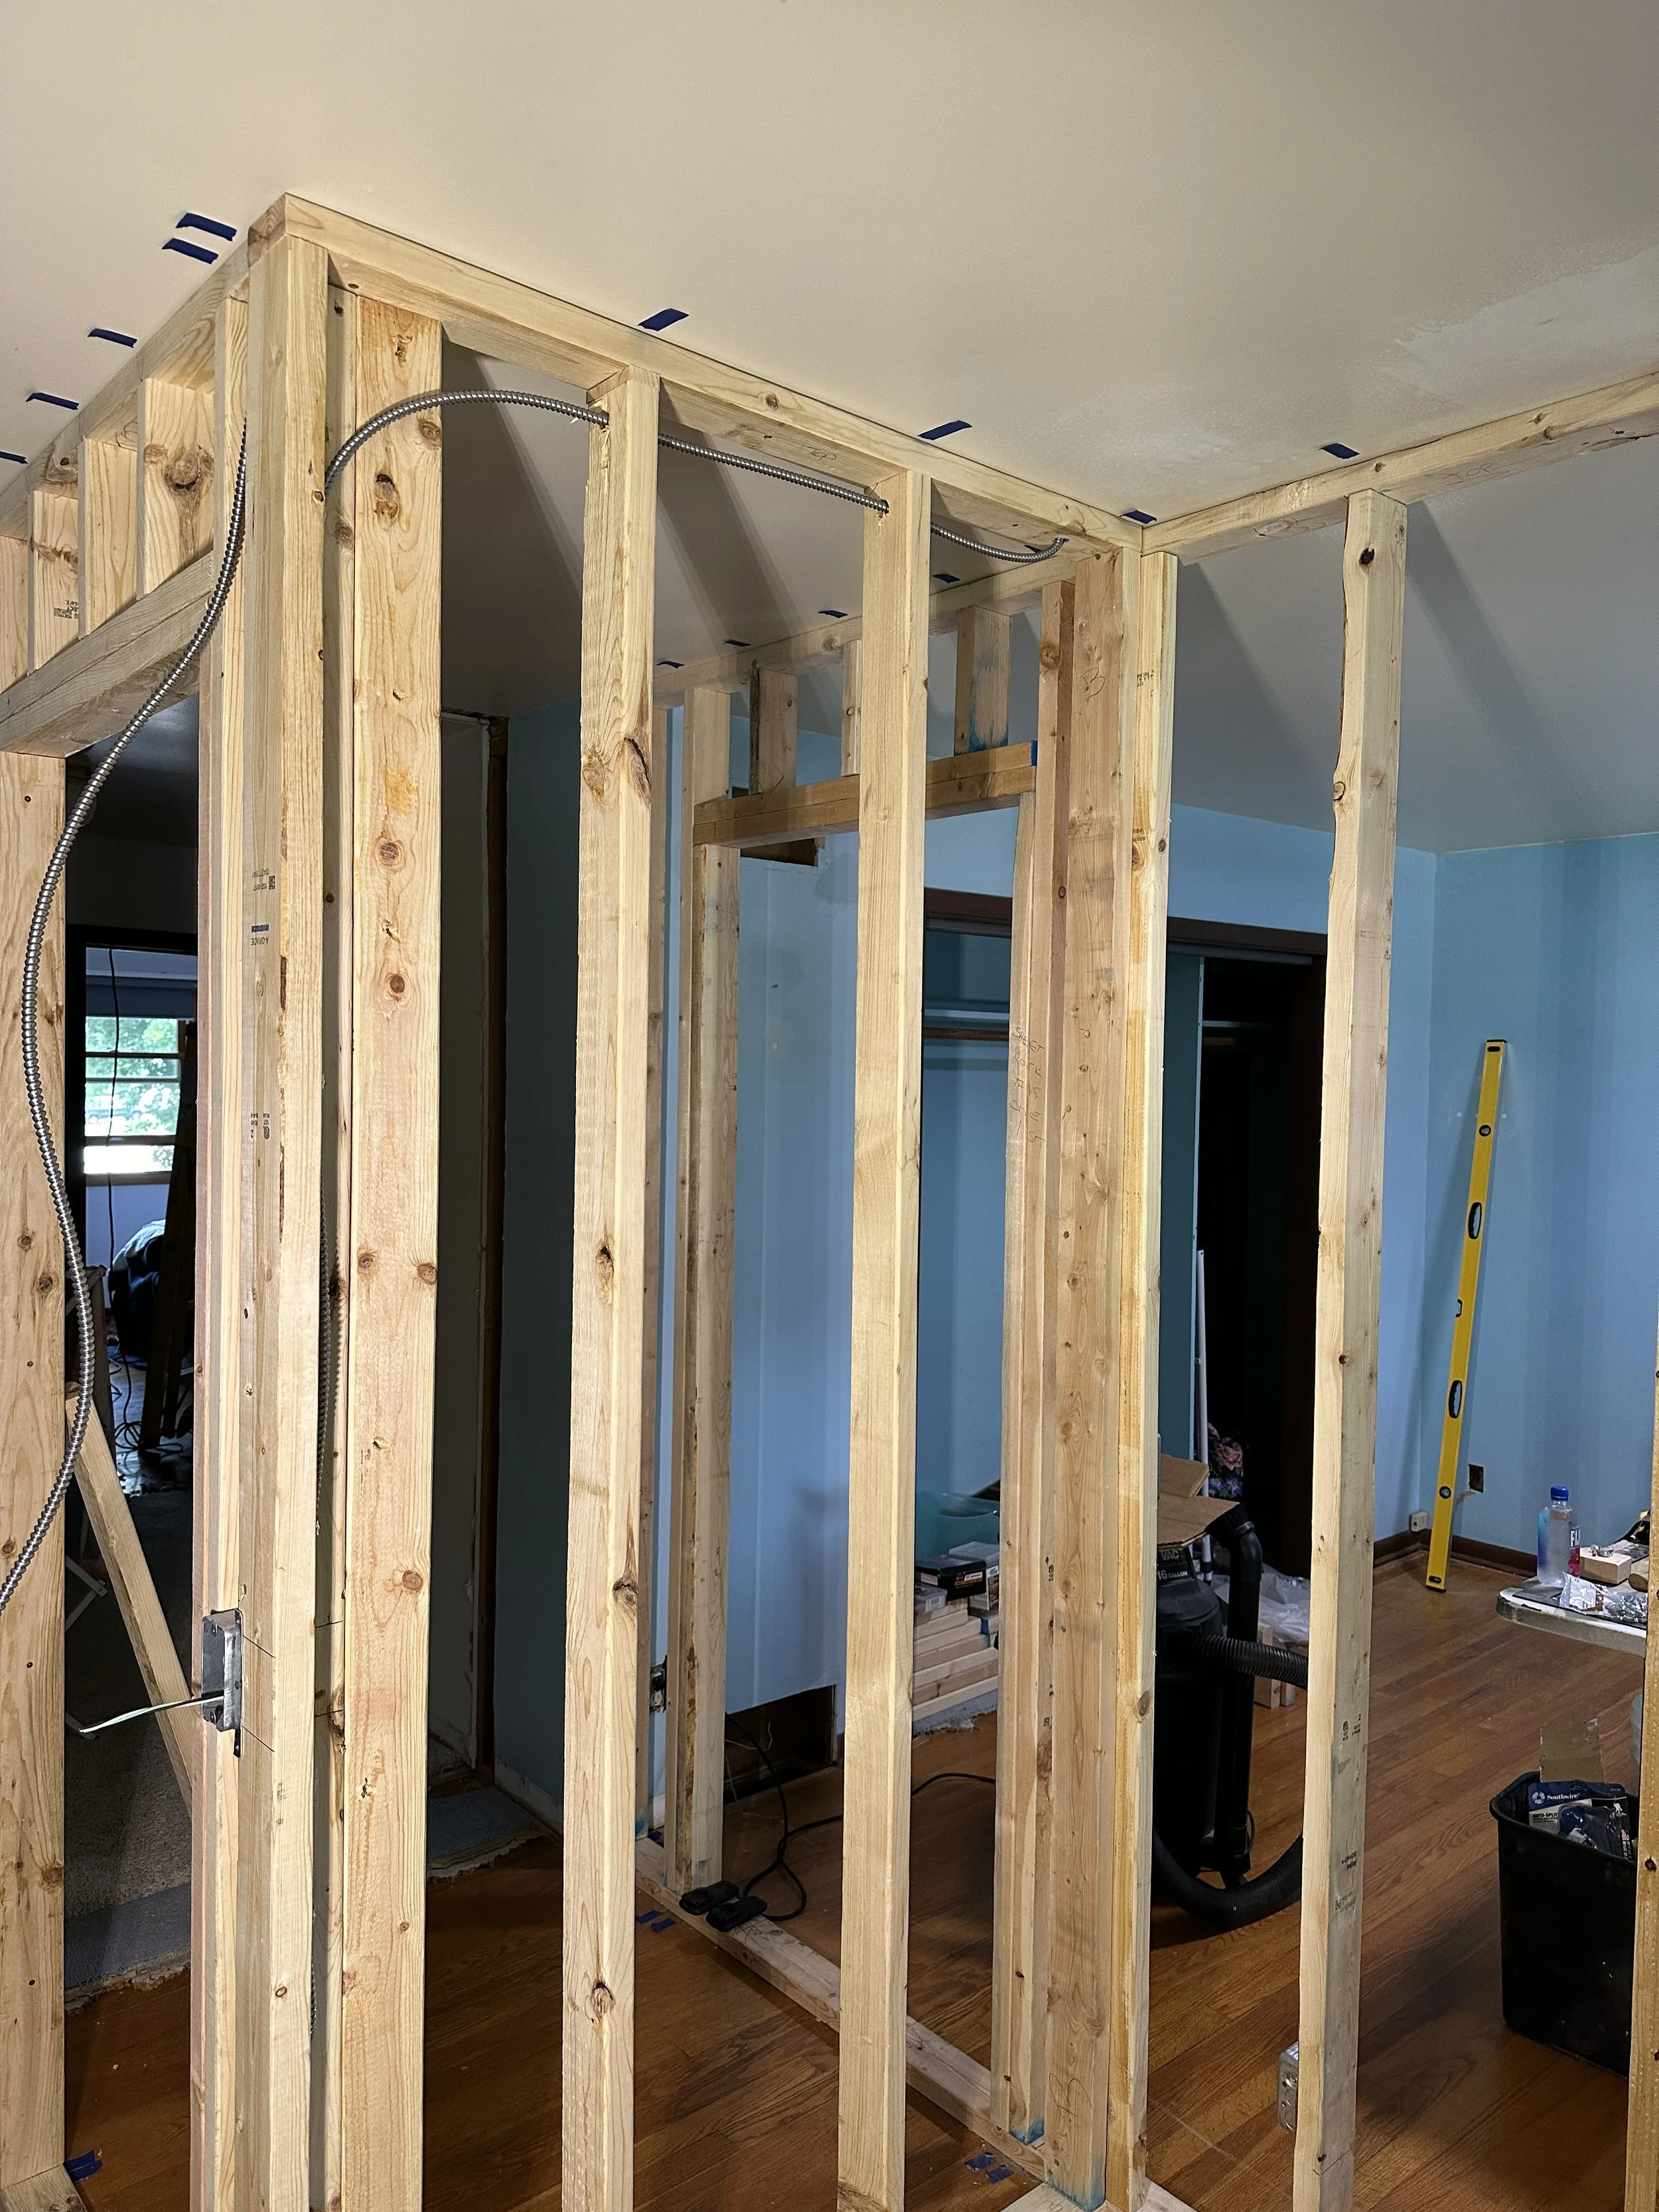
FRAMING
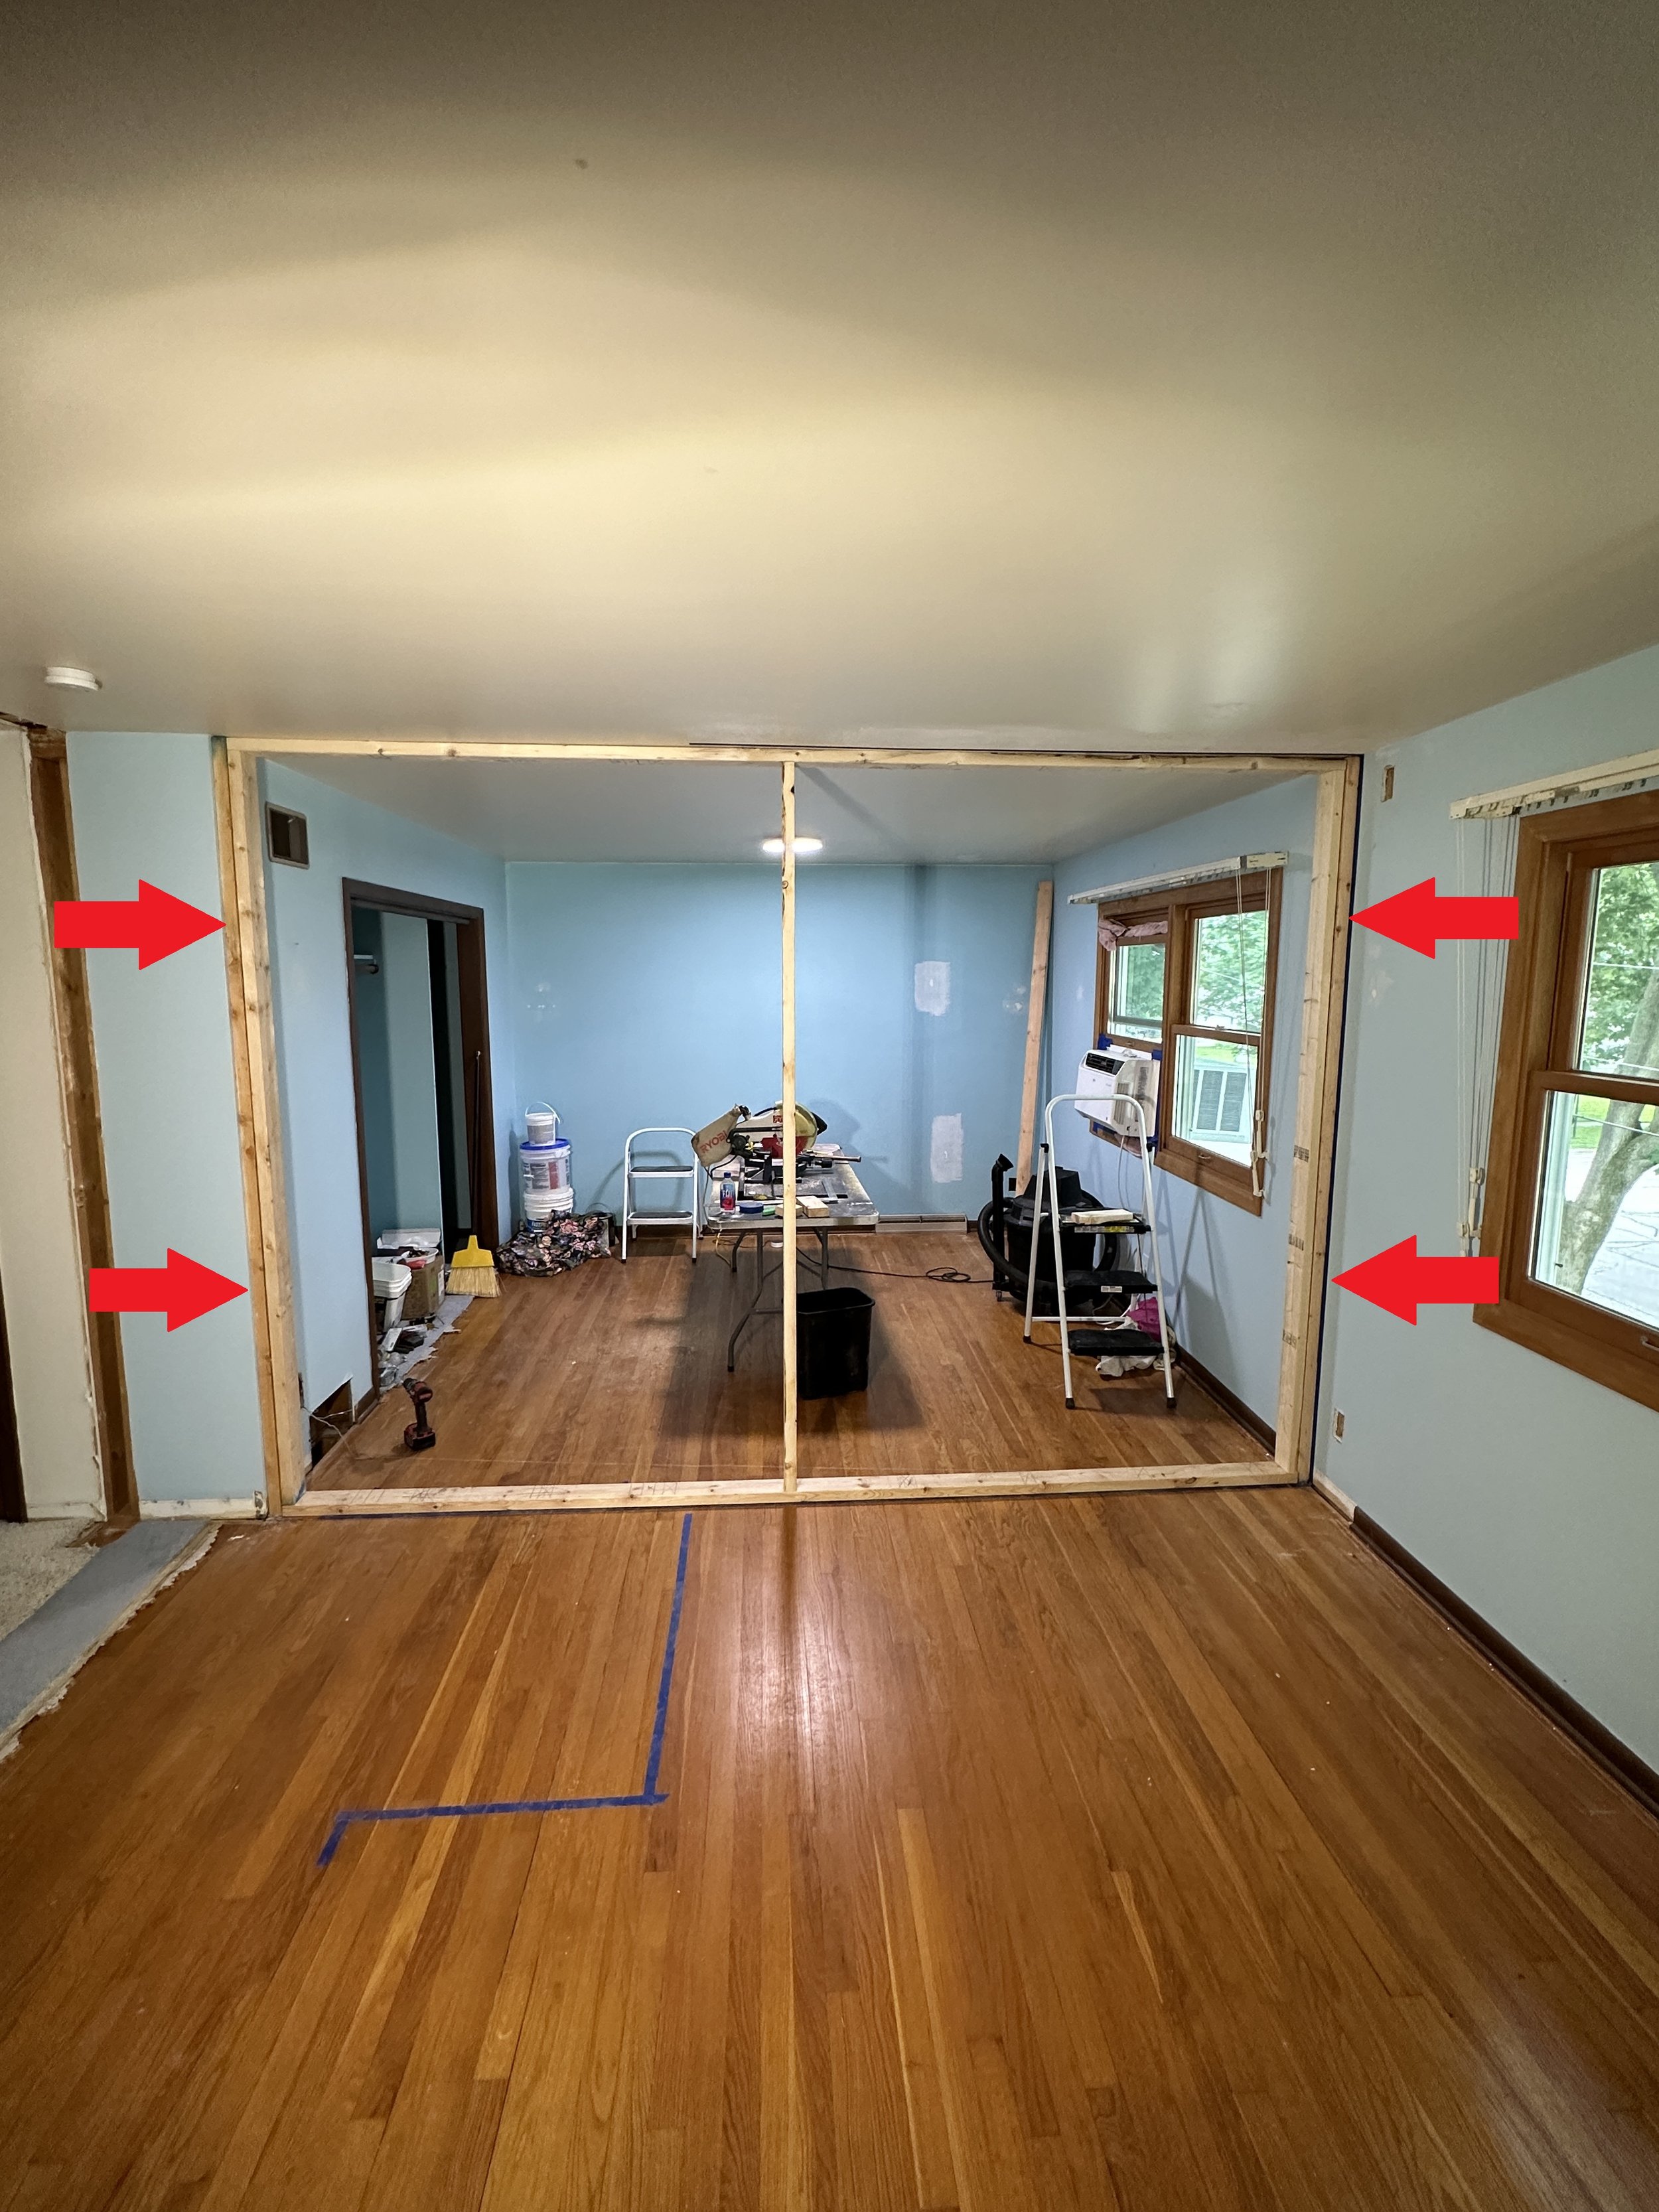
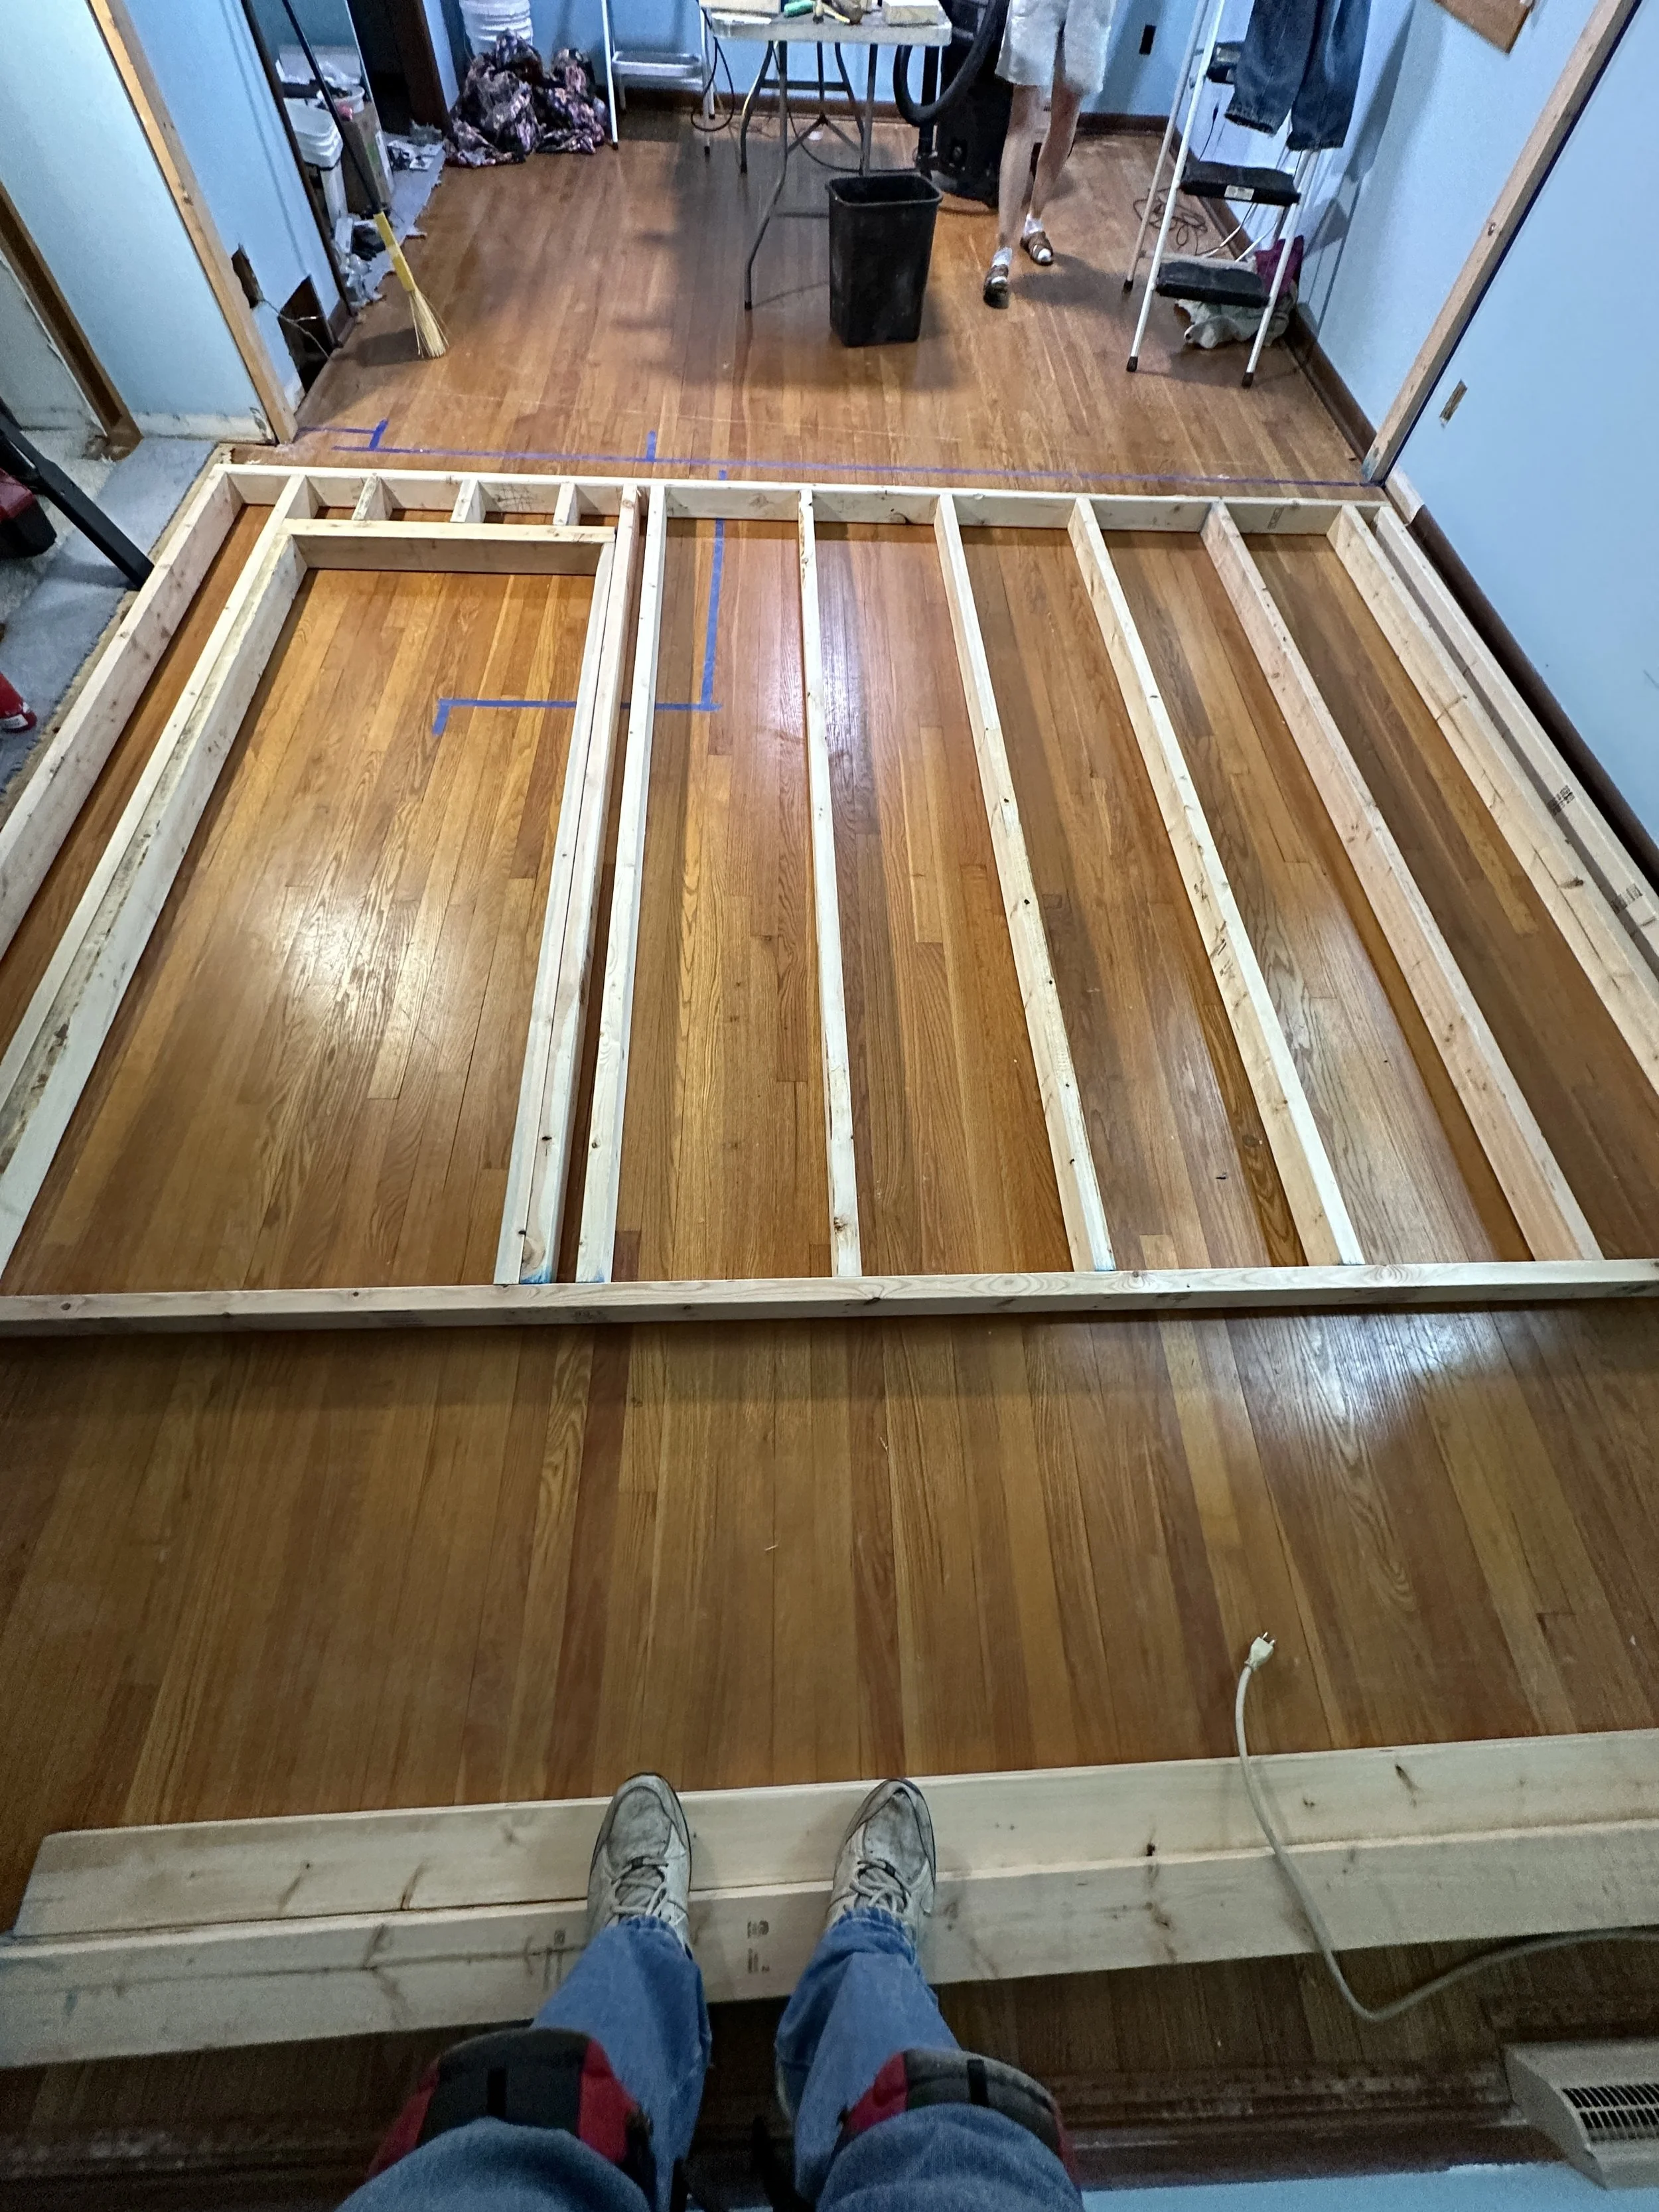
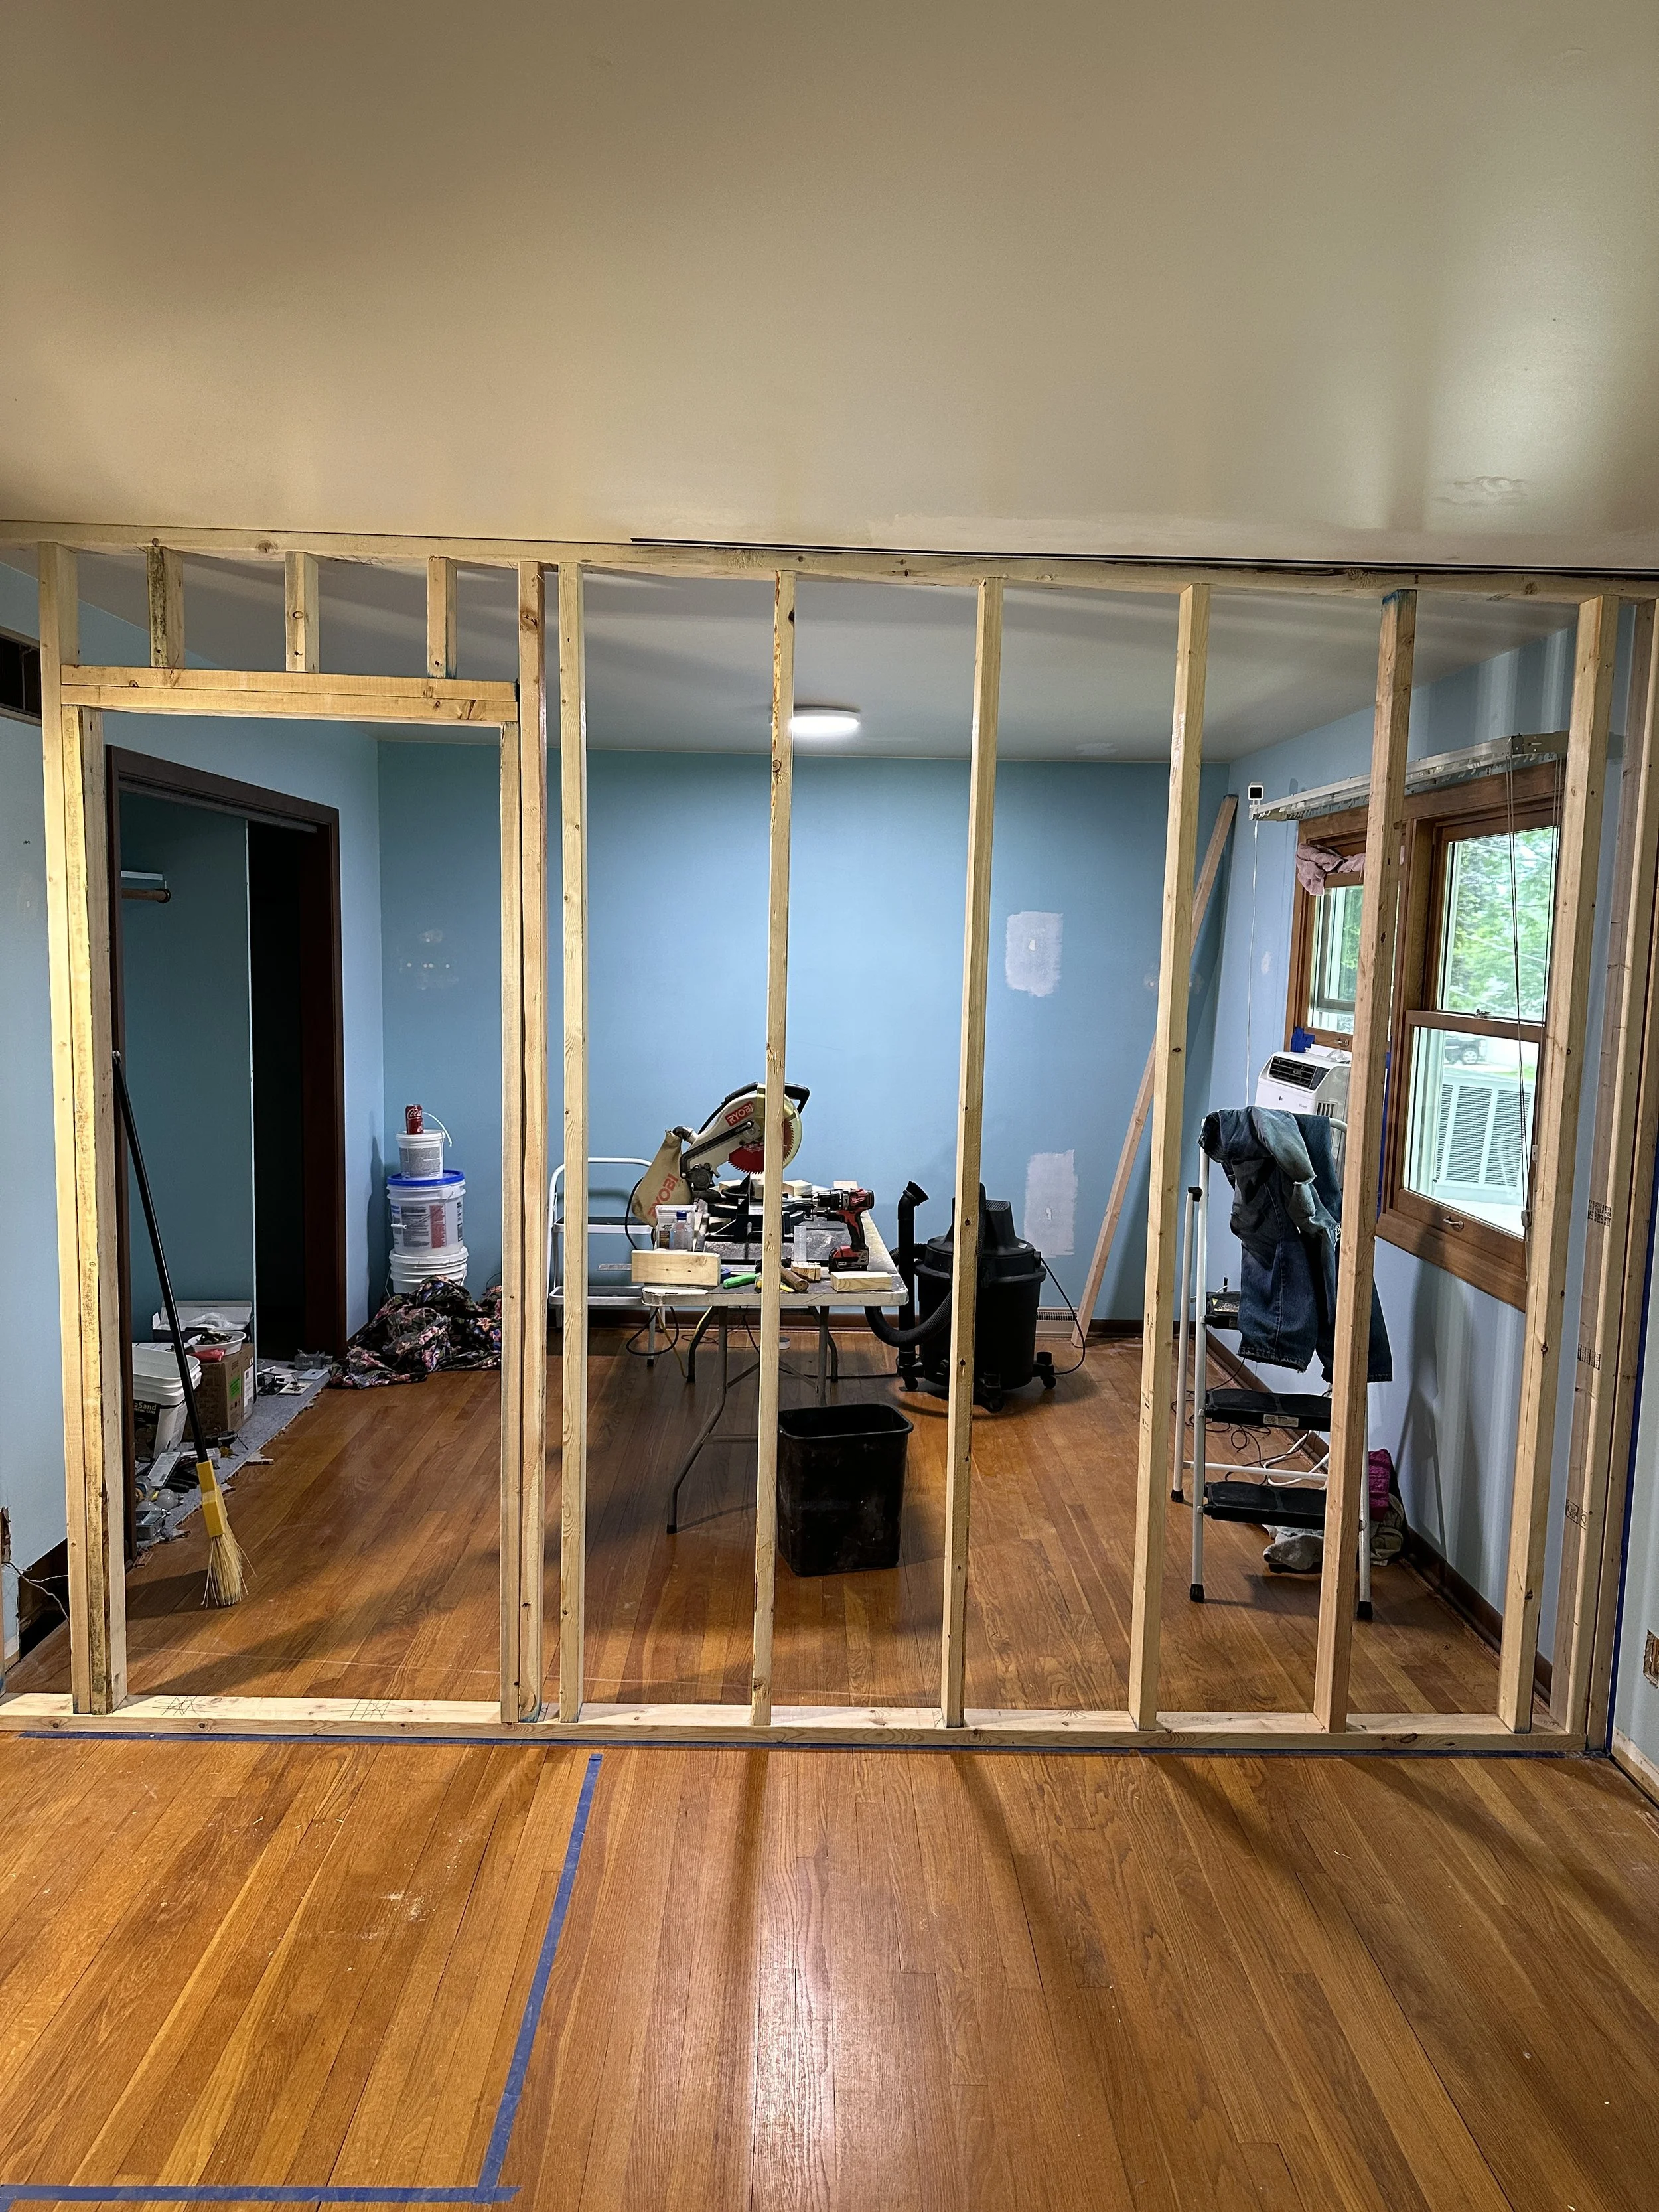
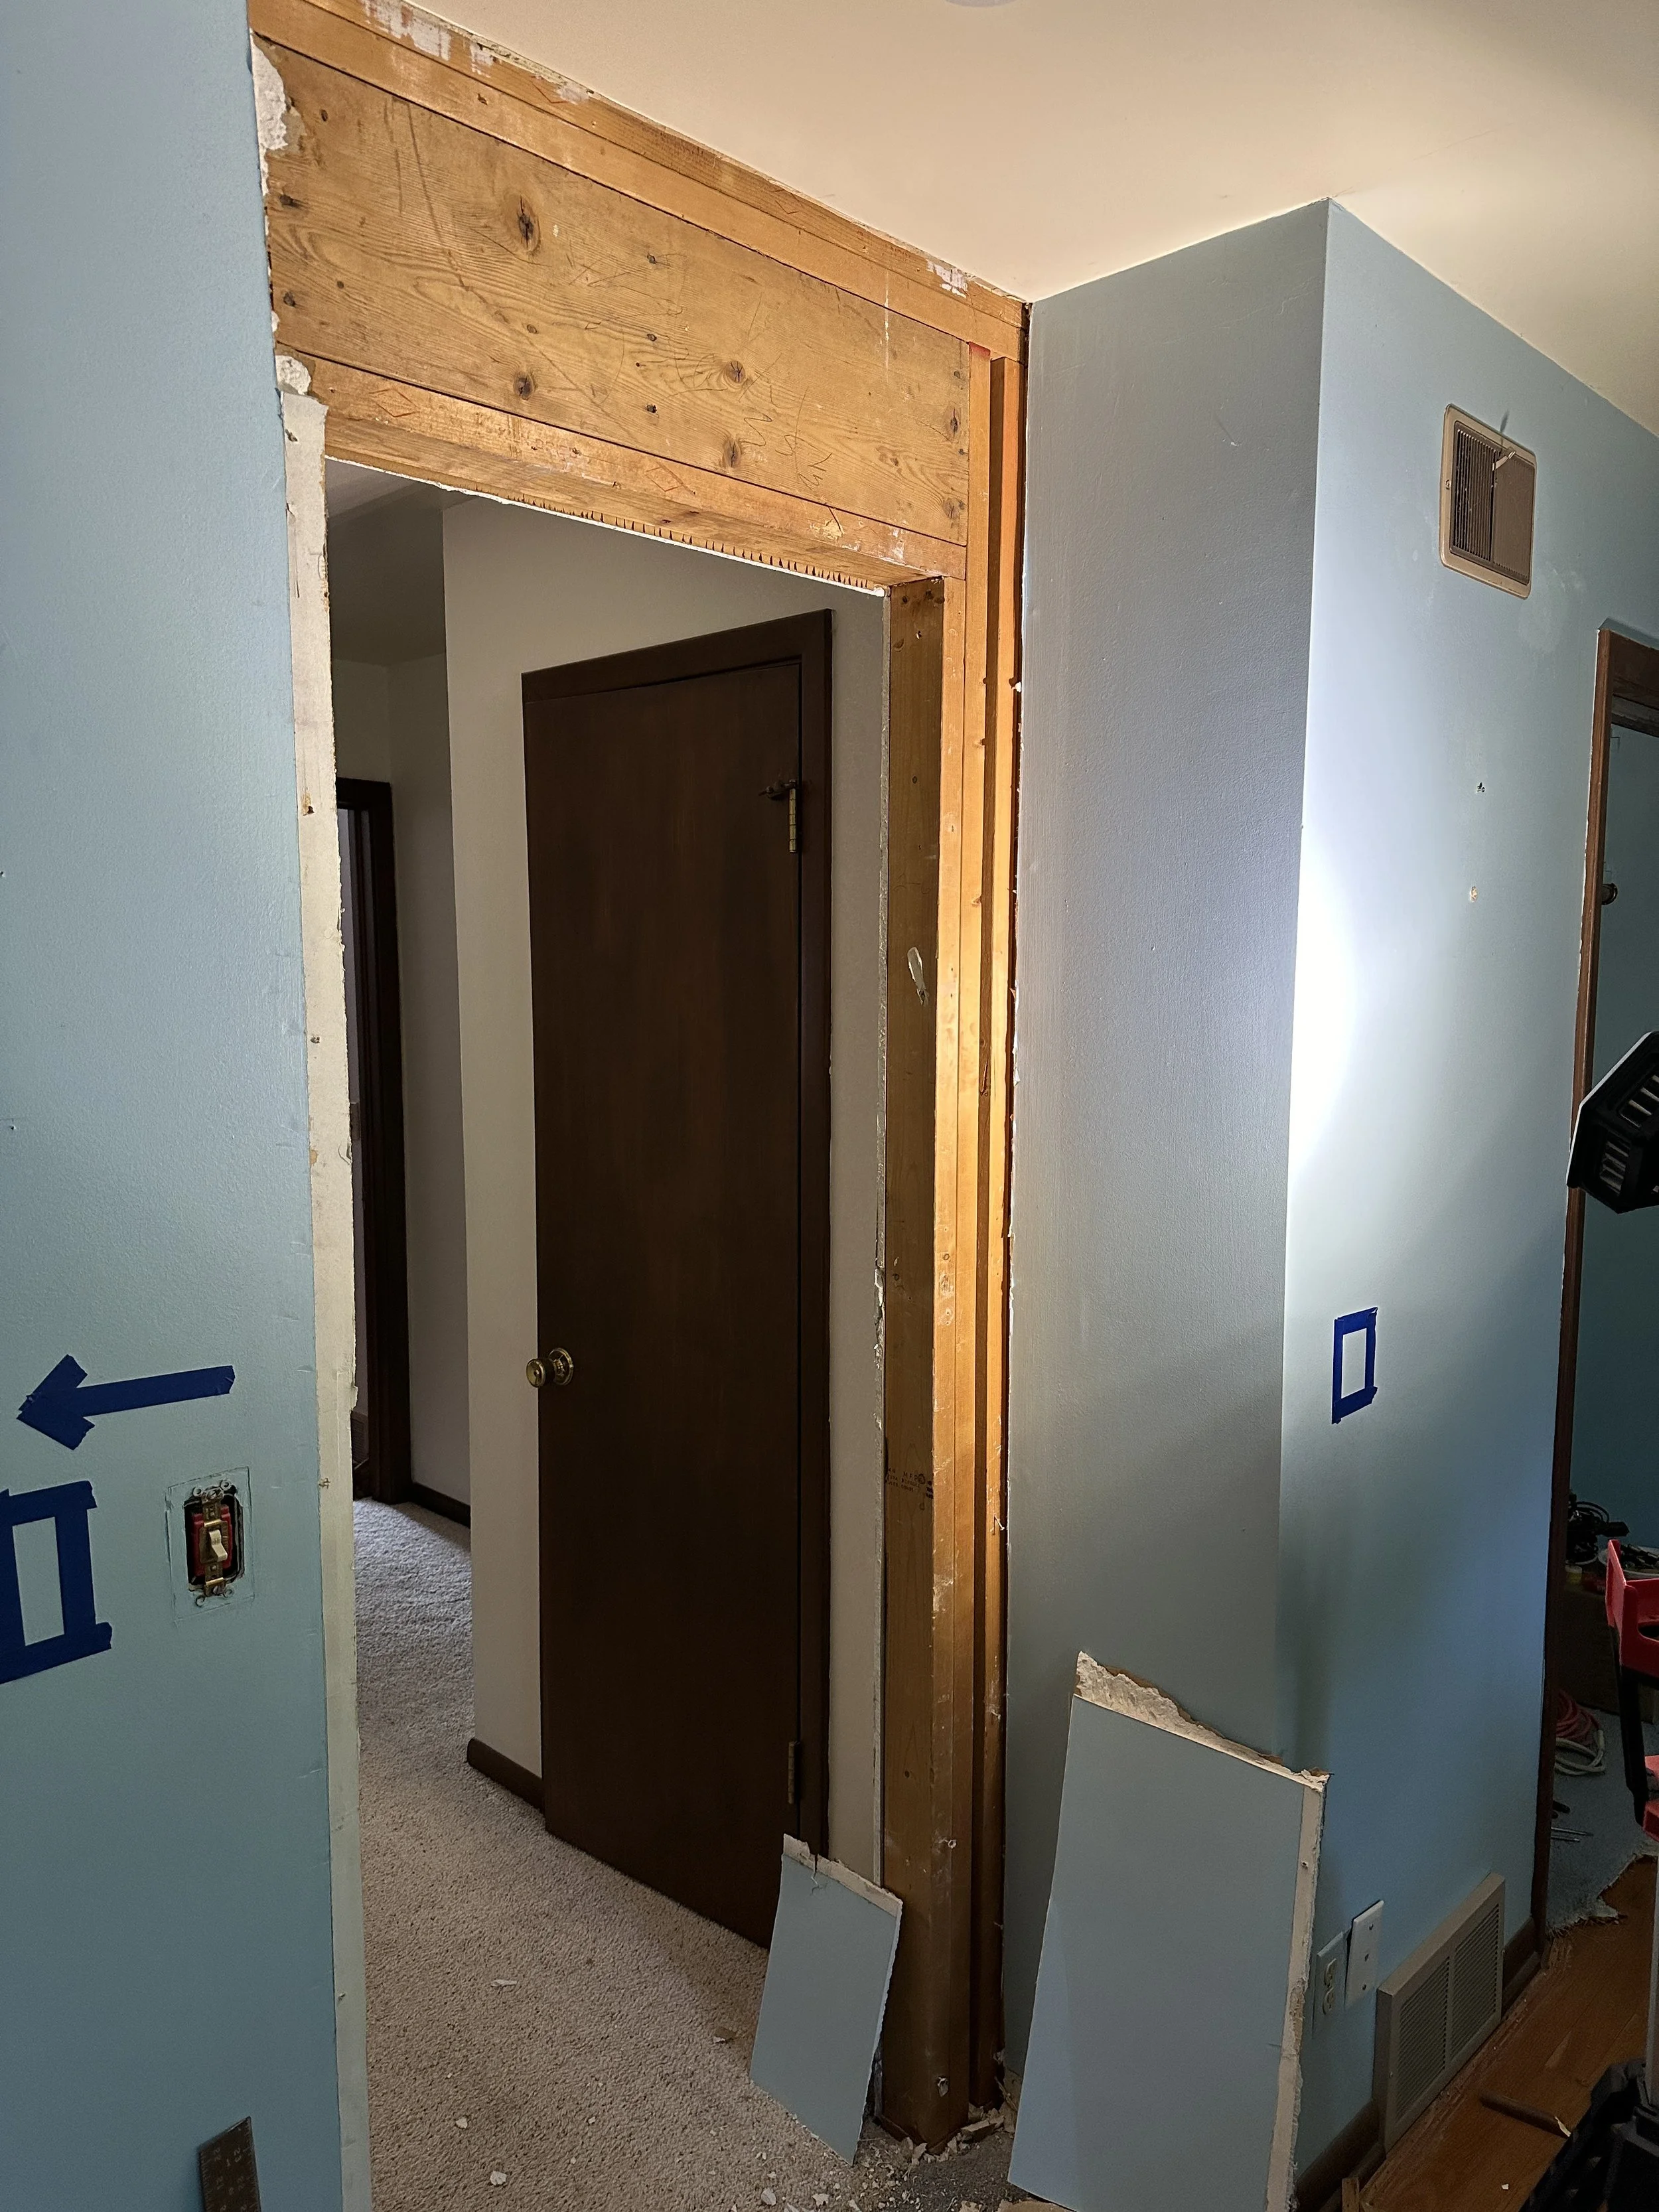
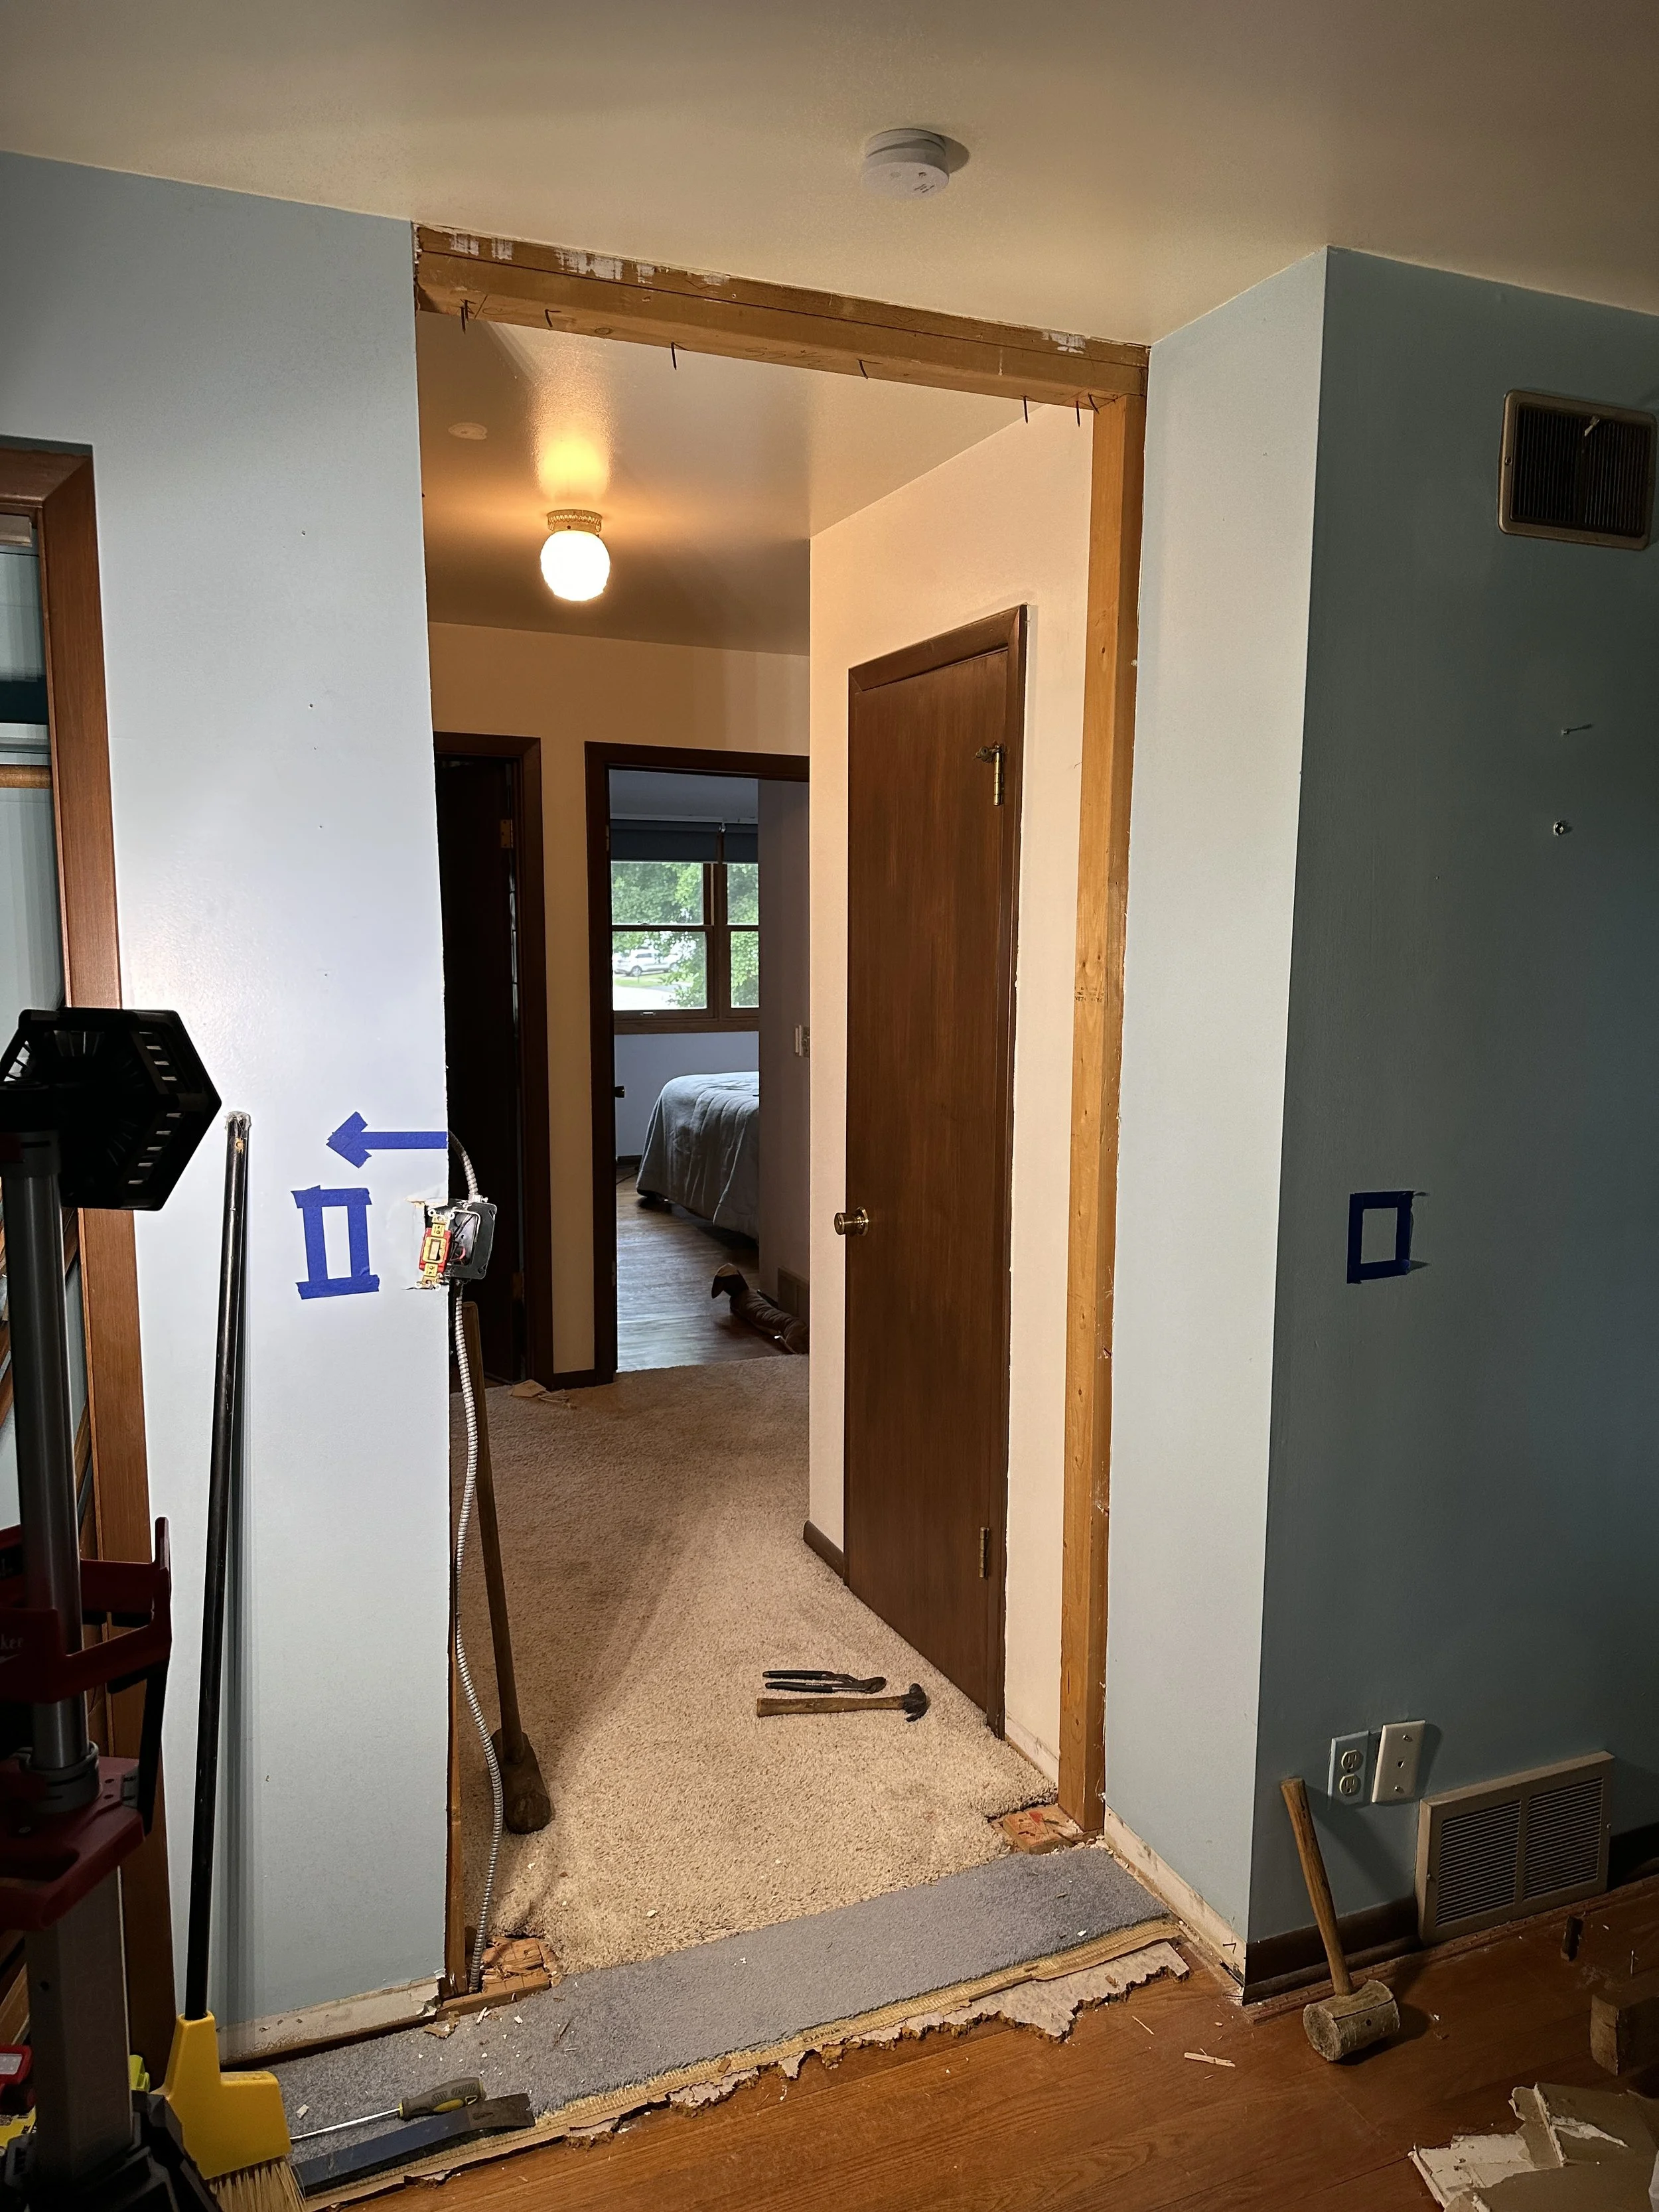
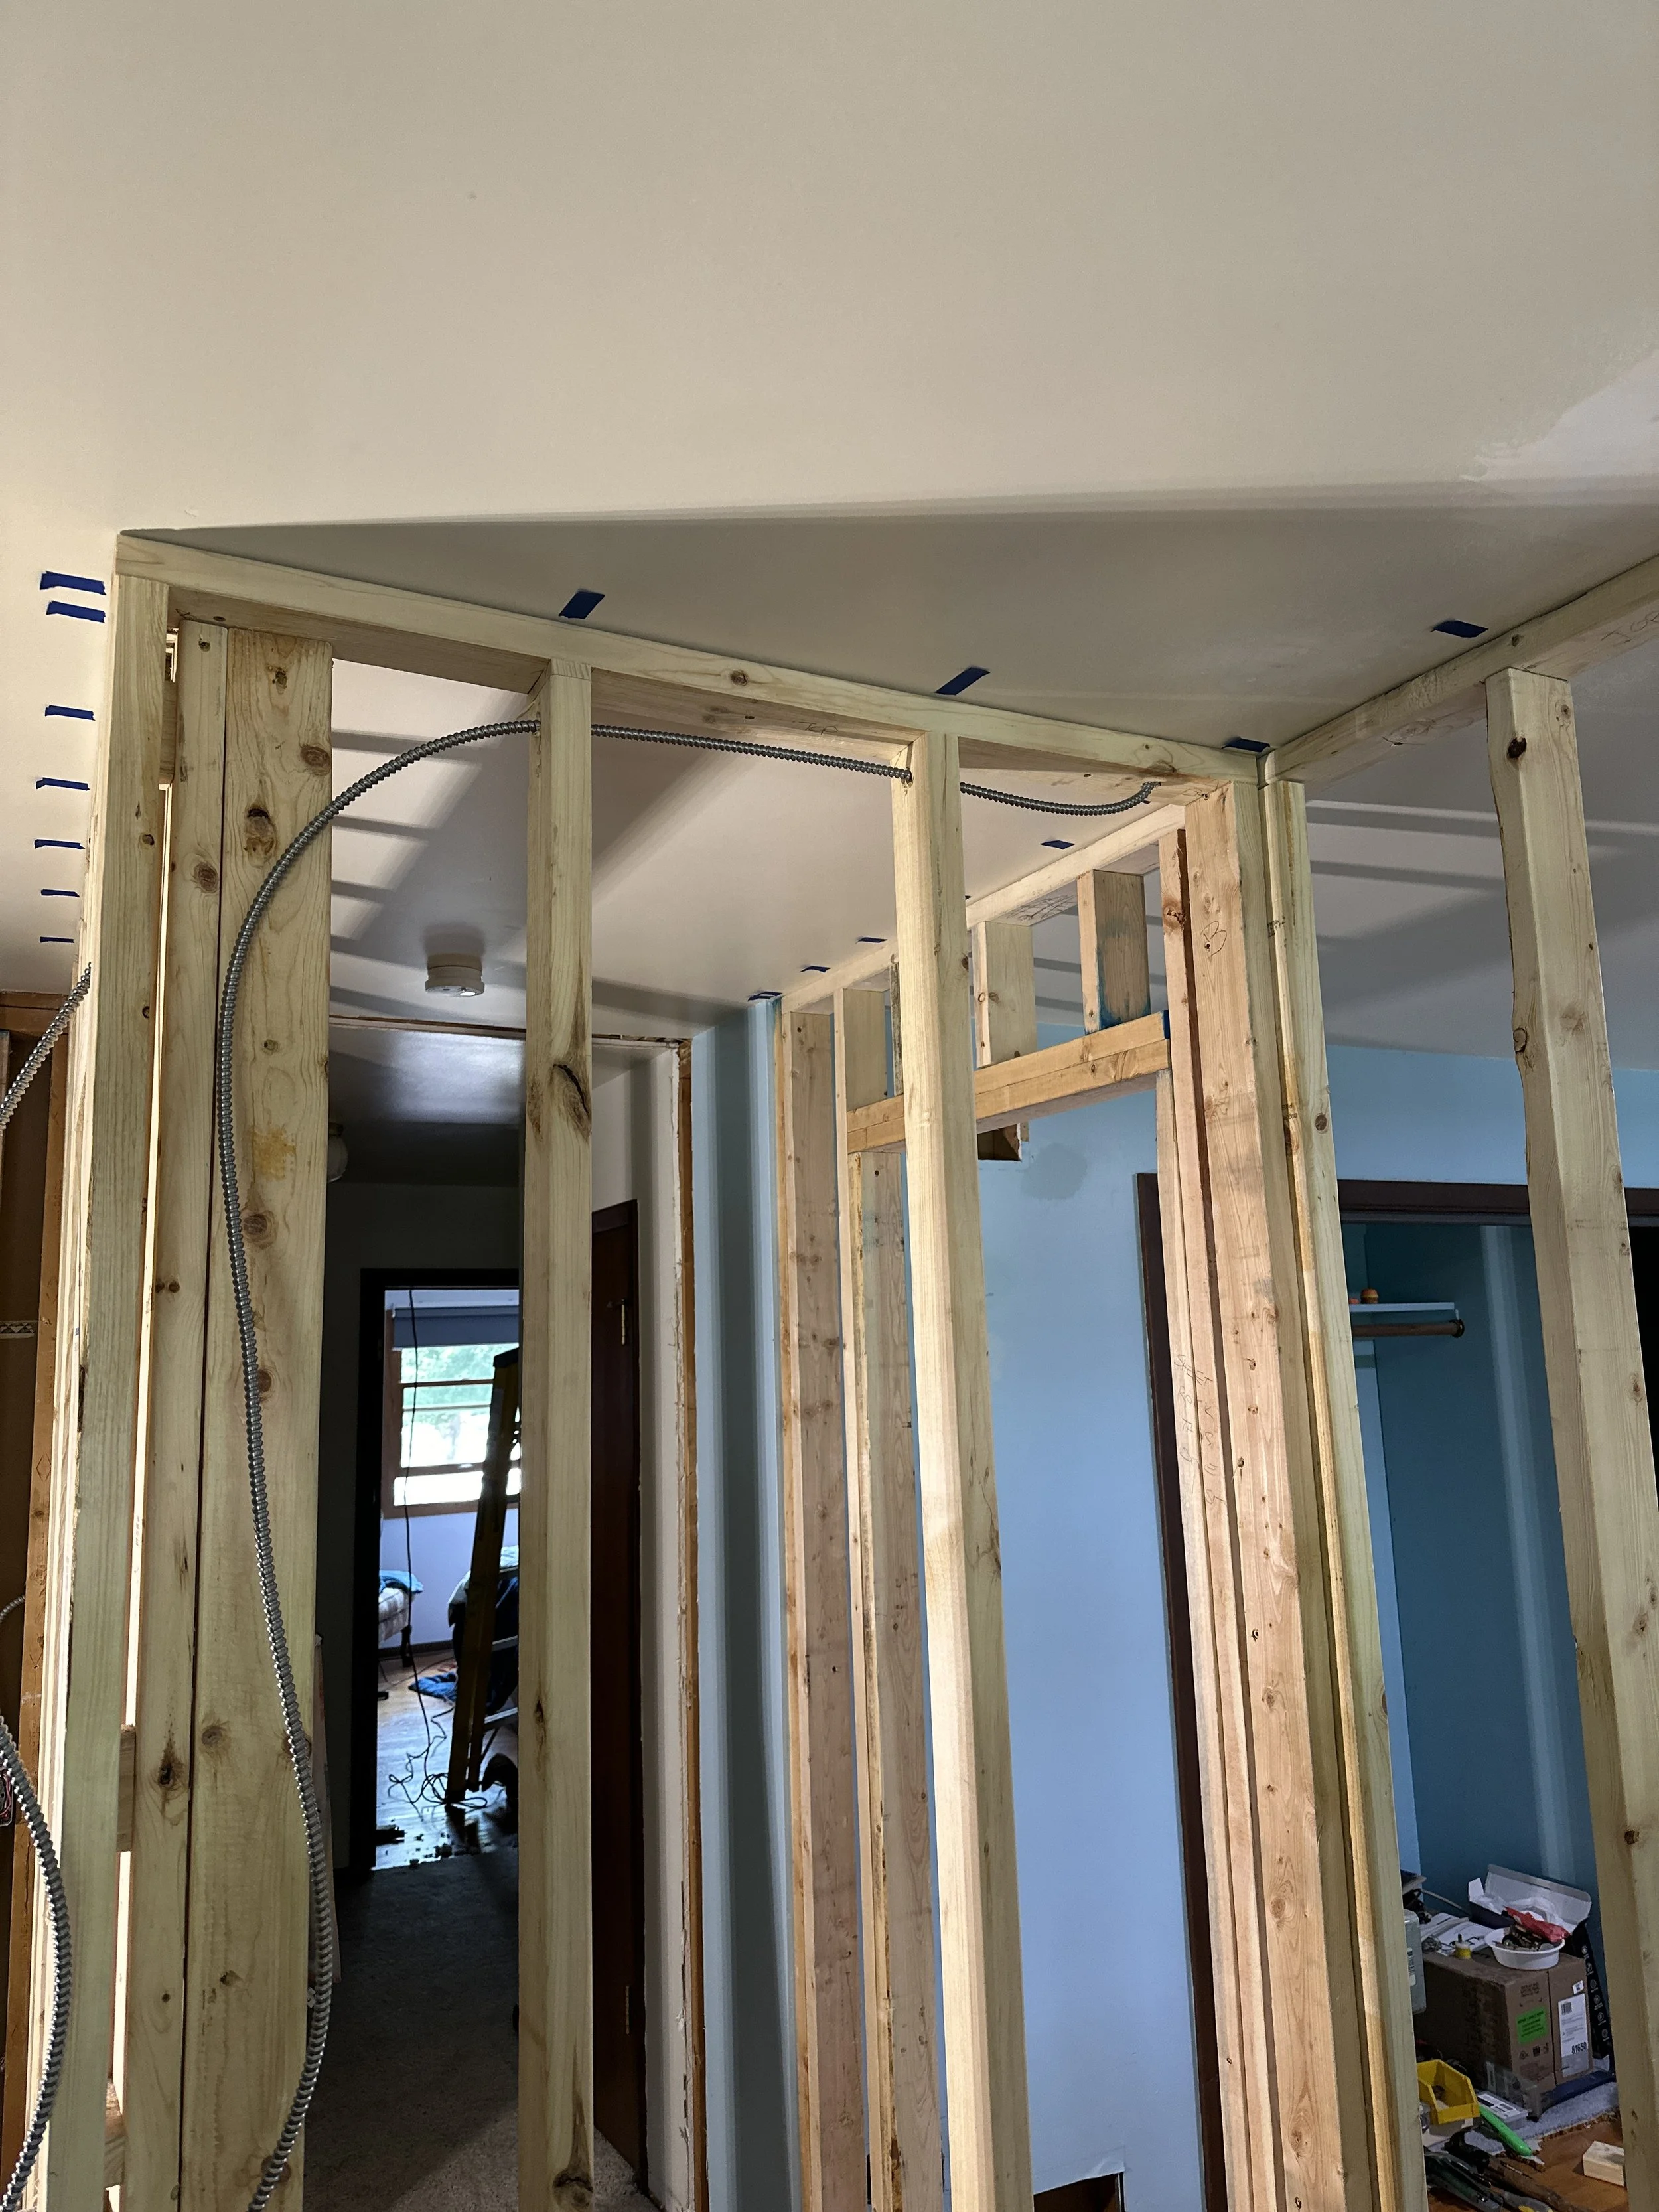
The above pictures show the initial wall that we built to divide the room in two. In the above left picture, the arrows are pointing to 2x4’s that we bolted to the existing walls to give us something to attach the wall to. In the middle picture we assembled the wall on the floor, and in the picture on the right it shows the wall in place.
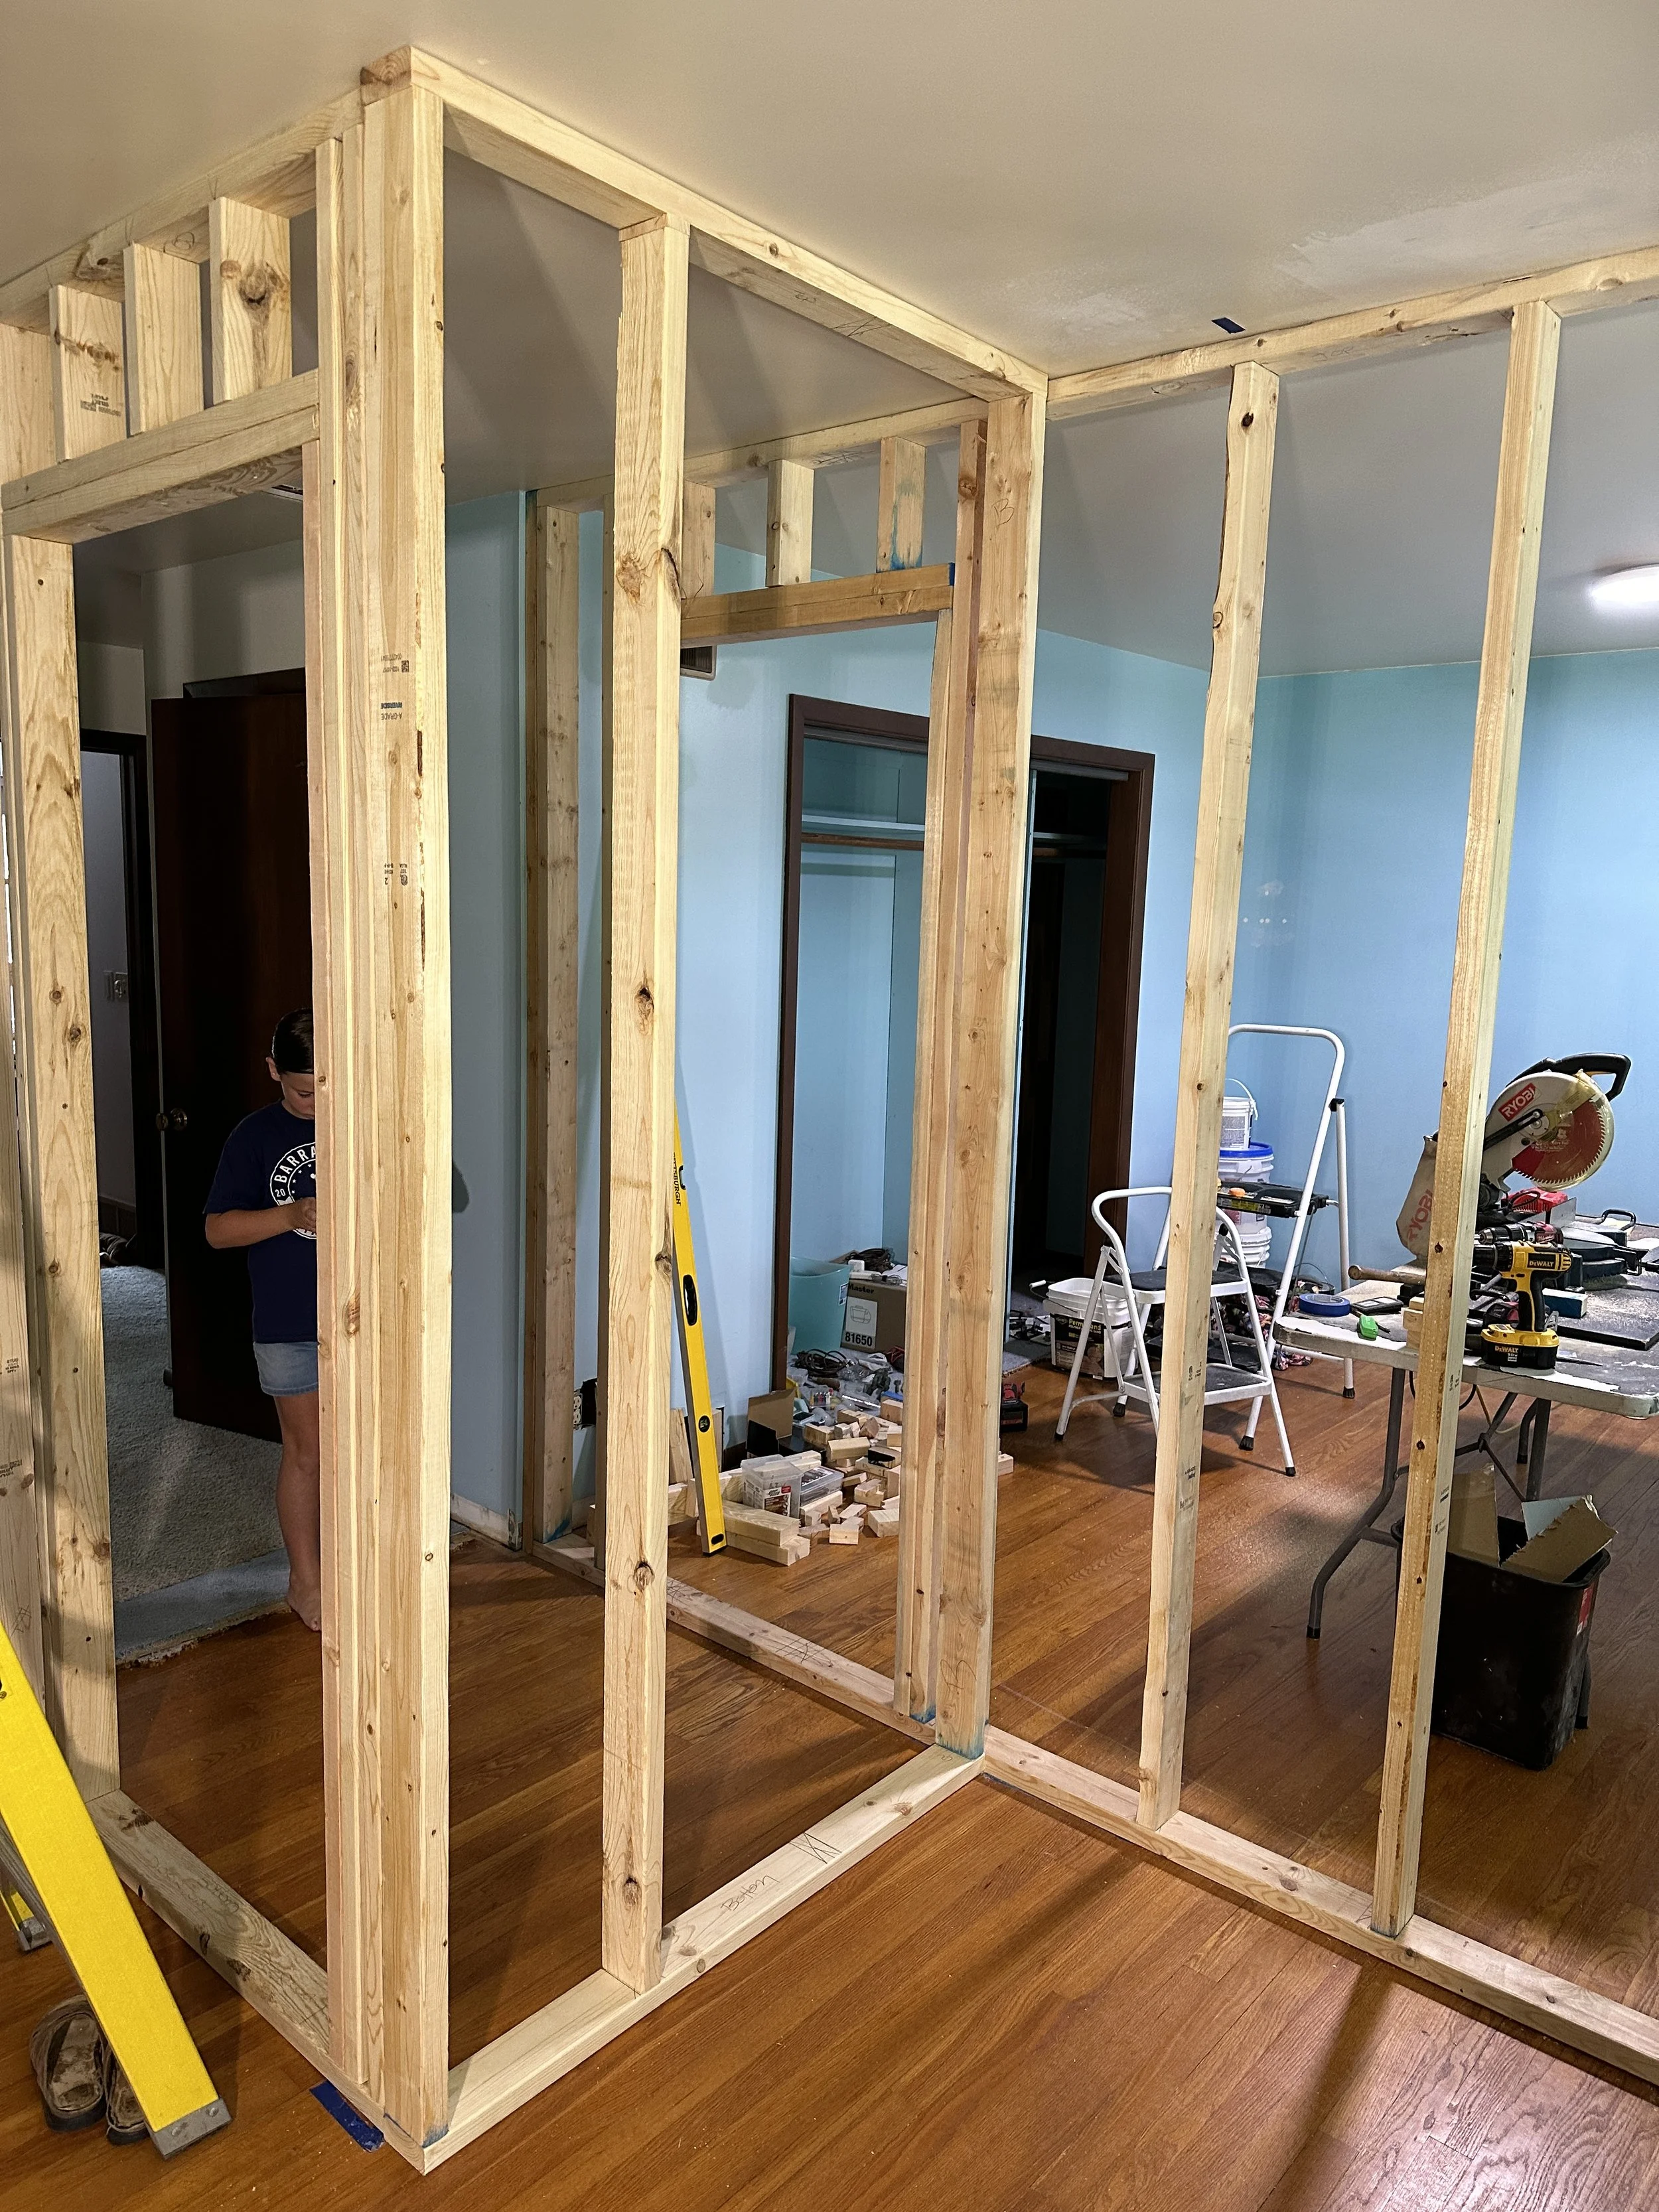
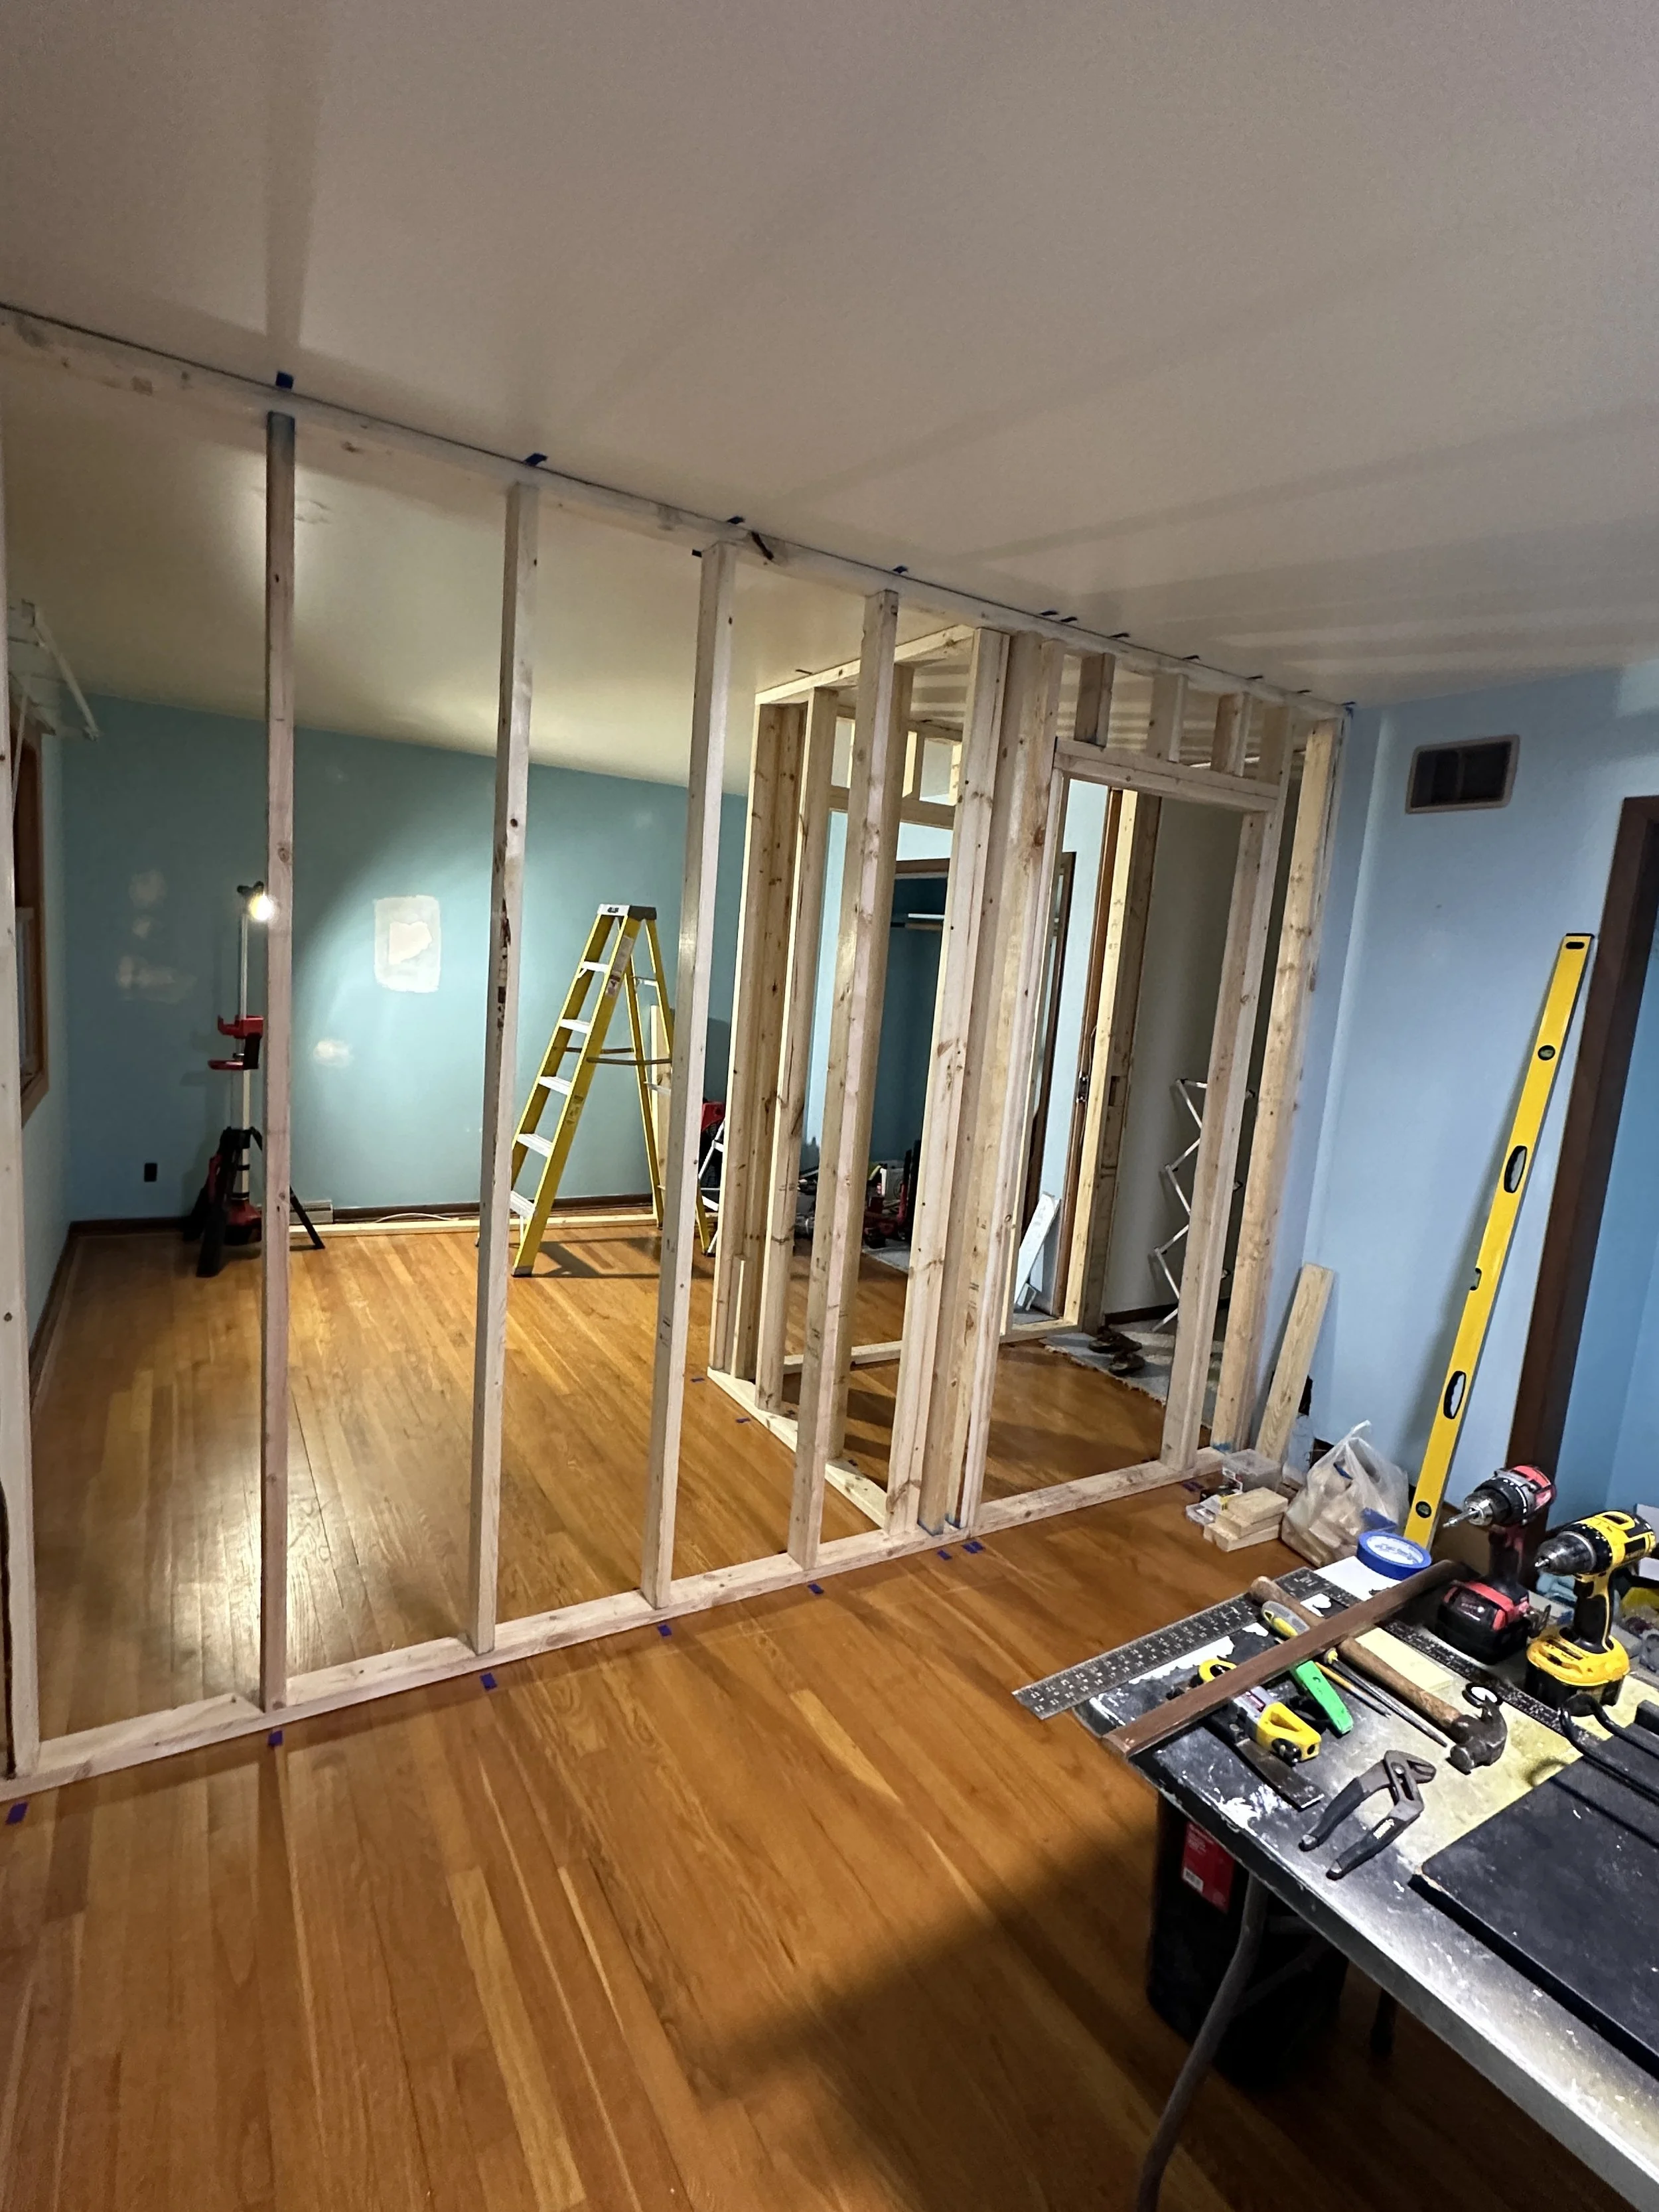
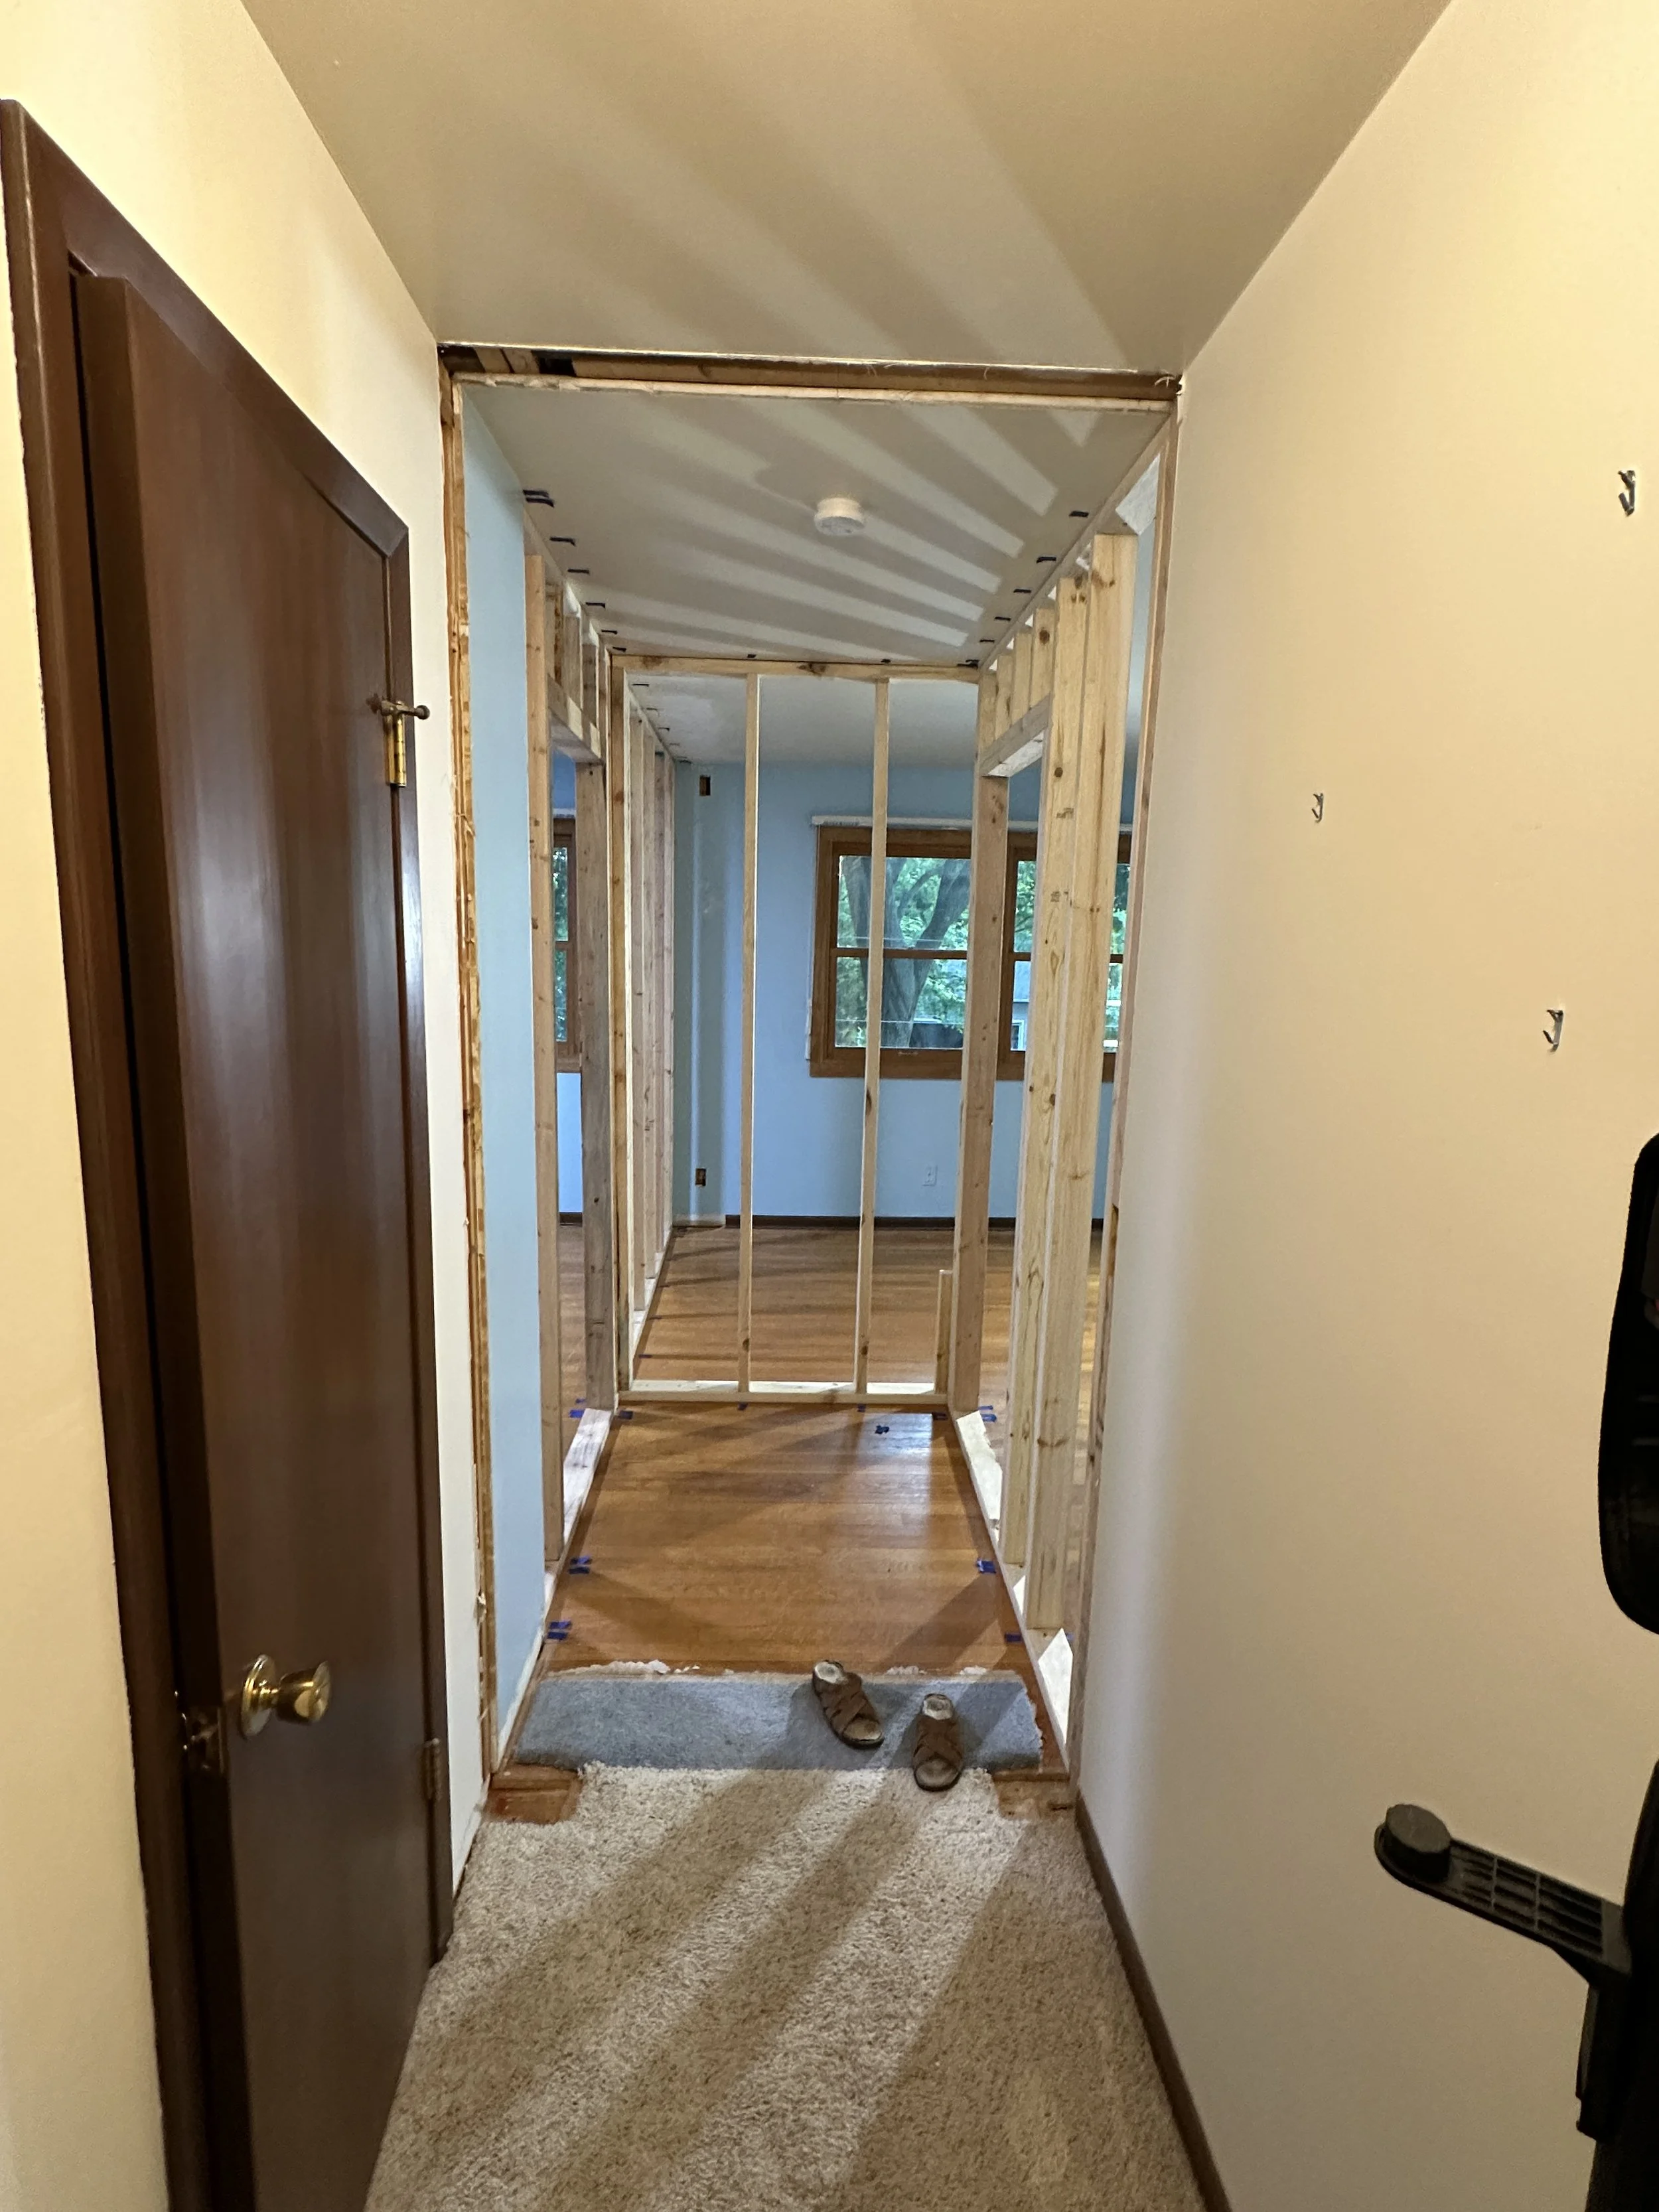
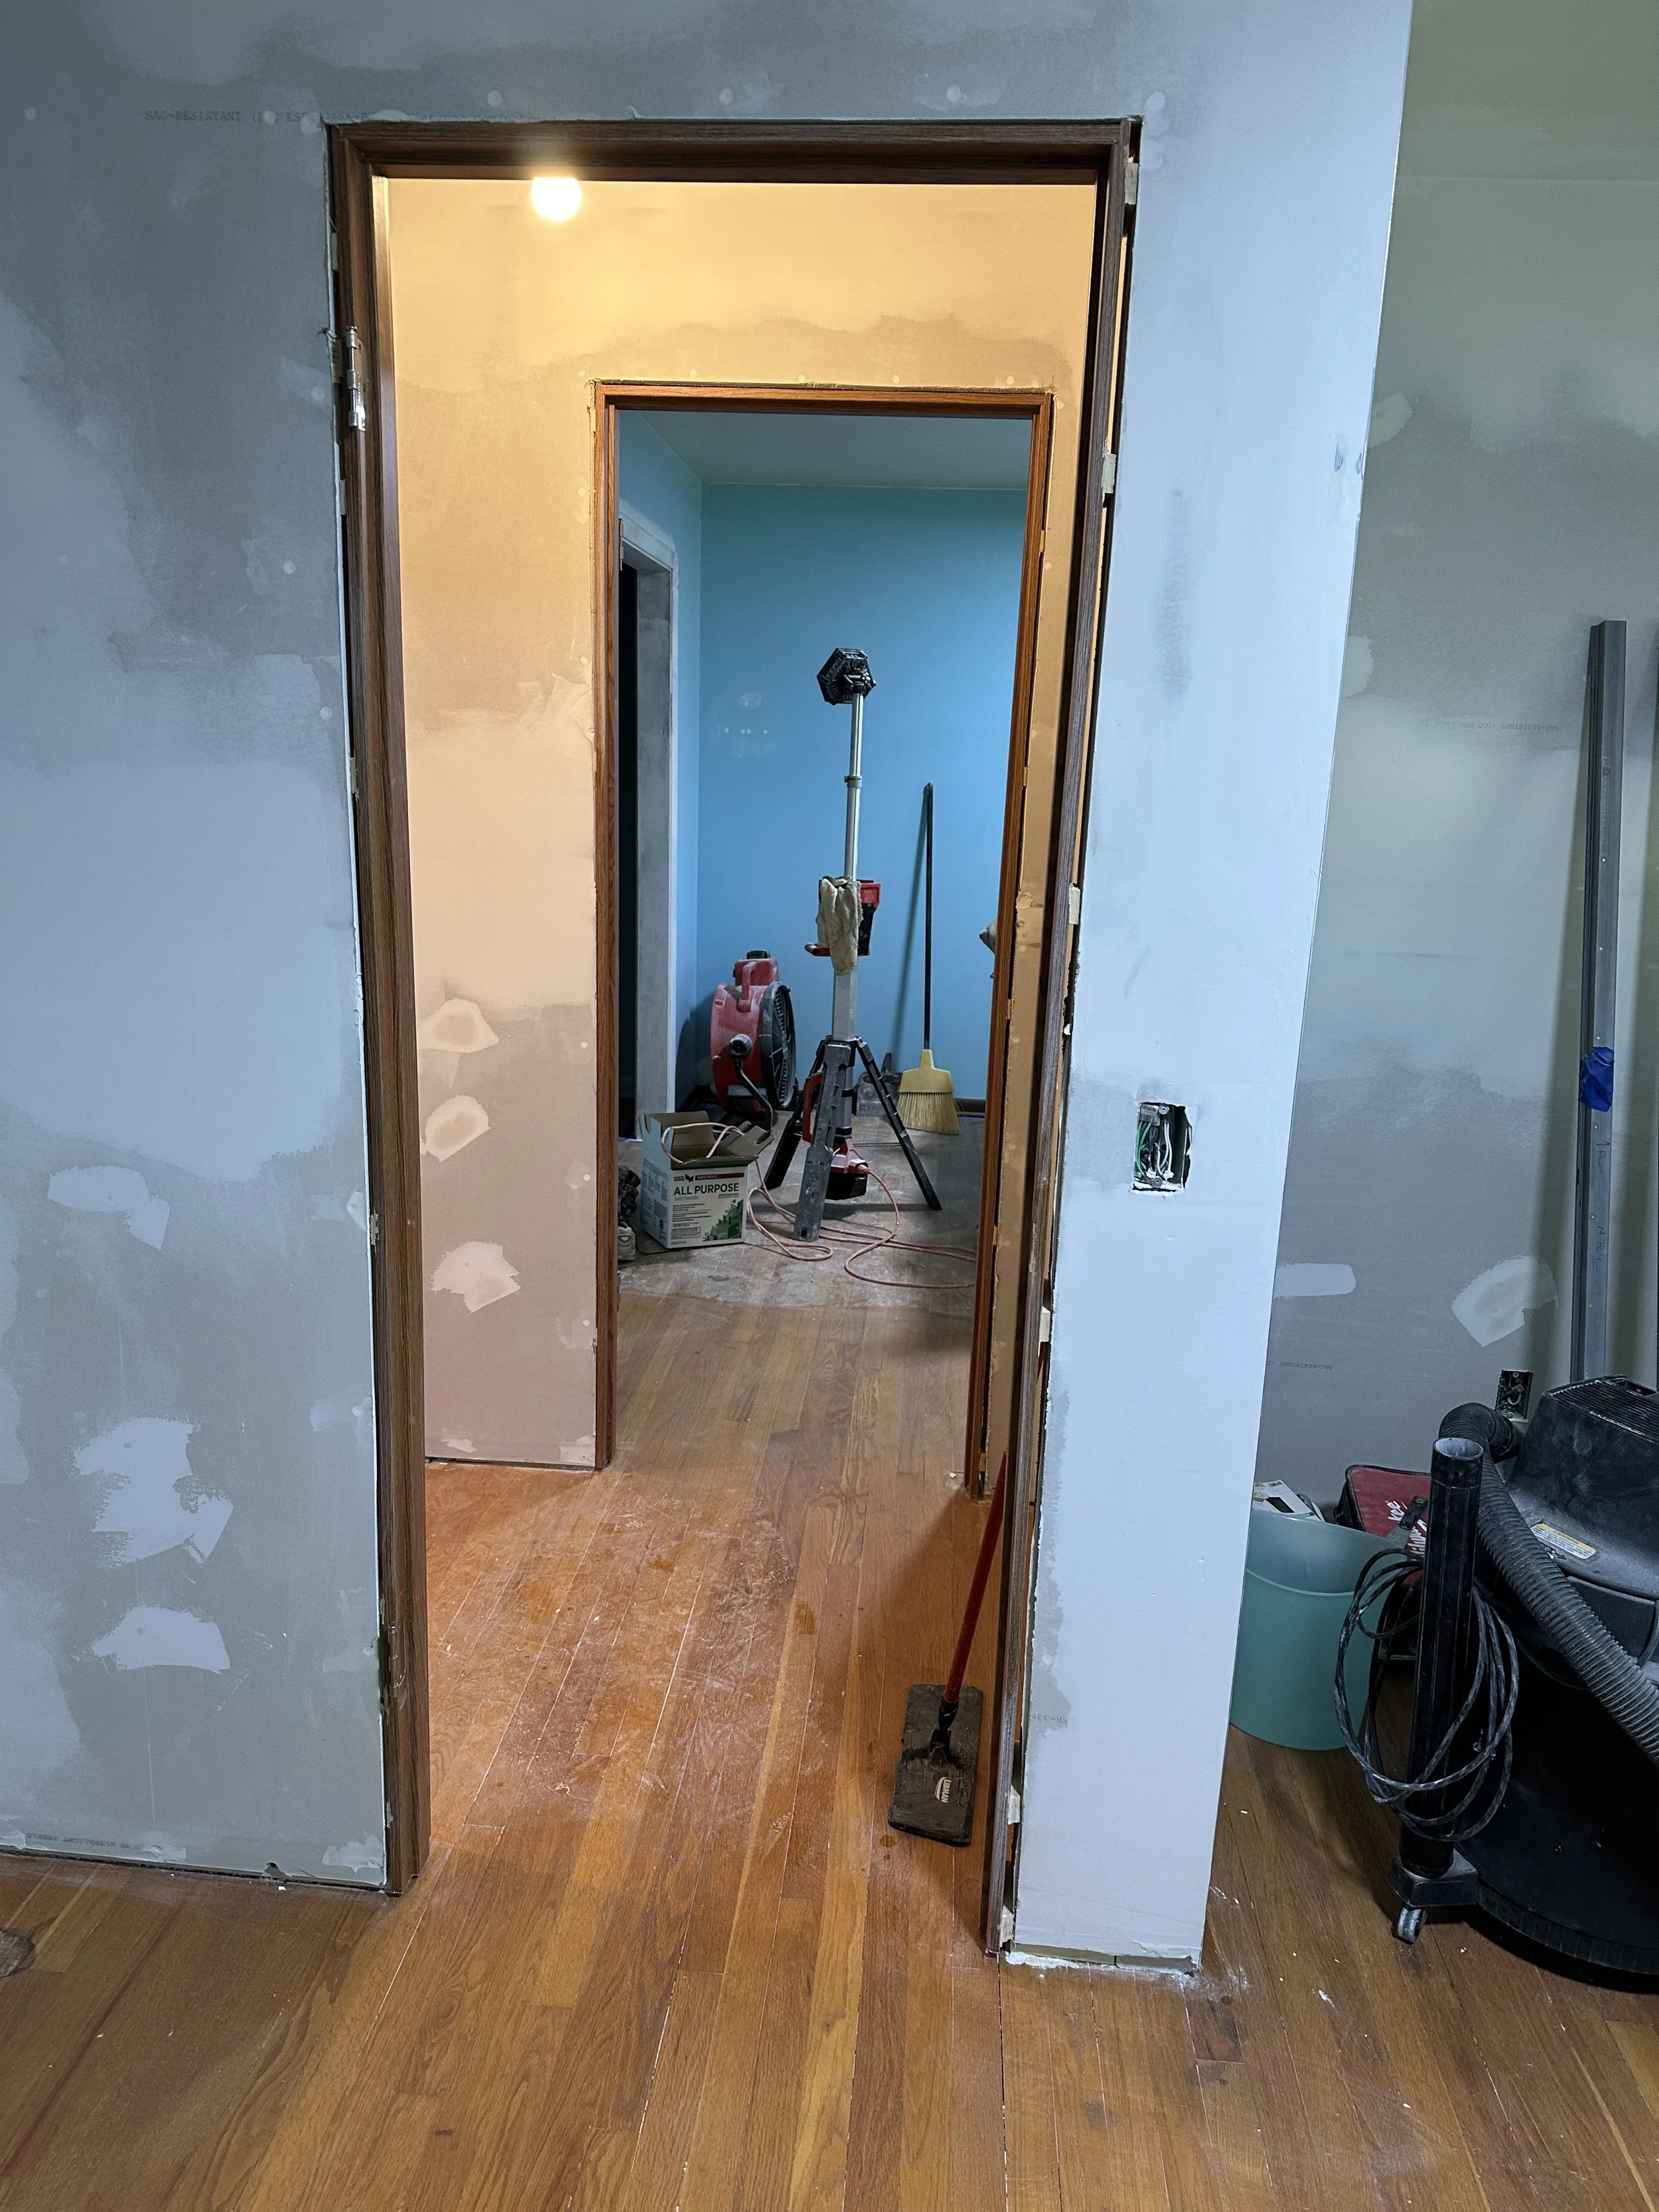
After the initial wall was was up, we added the hallway extension. The above left picture shows a view from the north room, the middle shows a view from the south bedroom and the right shows a view from the hallway.
ELECTRICAL
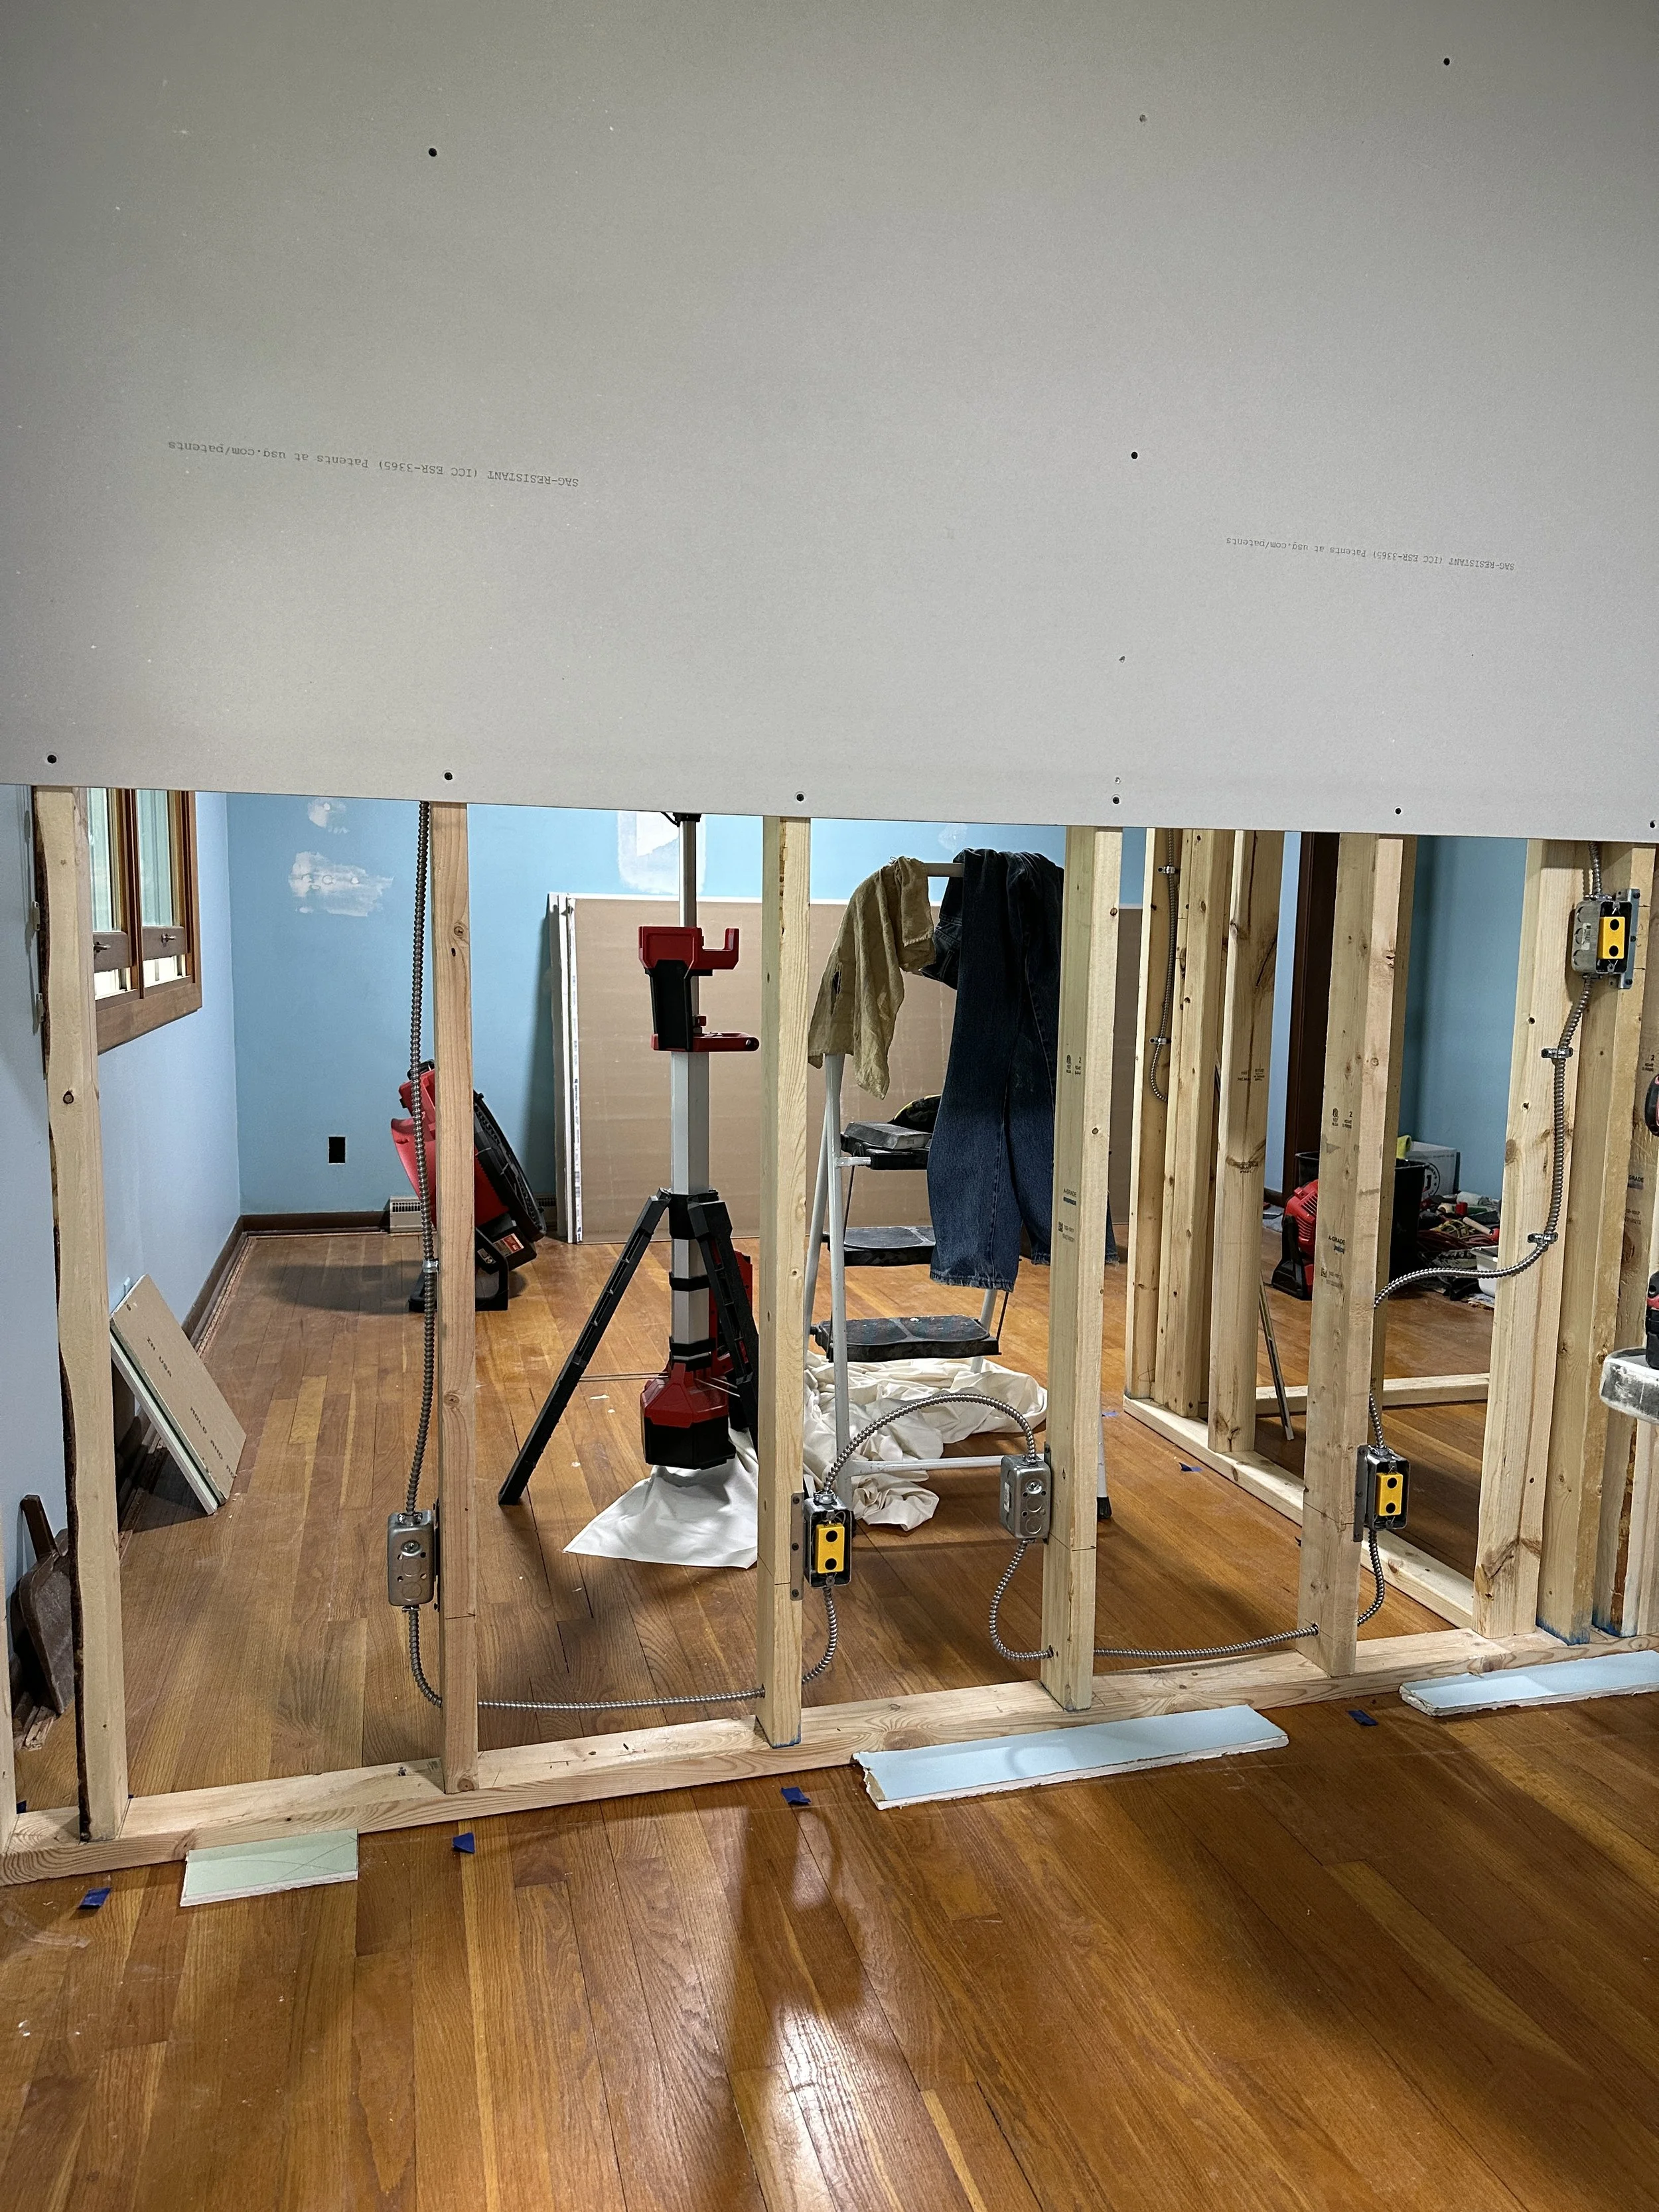
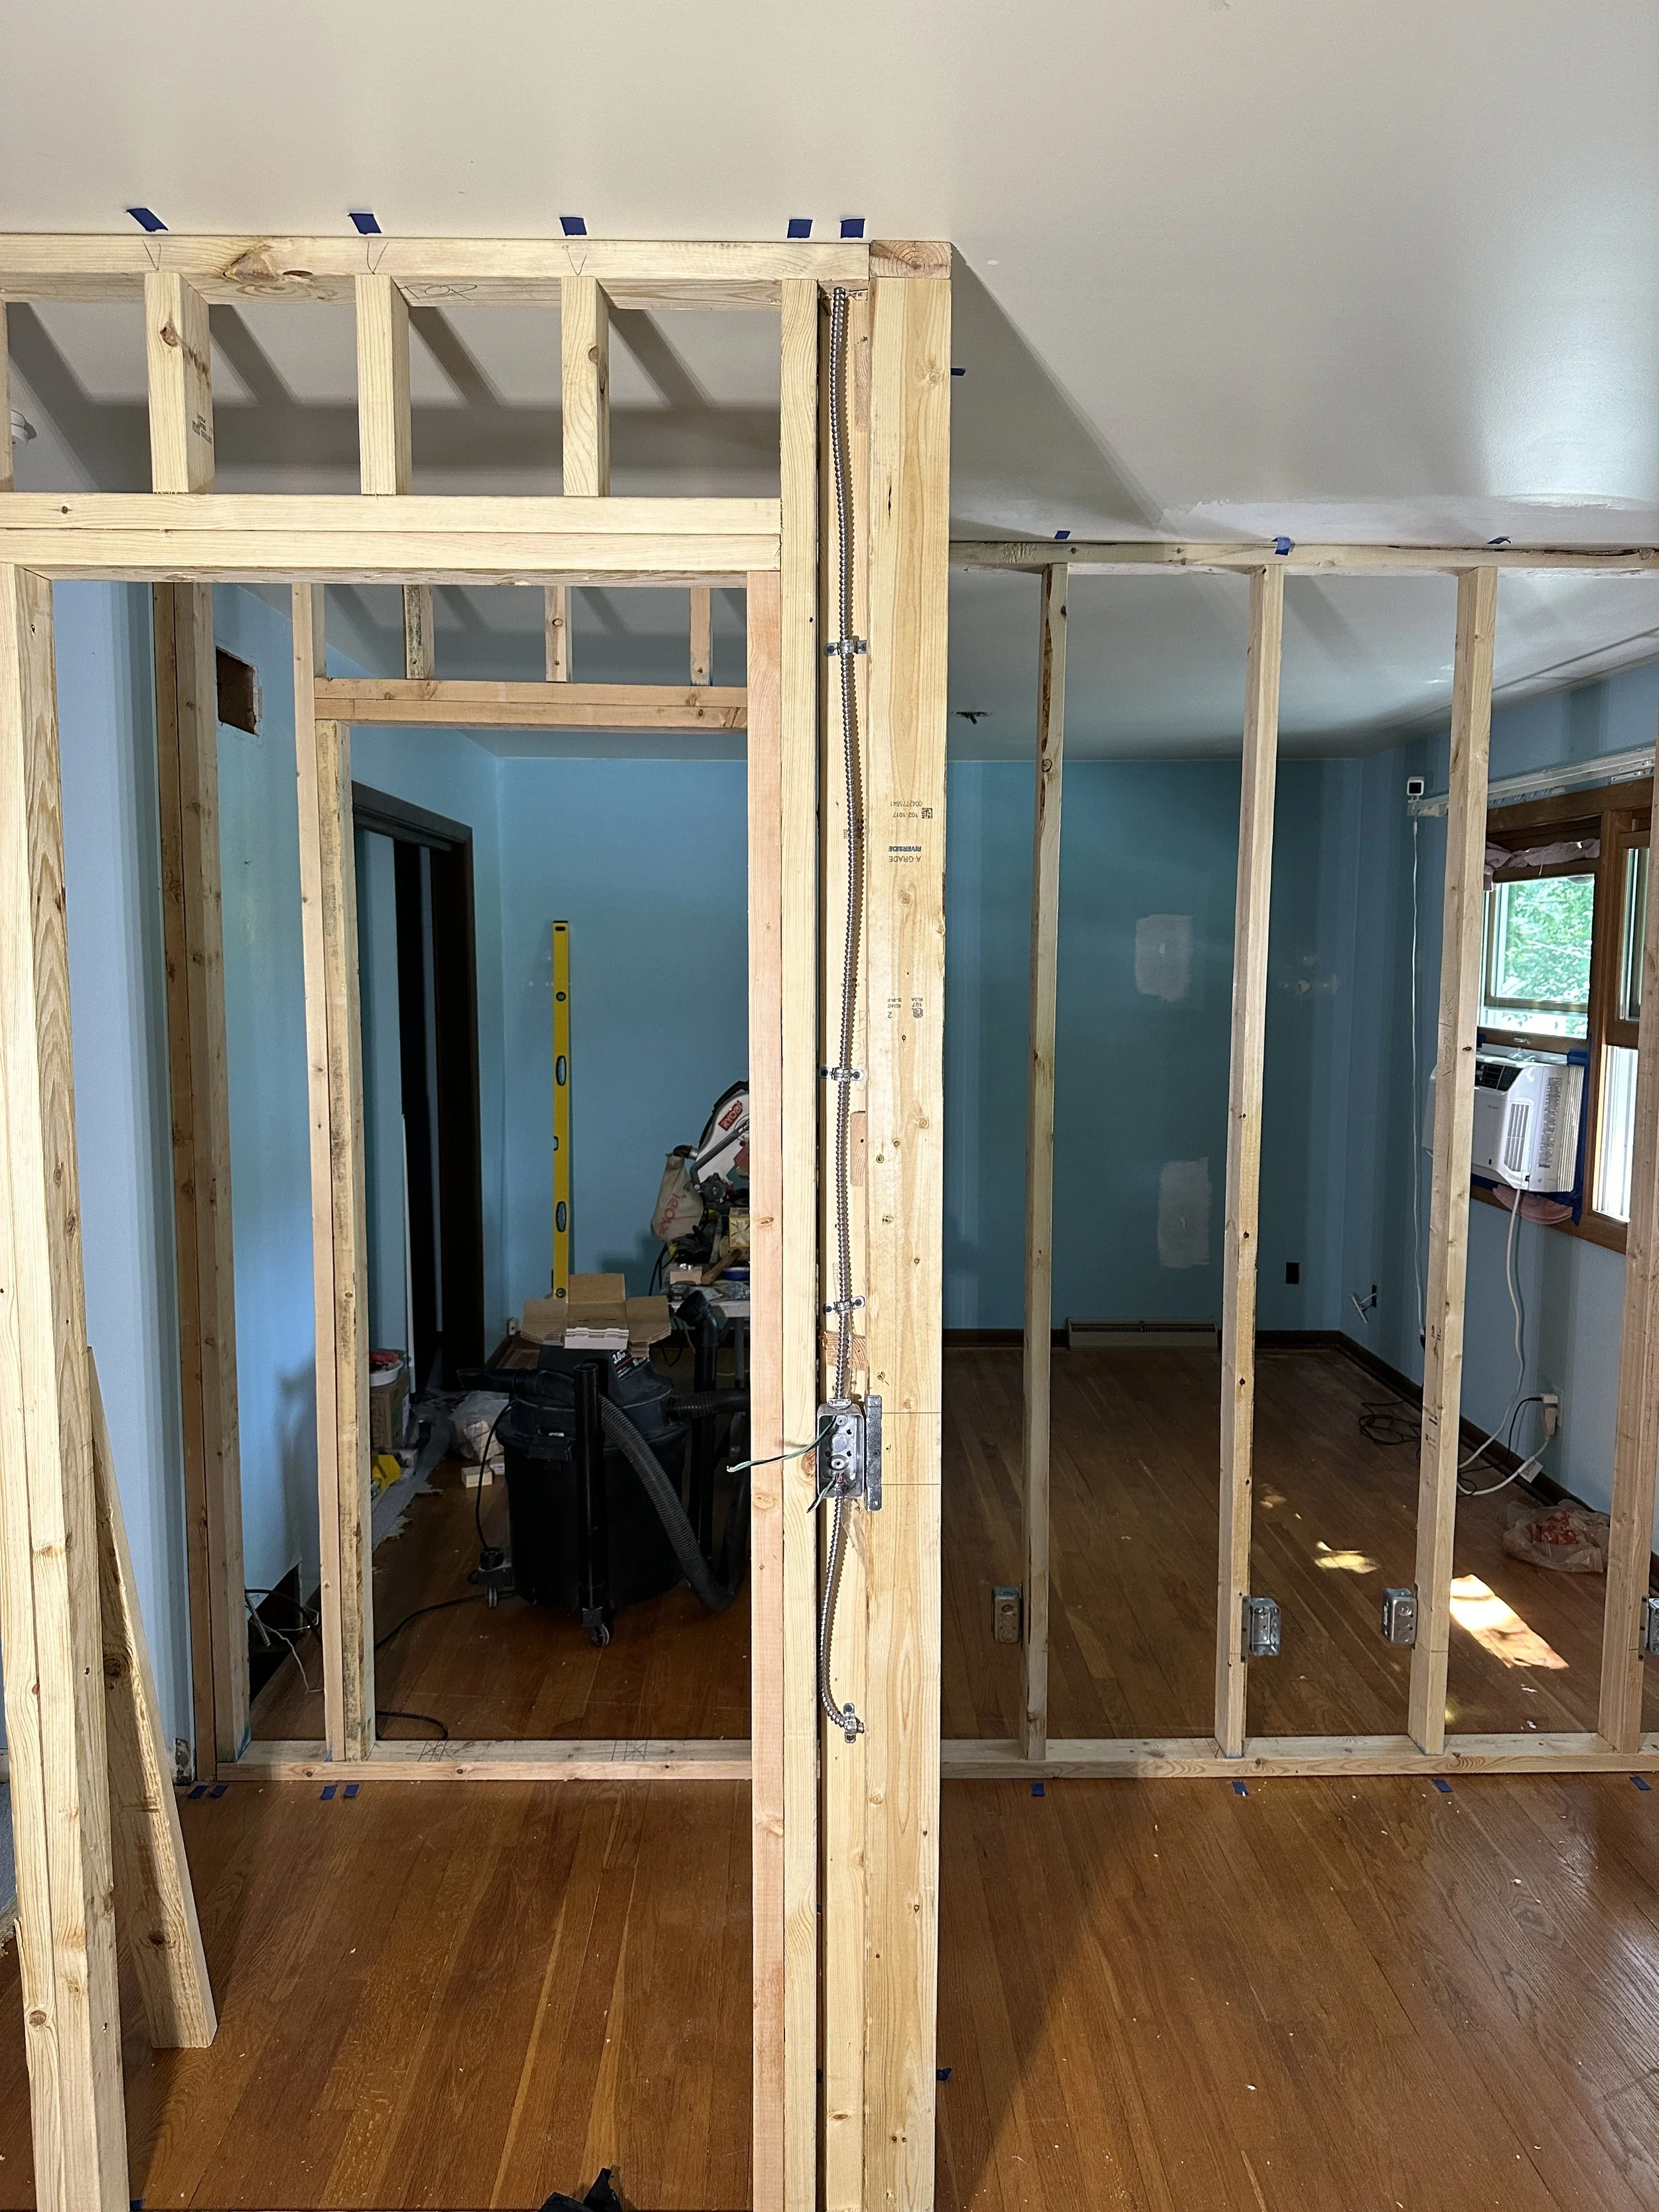
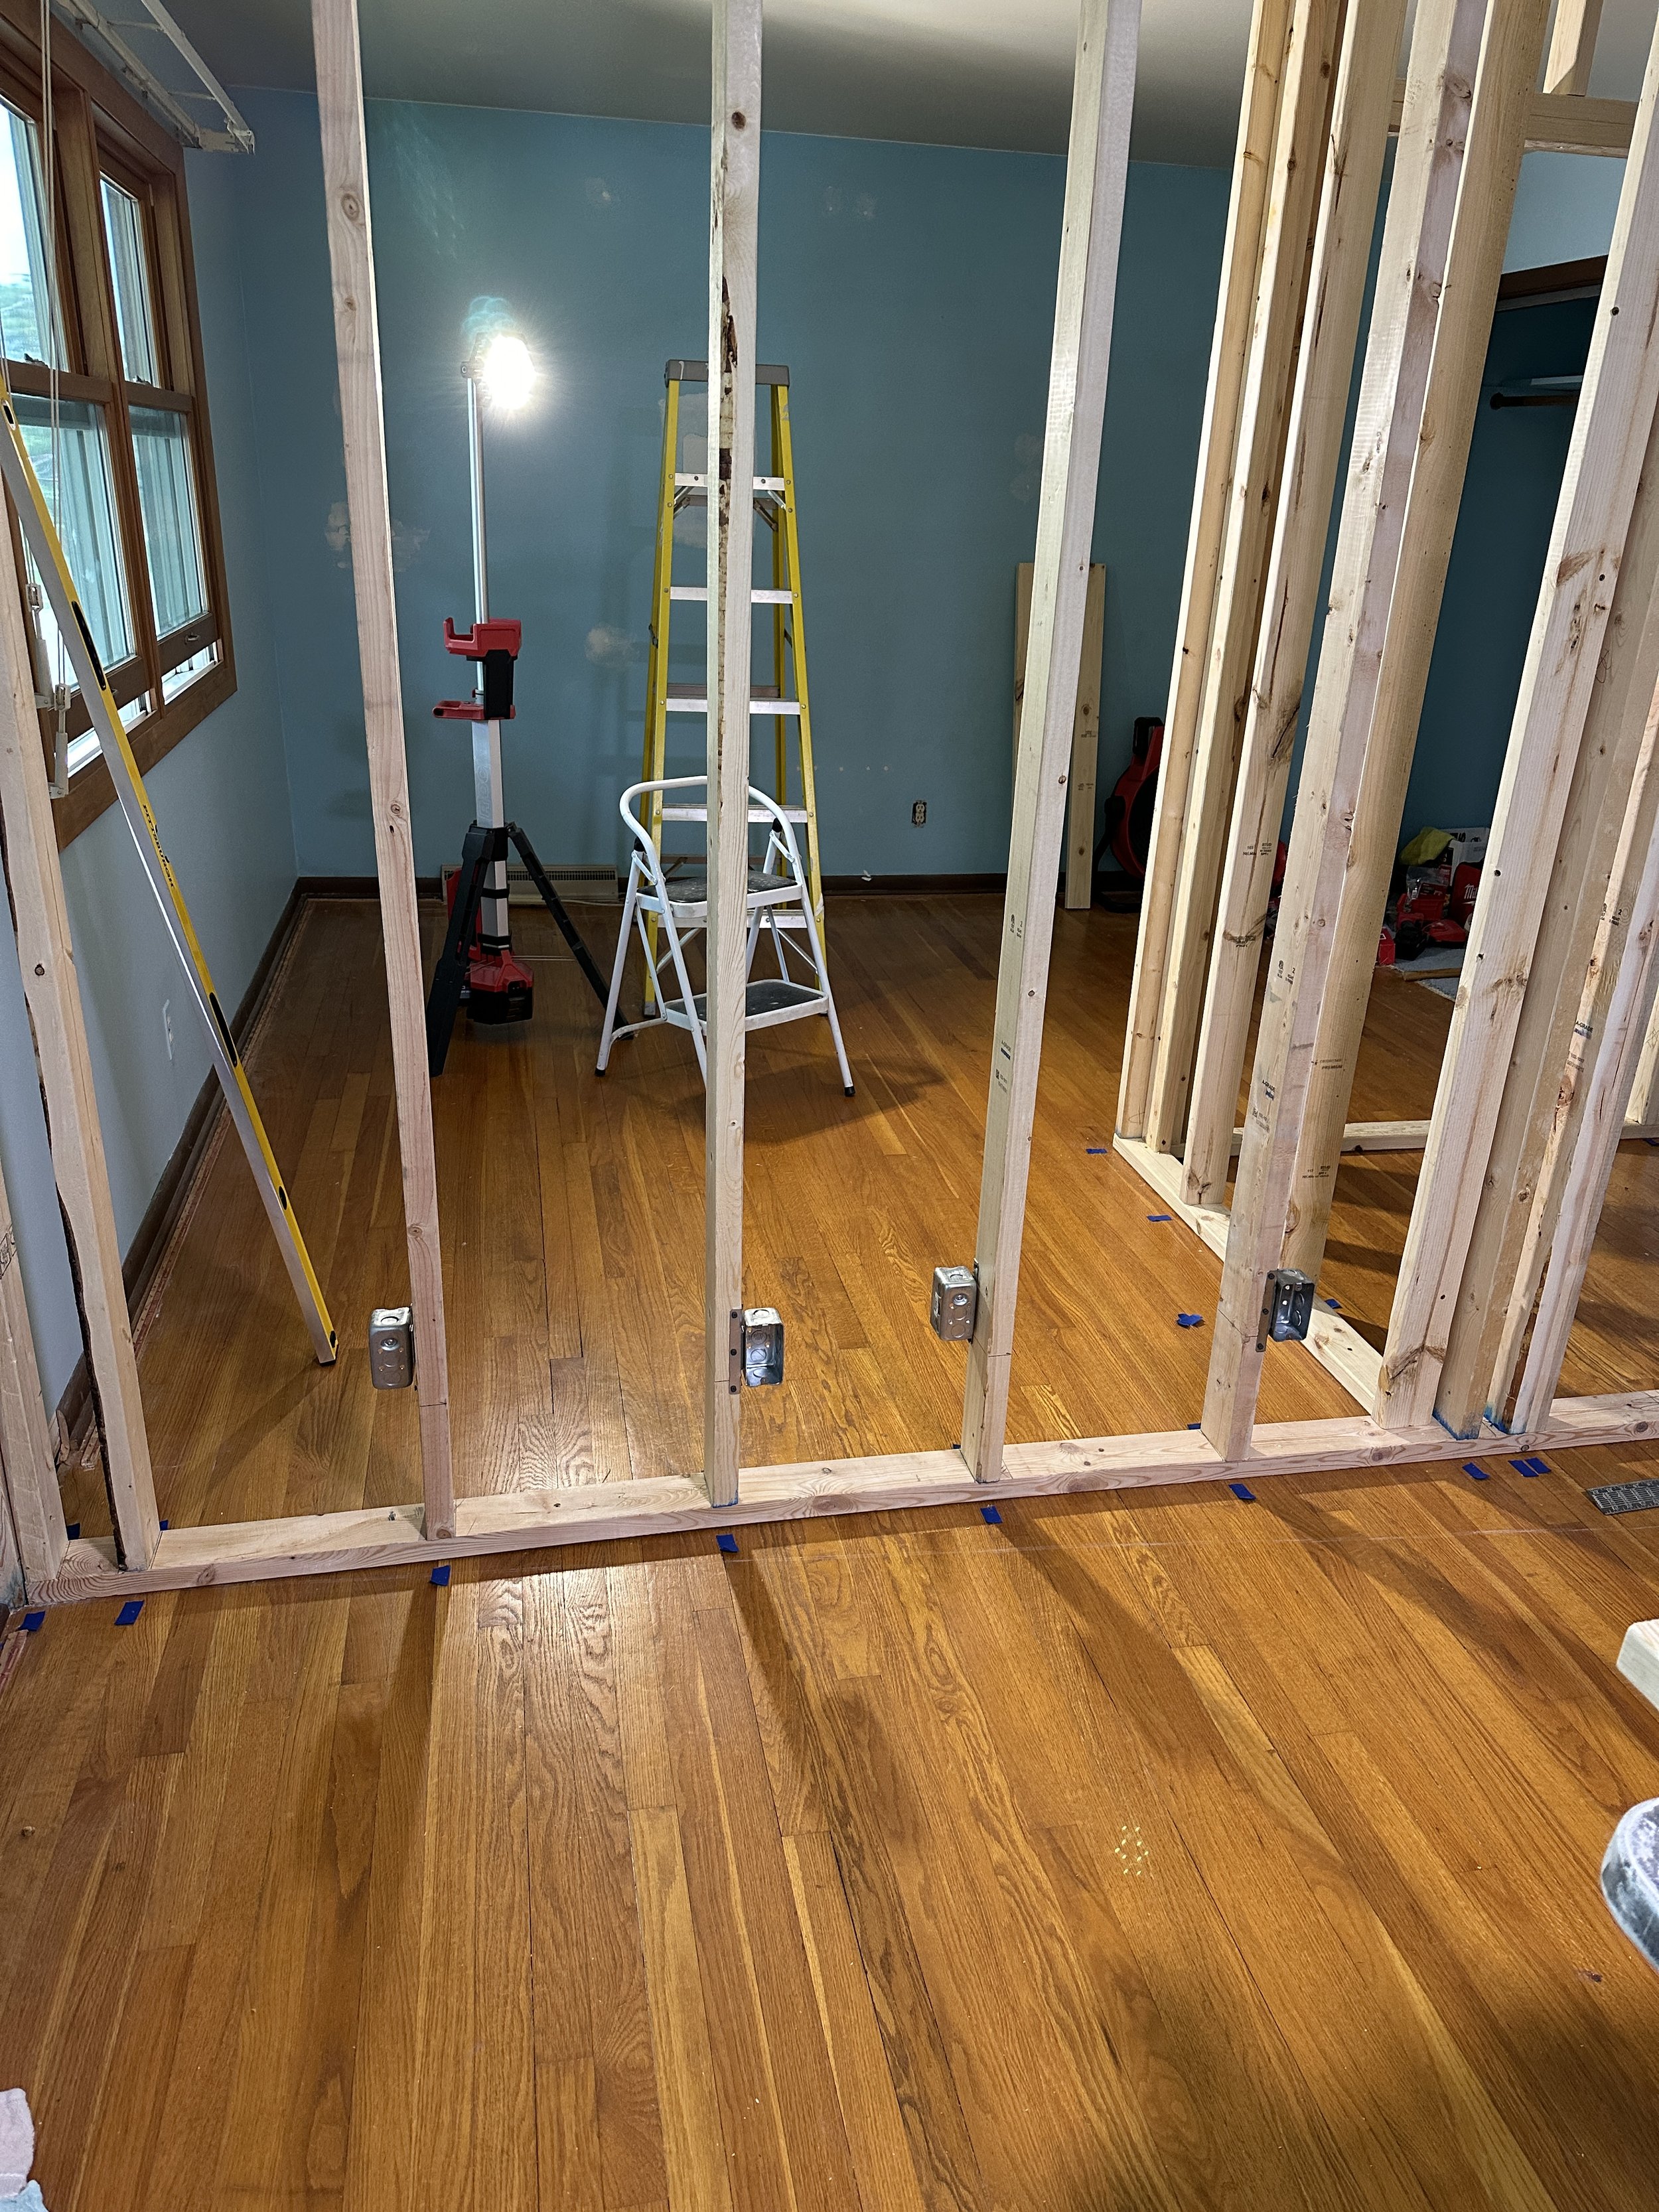
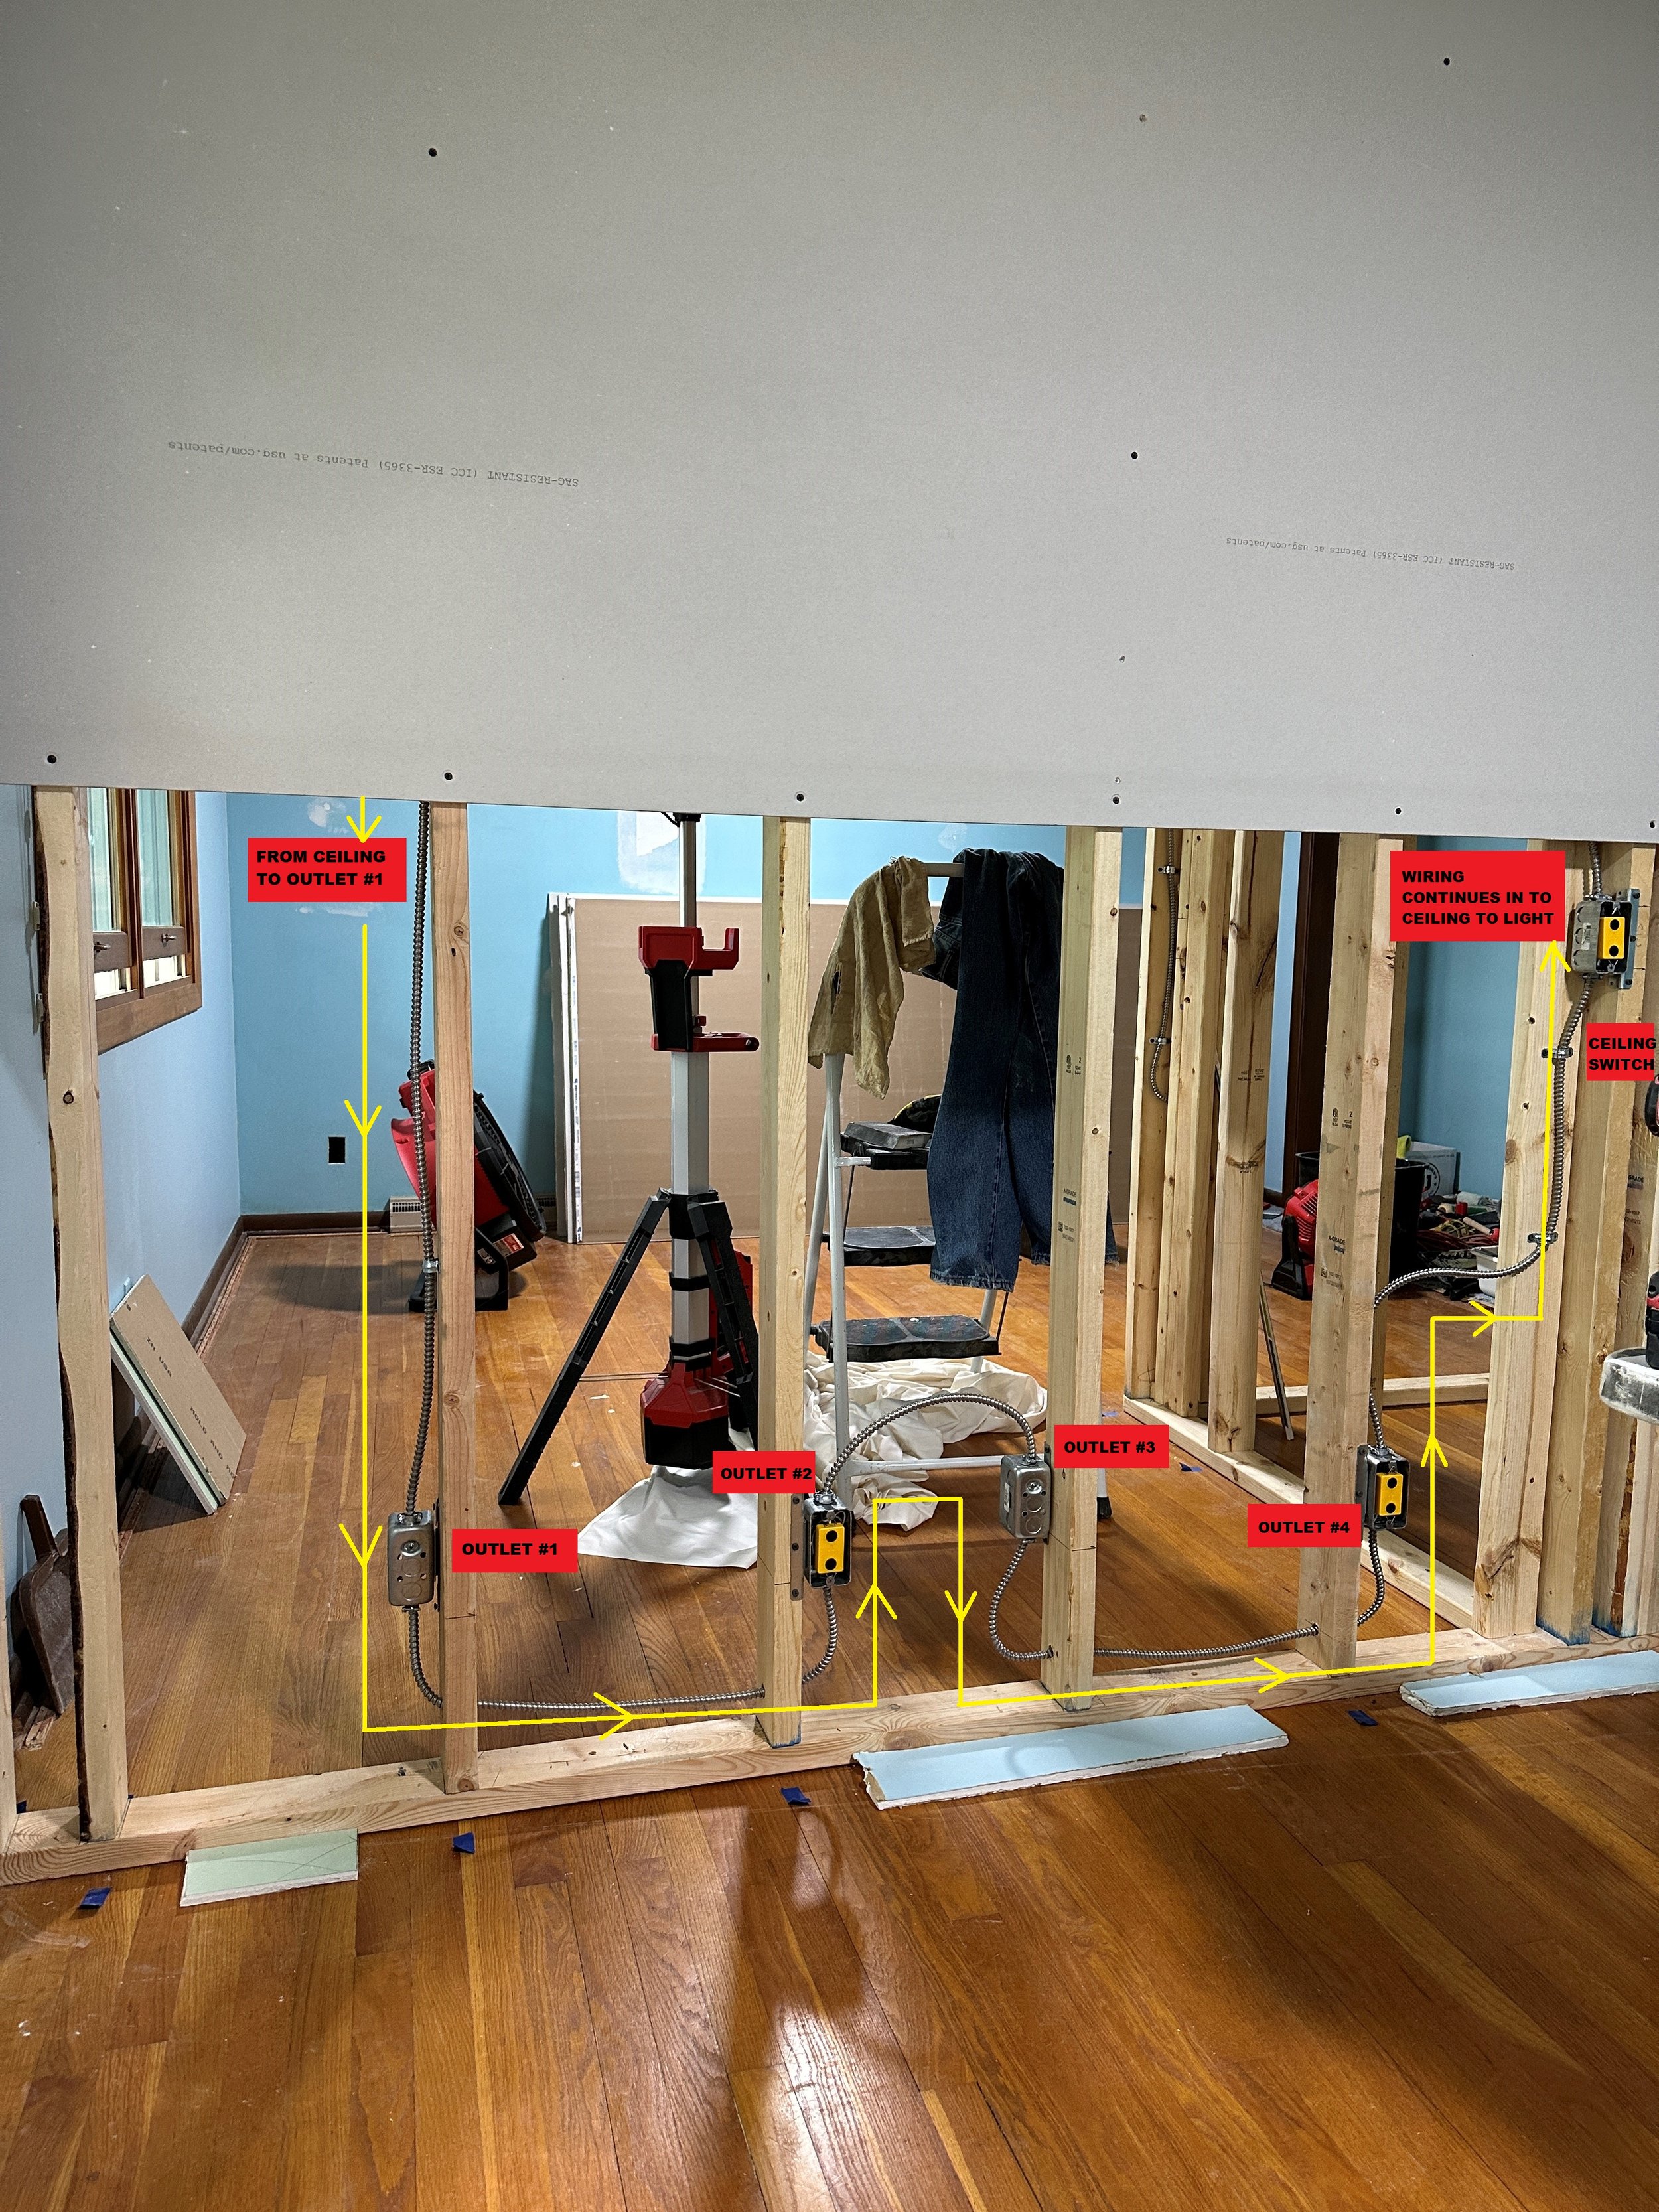
I wanted to add a couple of outlets to each side of the main dividing wall. In the picture above left you can see the four outlets — two pointing to the south bedroom and the other two pointing towards the north bedroom. In the lower middle picture, you can see the switch that would eventually control the ceiling light in the north bedroom. In the photo on the right, it shows how we snaked the power in from the attic.


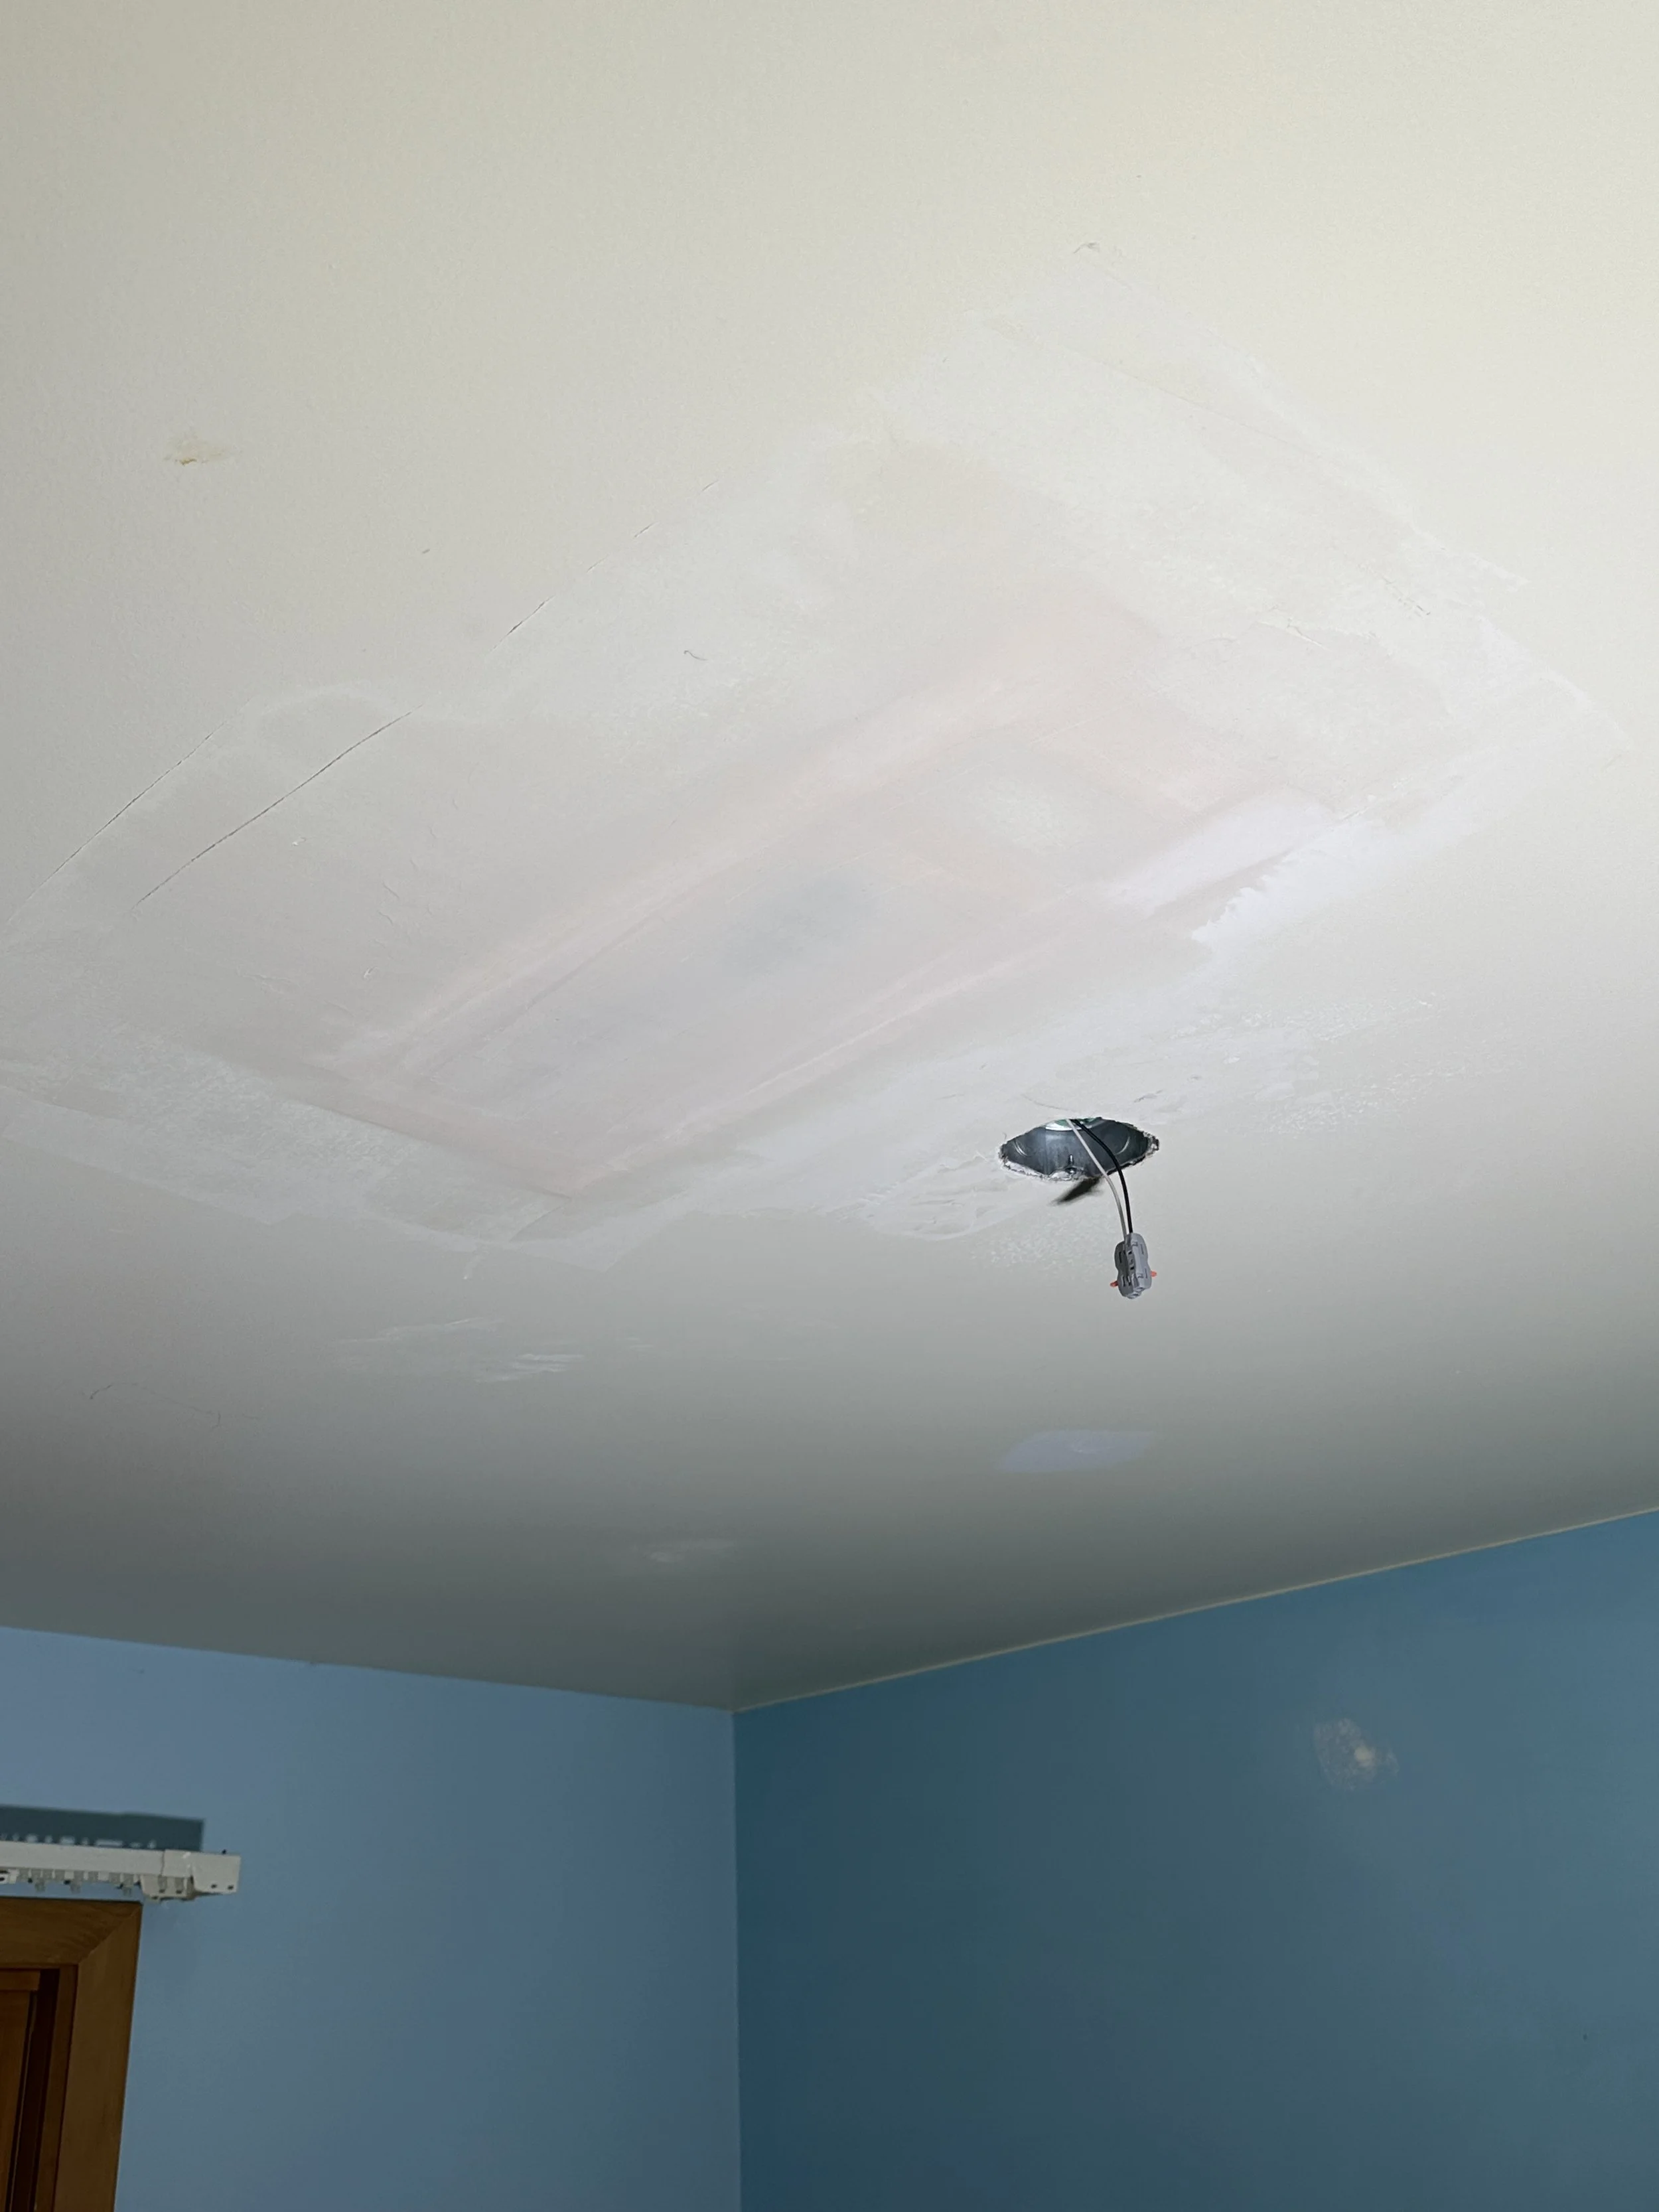
The original room only had a ceiling fan in the south part of the room. It was easy to remove the fan and replace with a ceiling light. The north side however didn’t have anything so I had to get creative. Because of the slope of the roof, it made it difficult to get to that part of the ceiling from the attic, so I cut an access hole near the proposed ceiling light to install a 2x4 between the joists to support the electrical box.
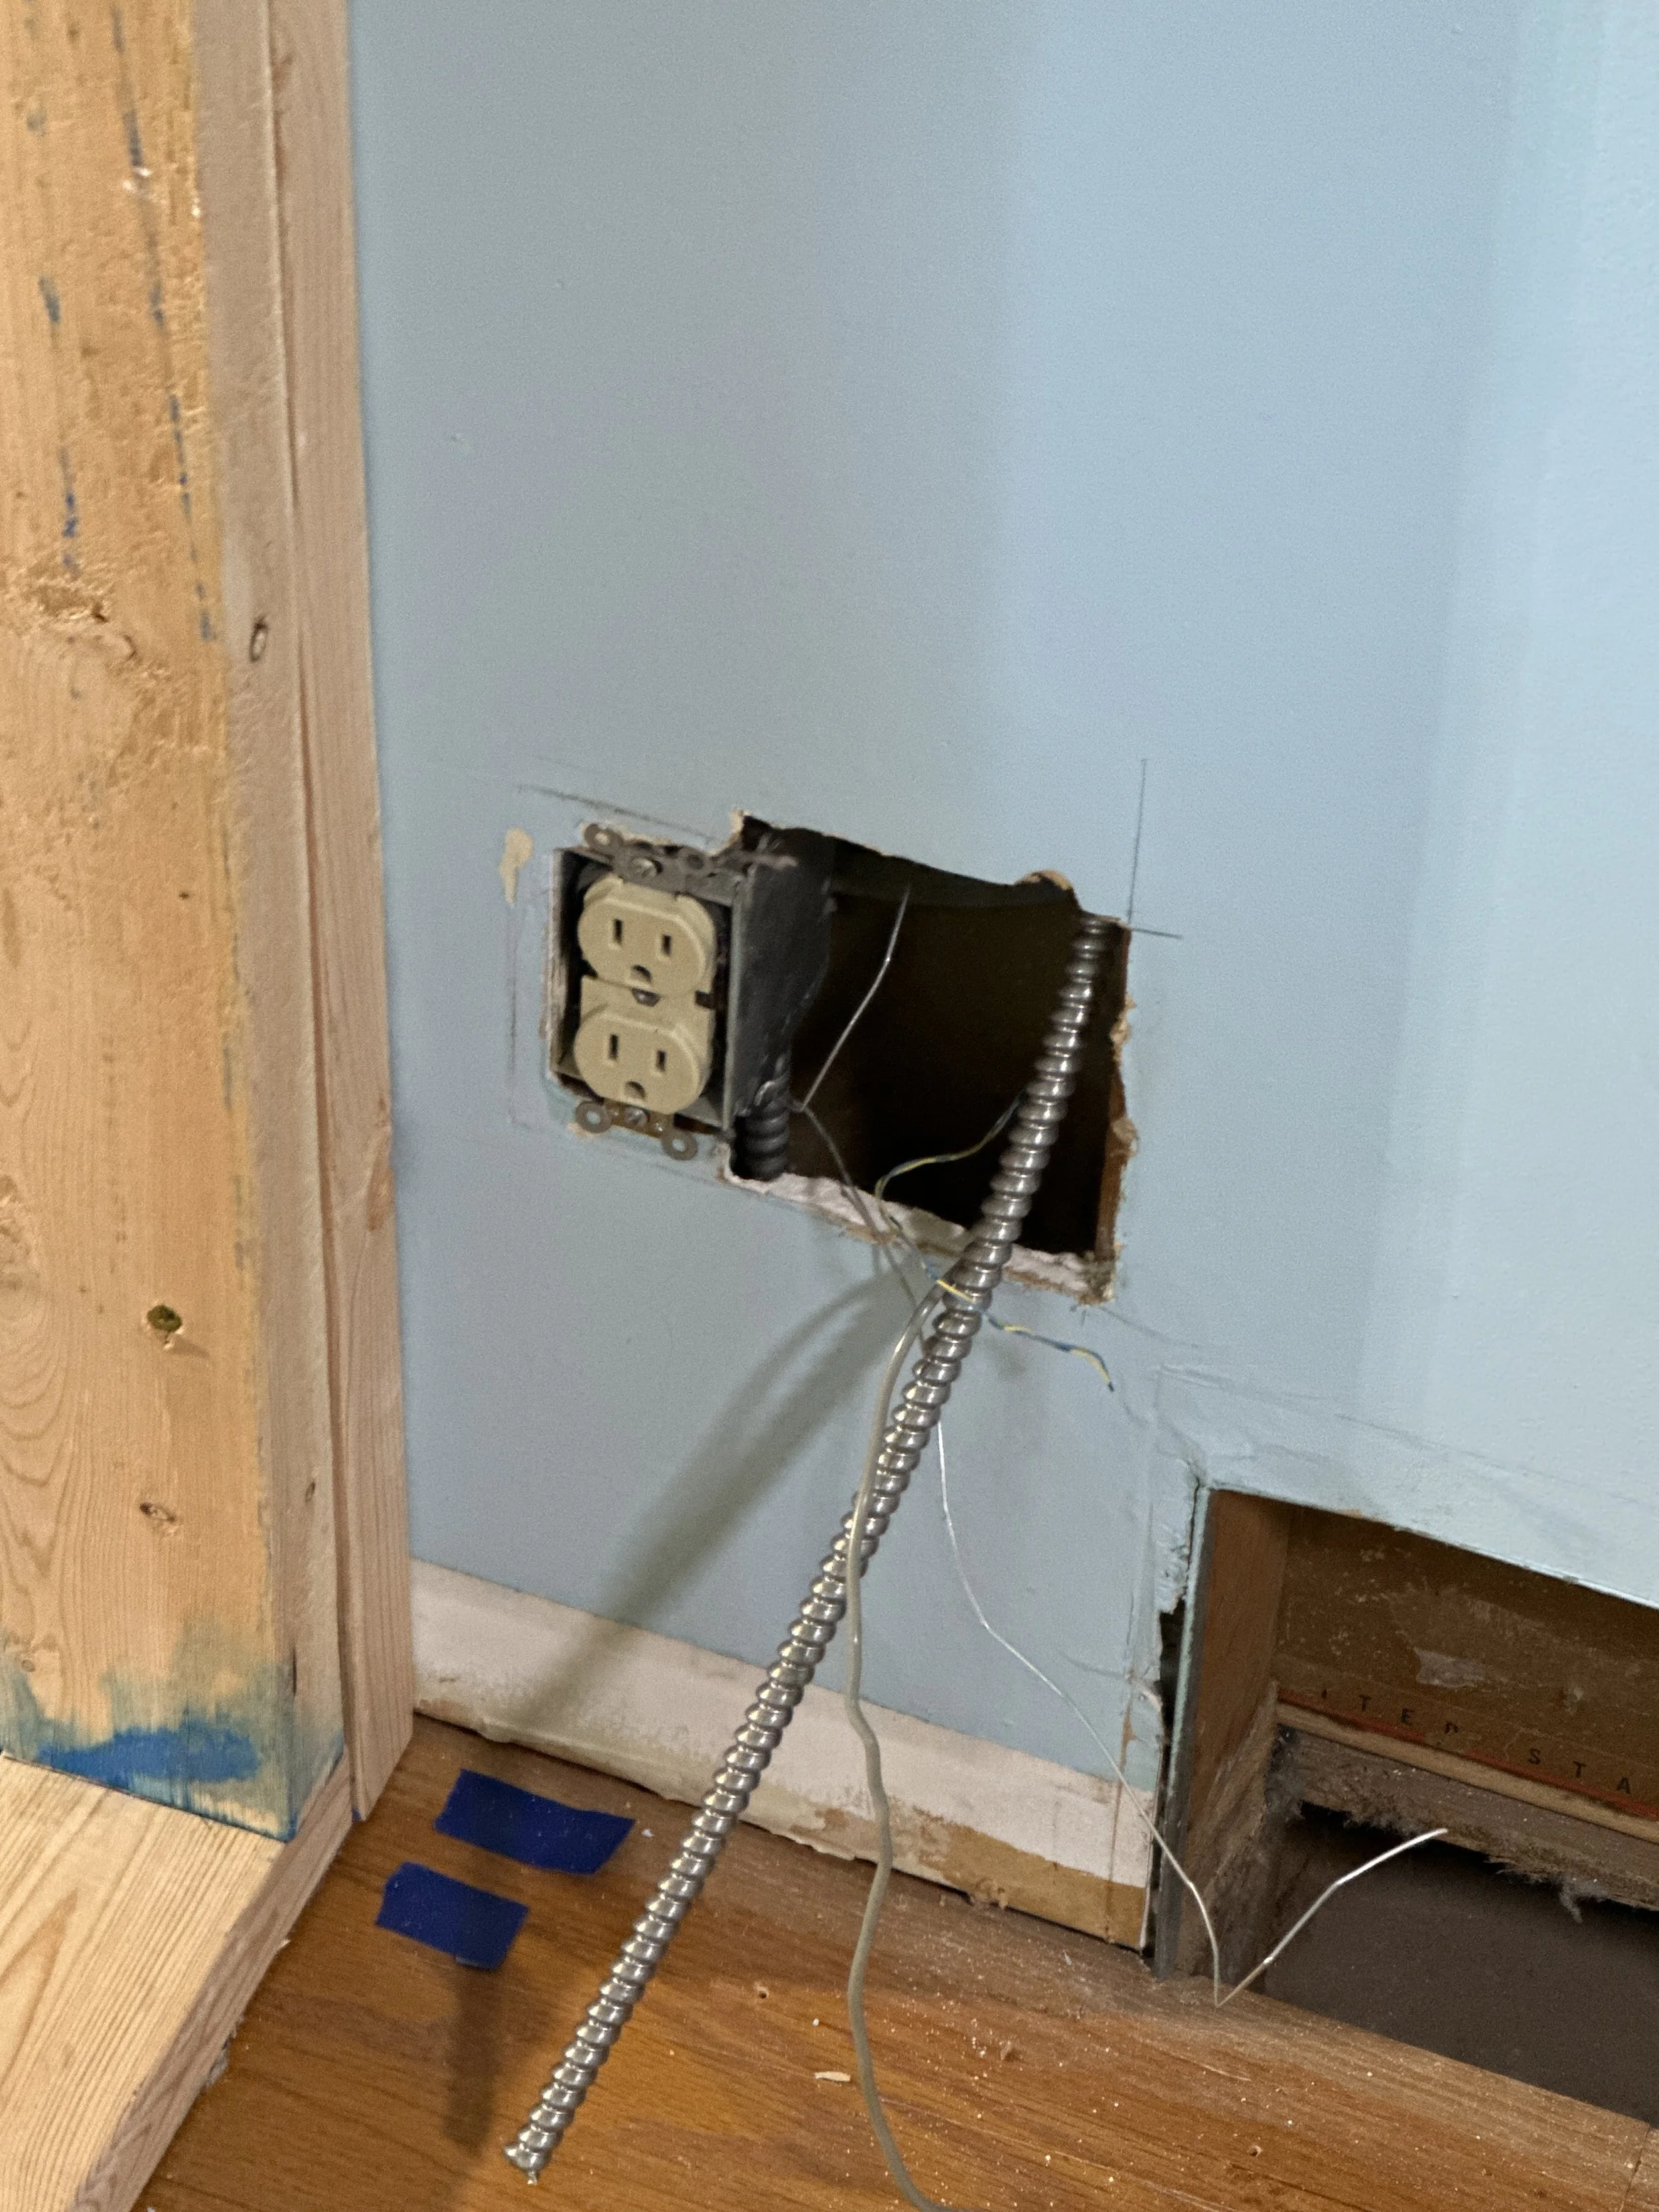
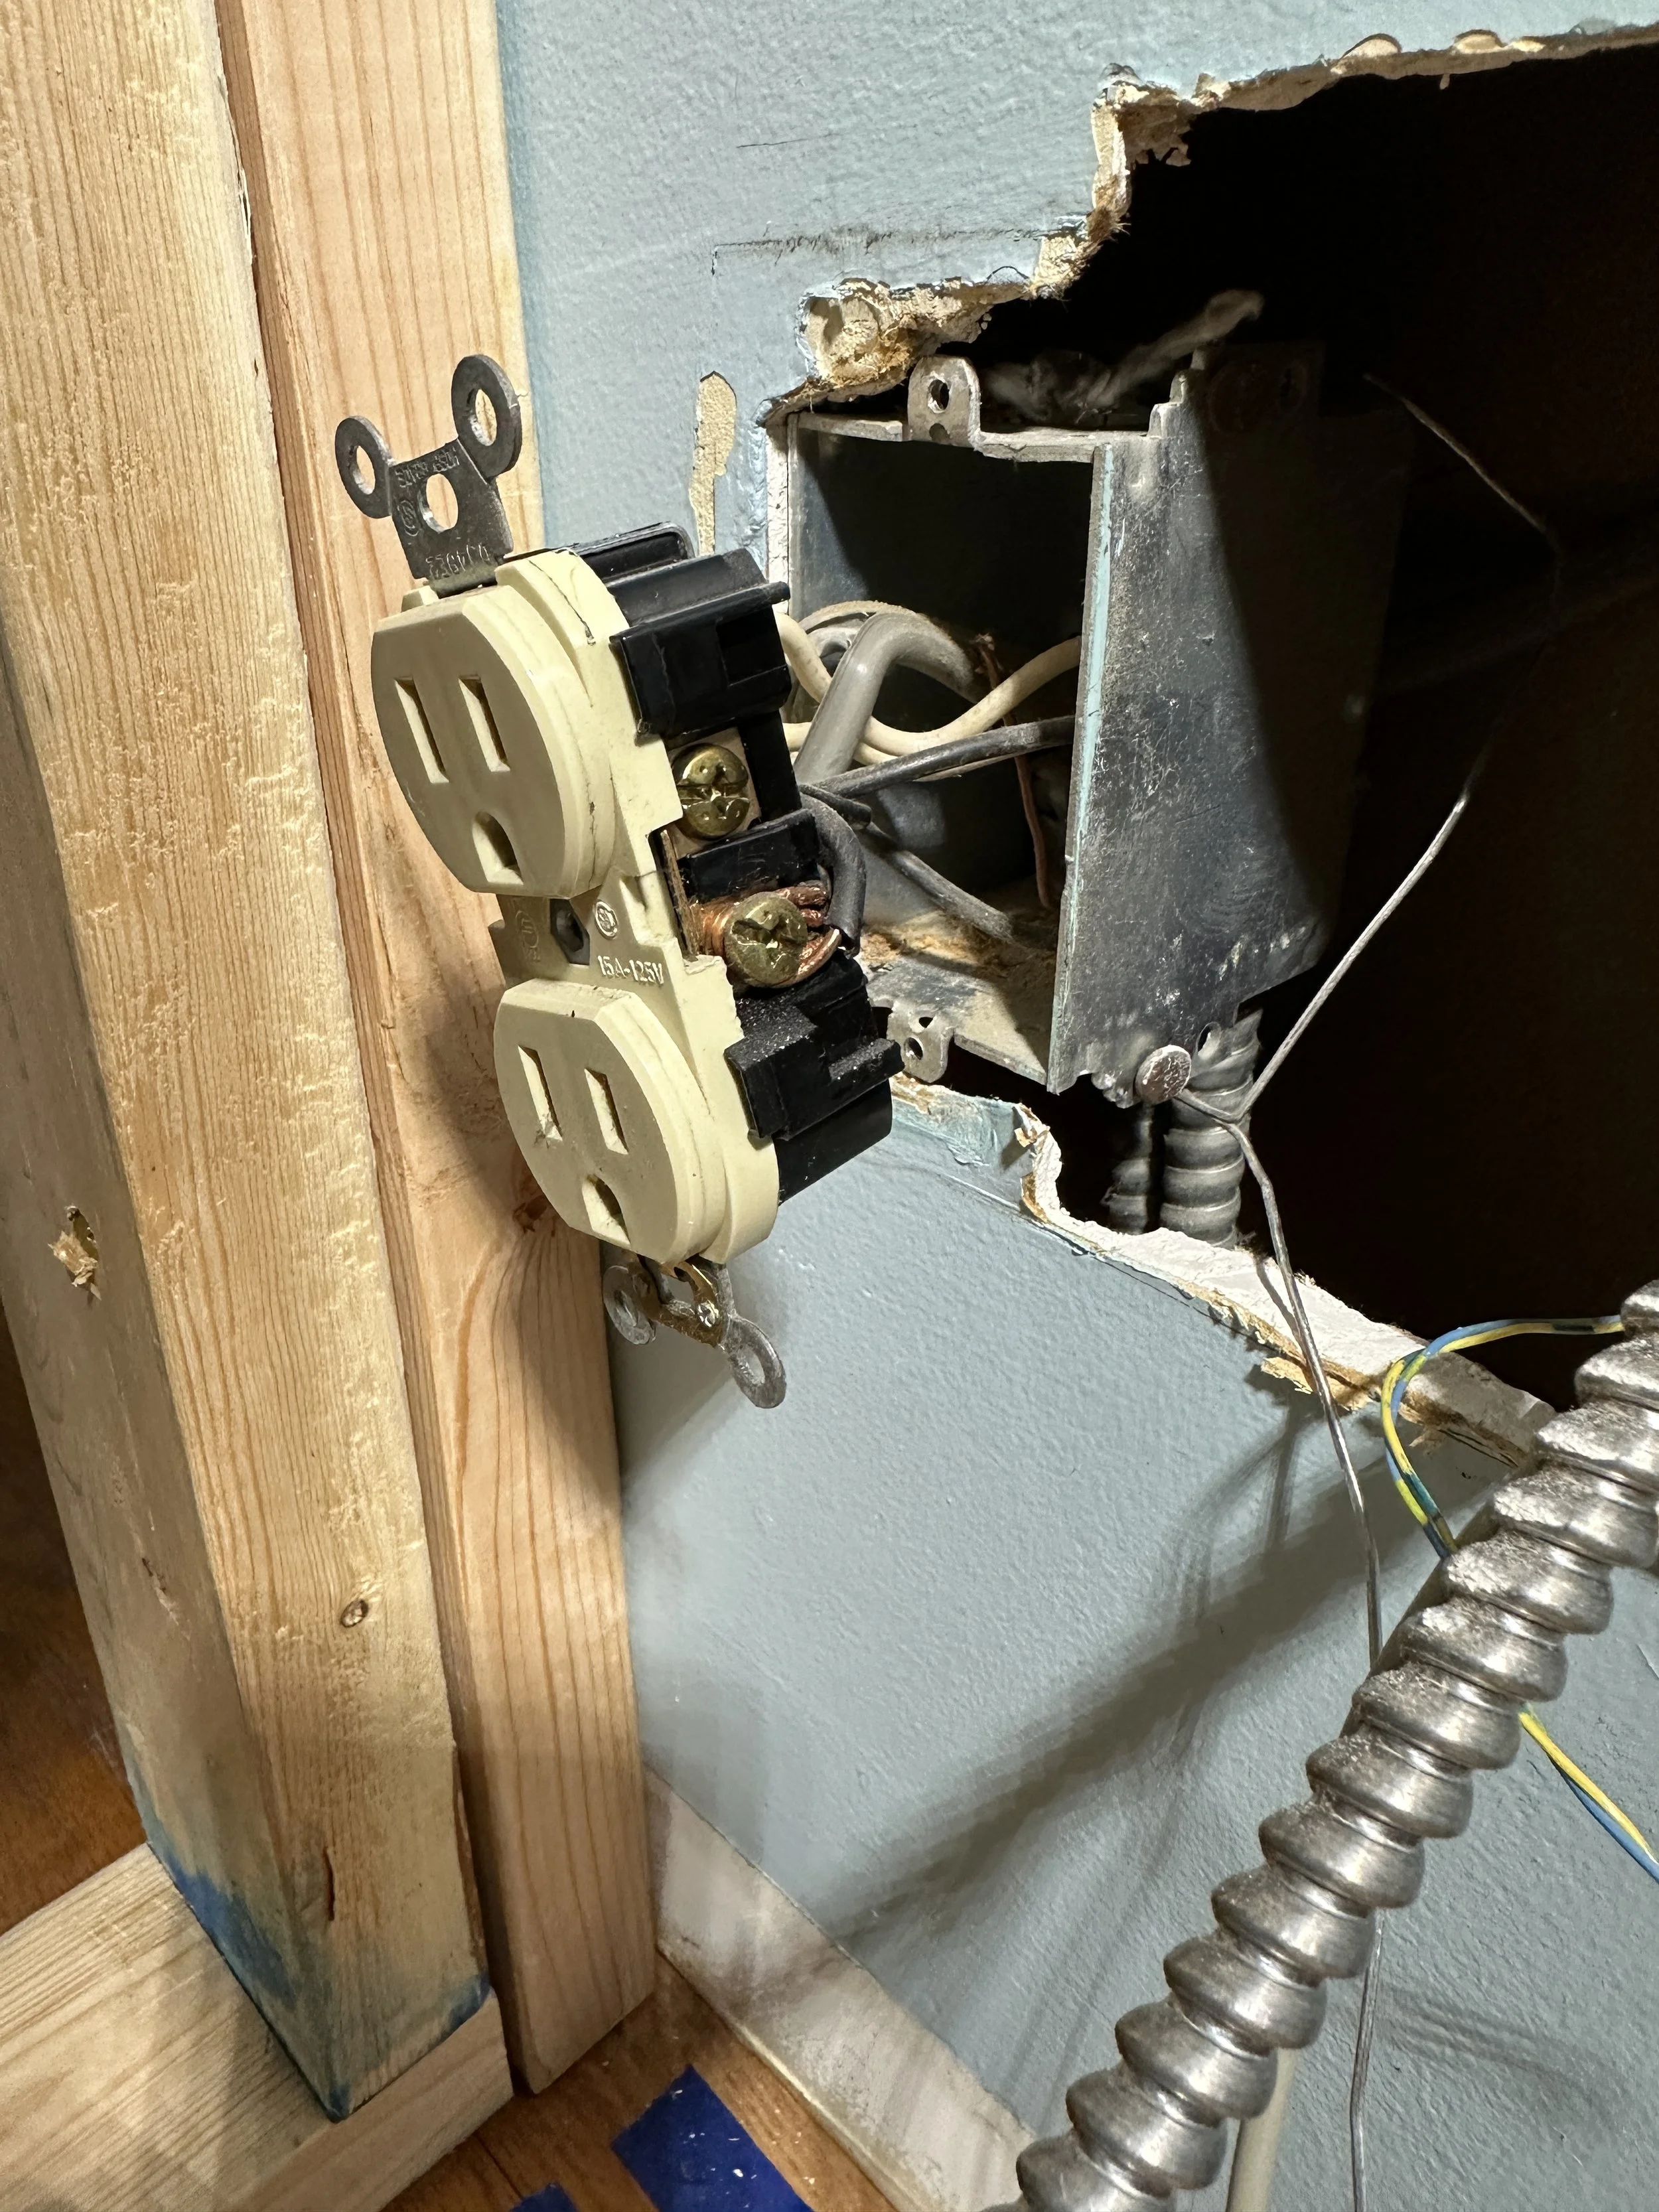
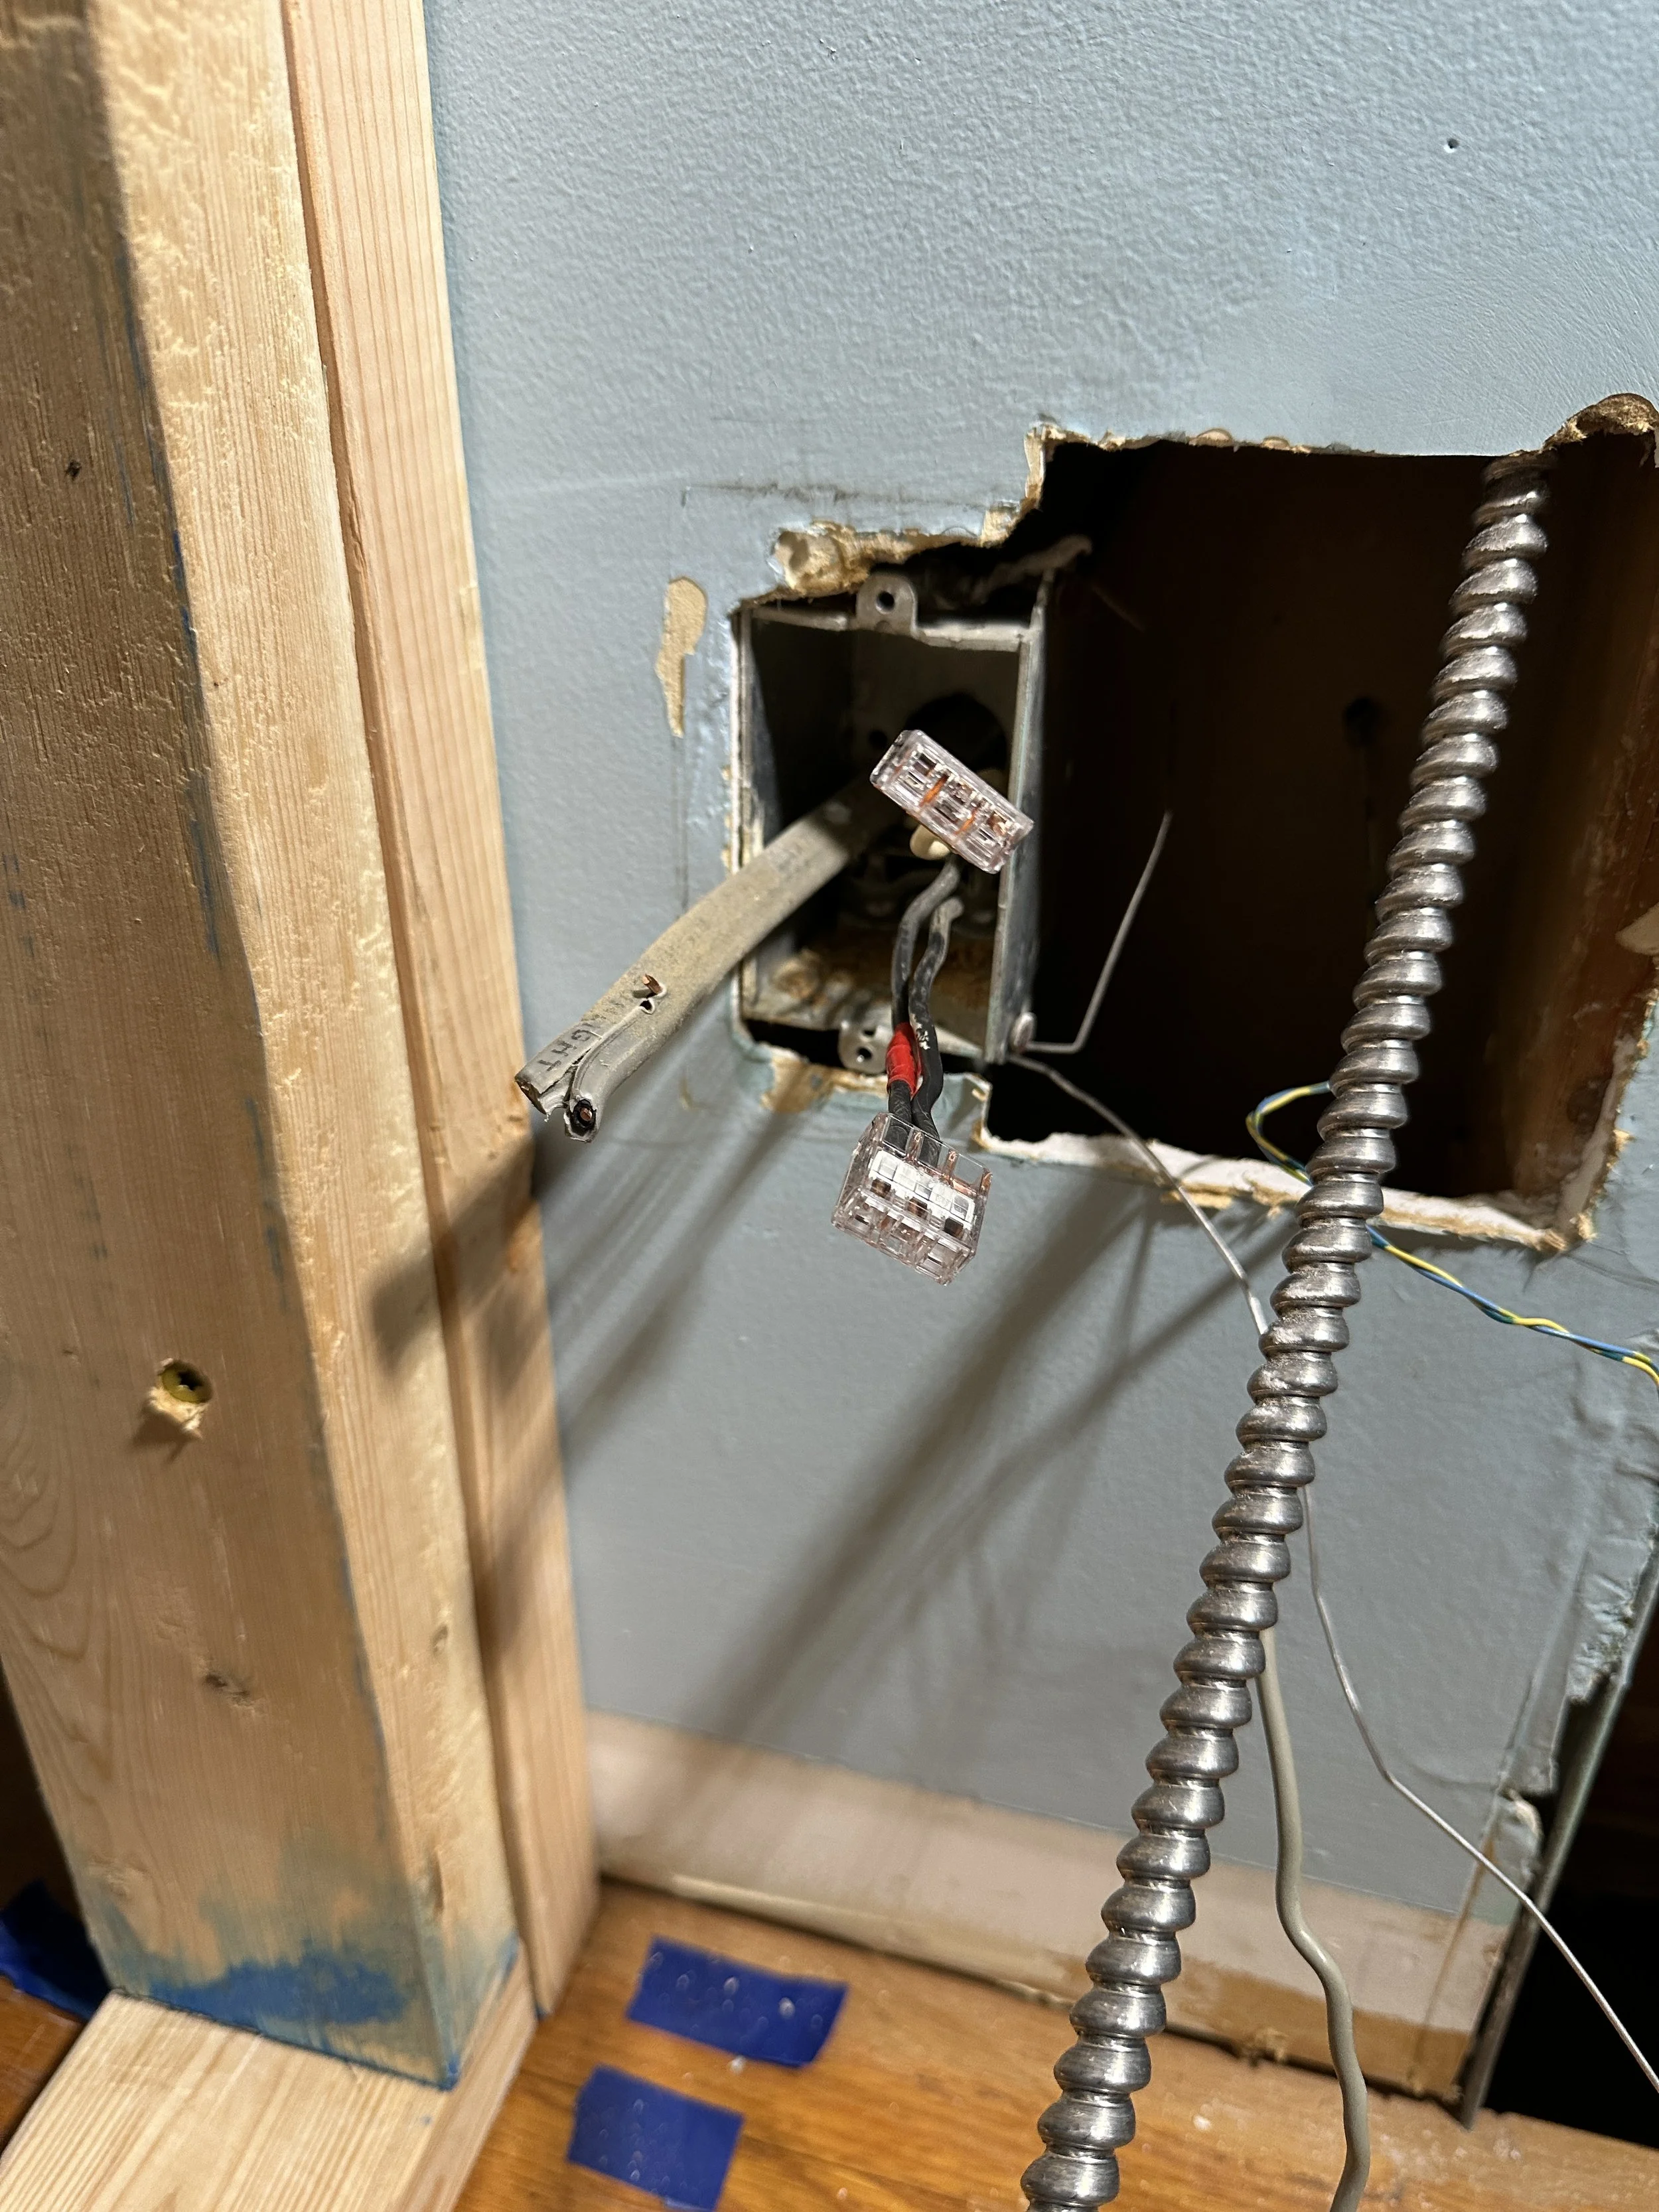
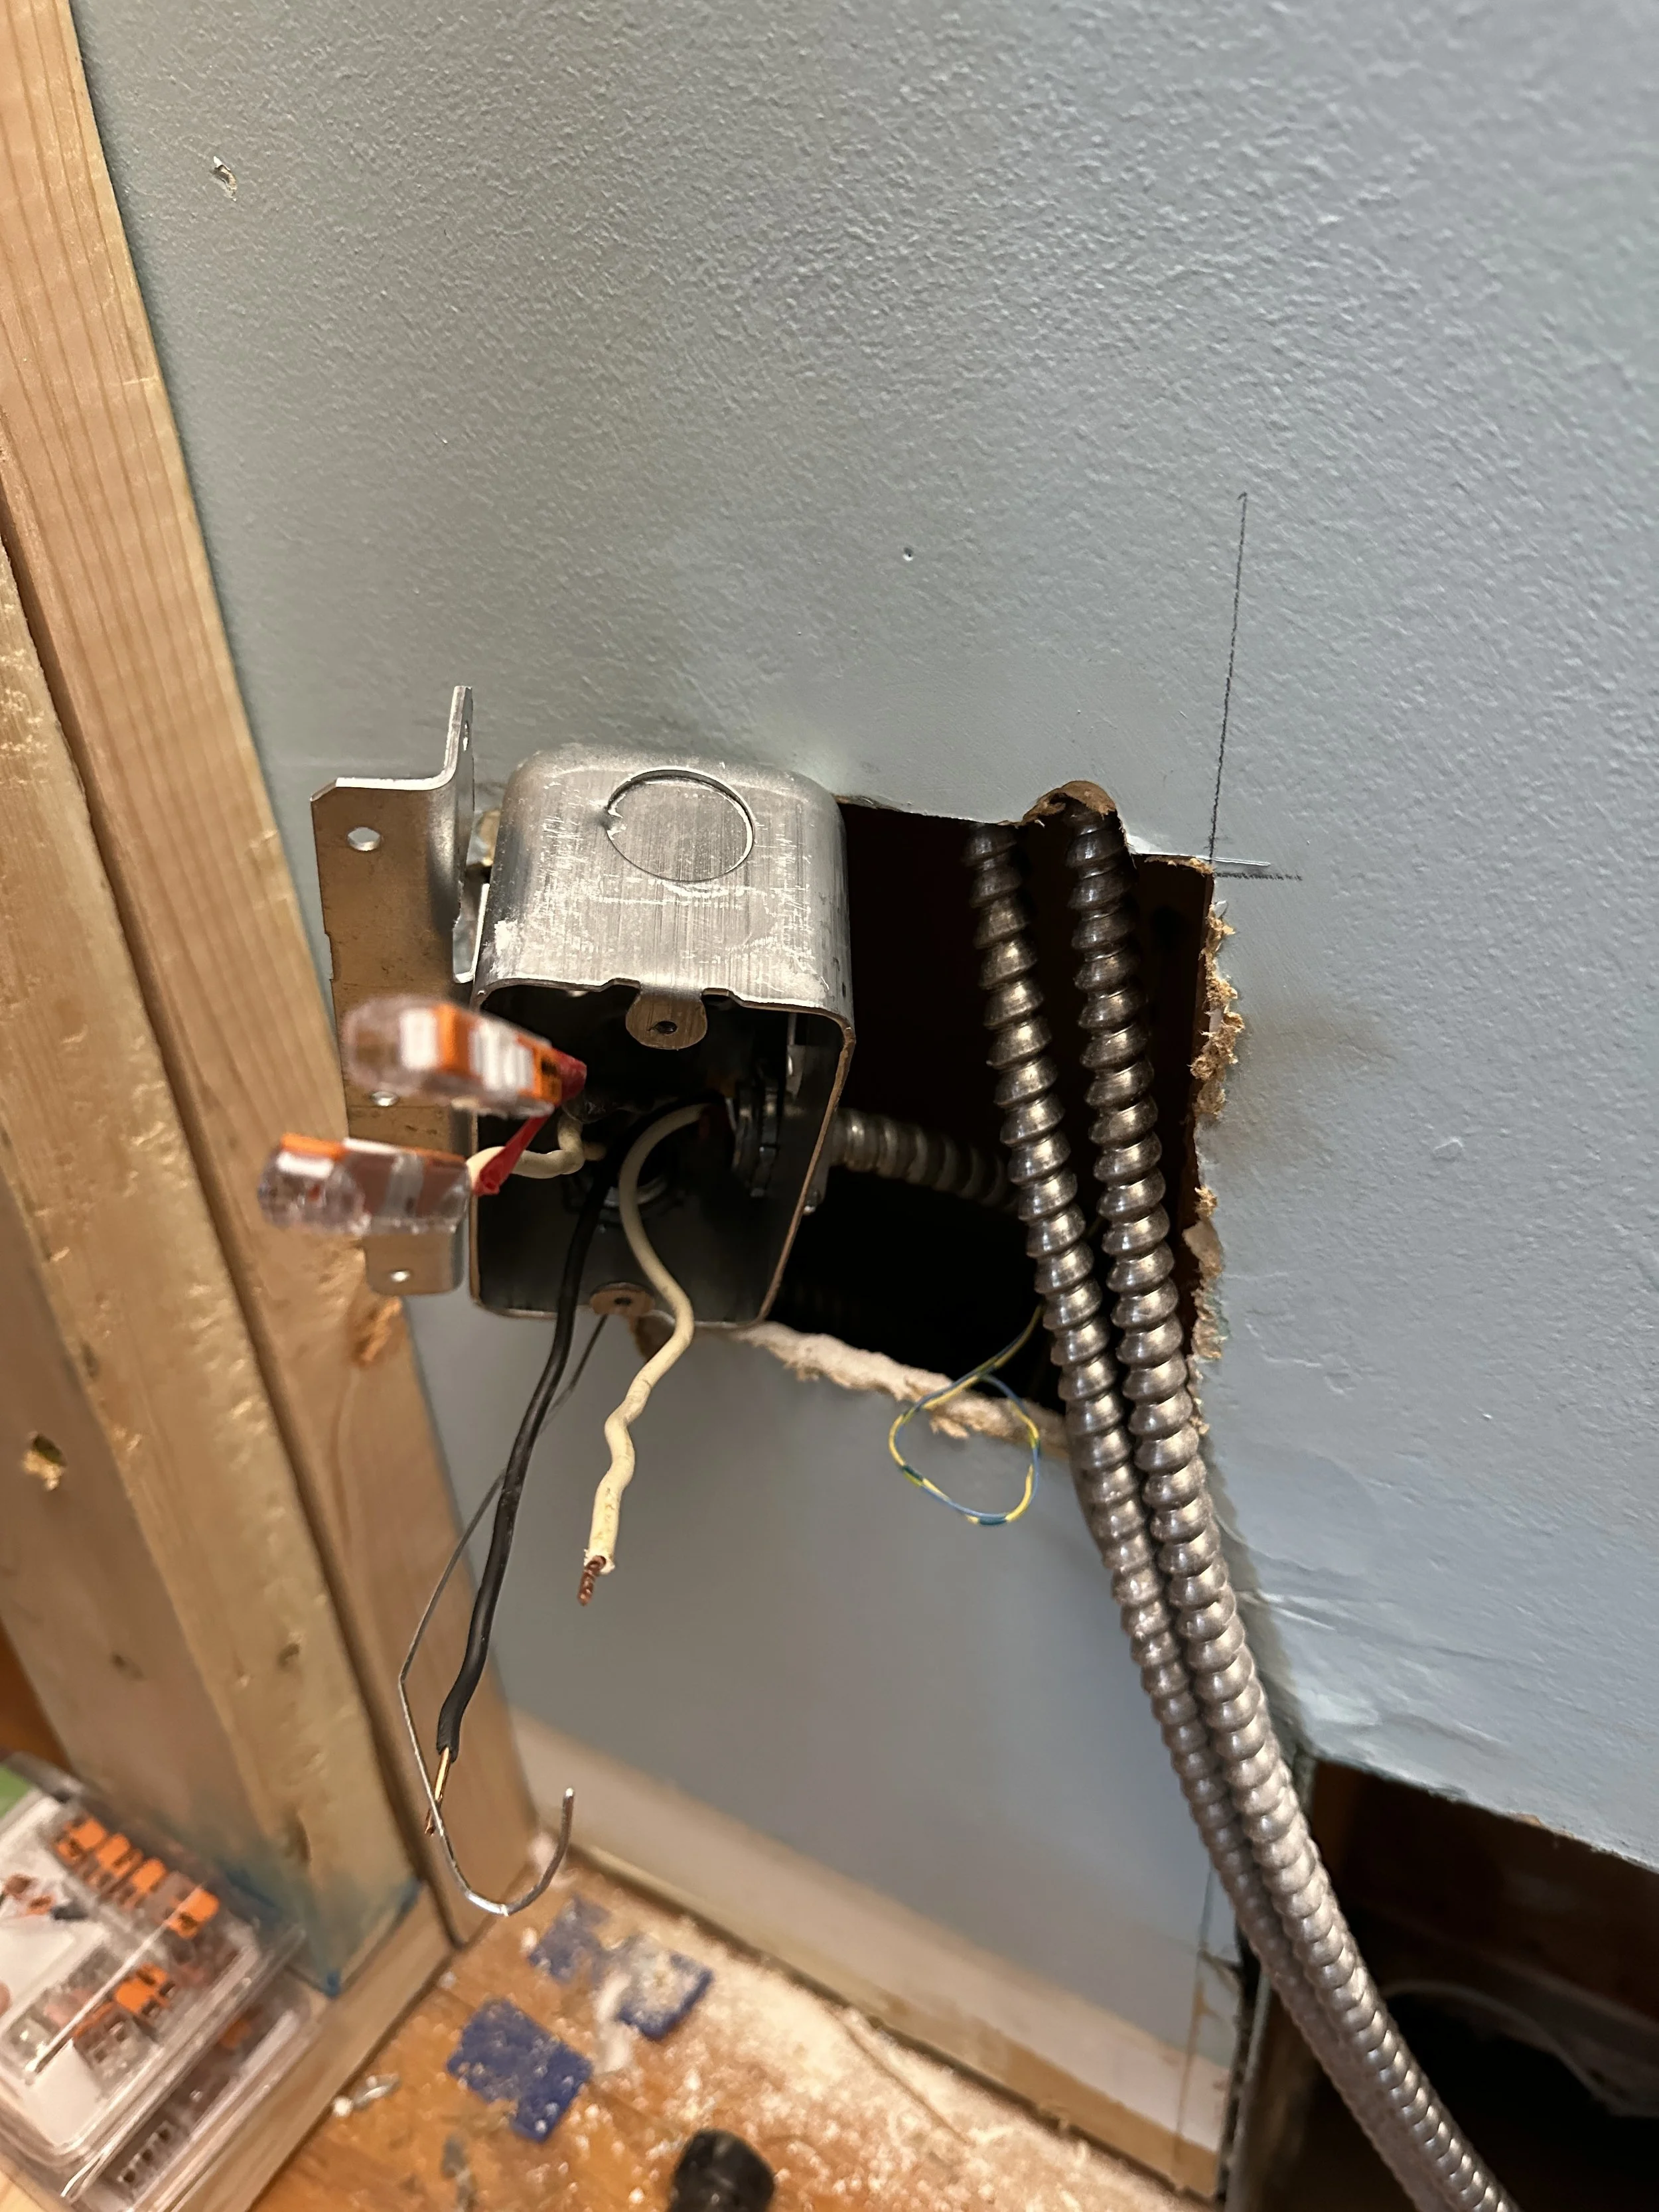
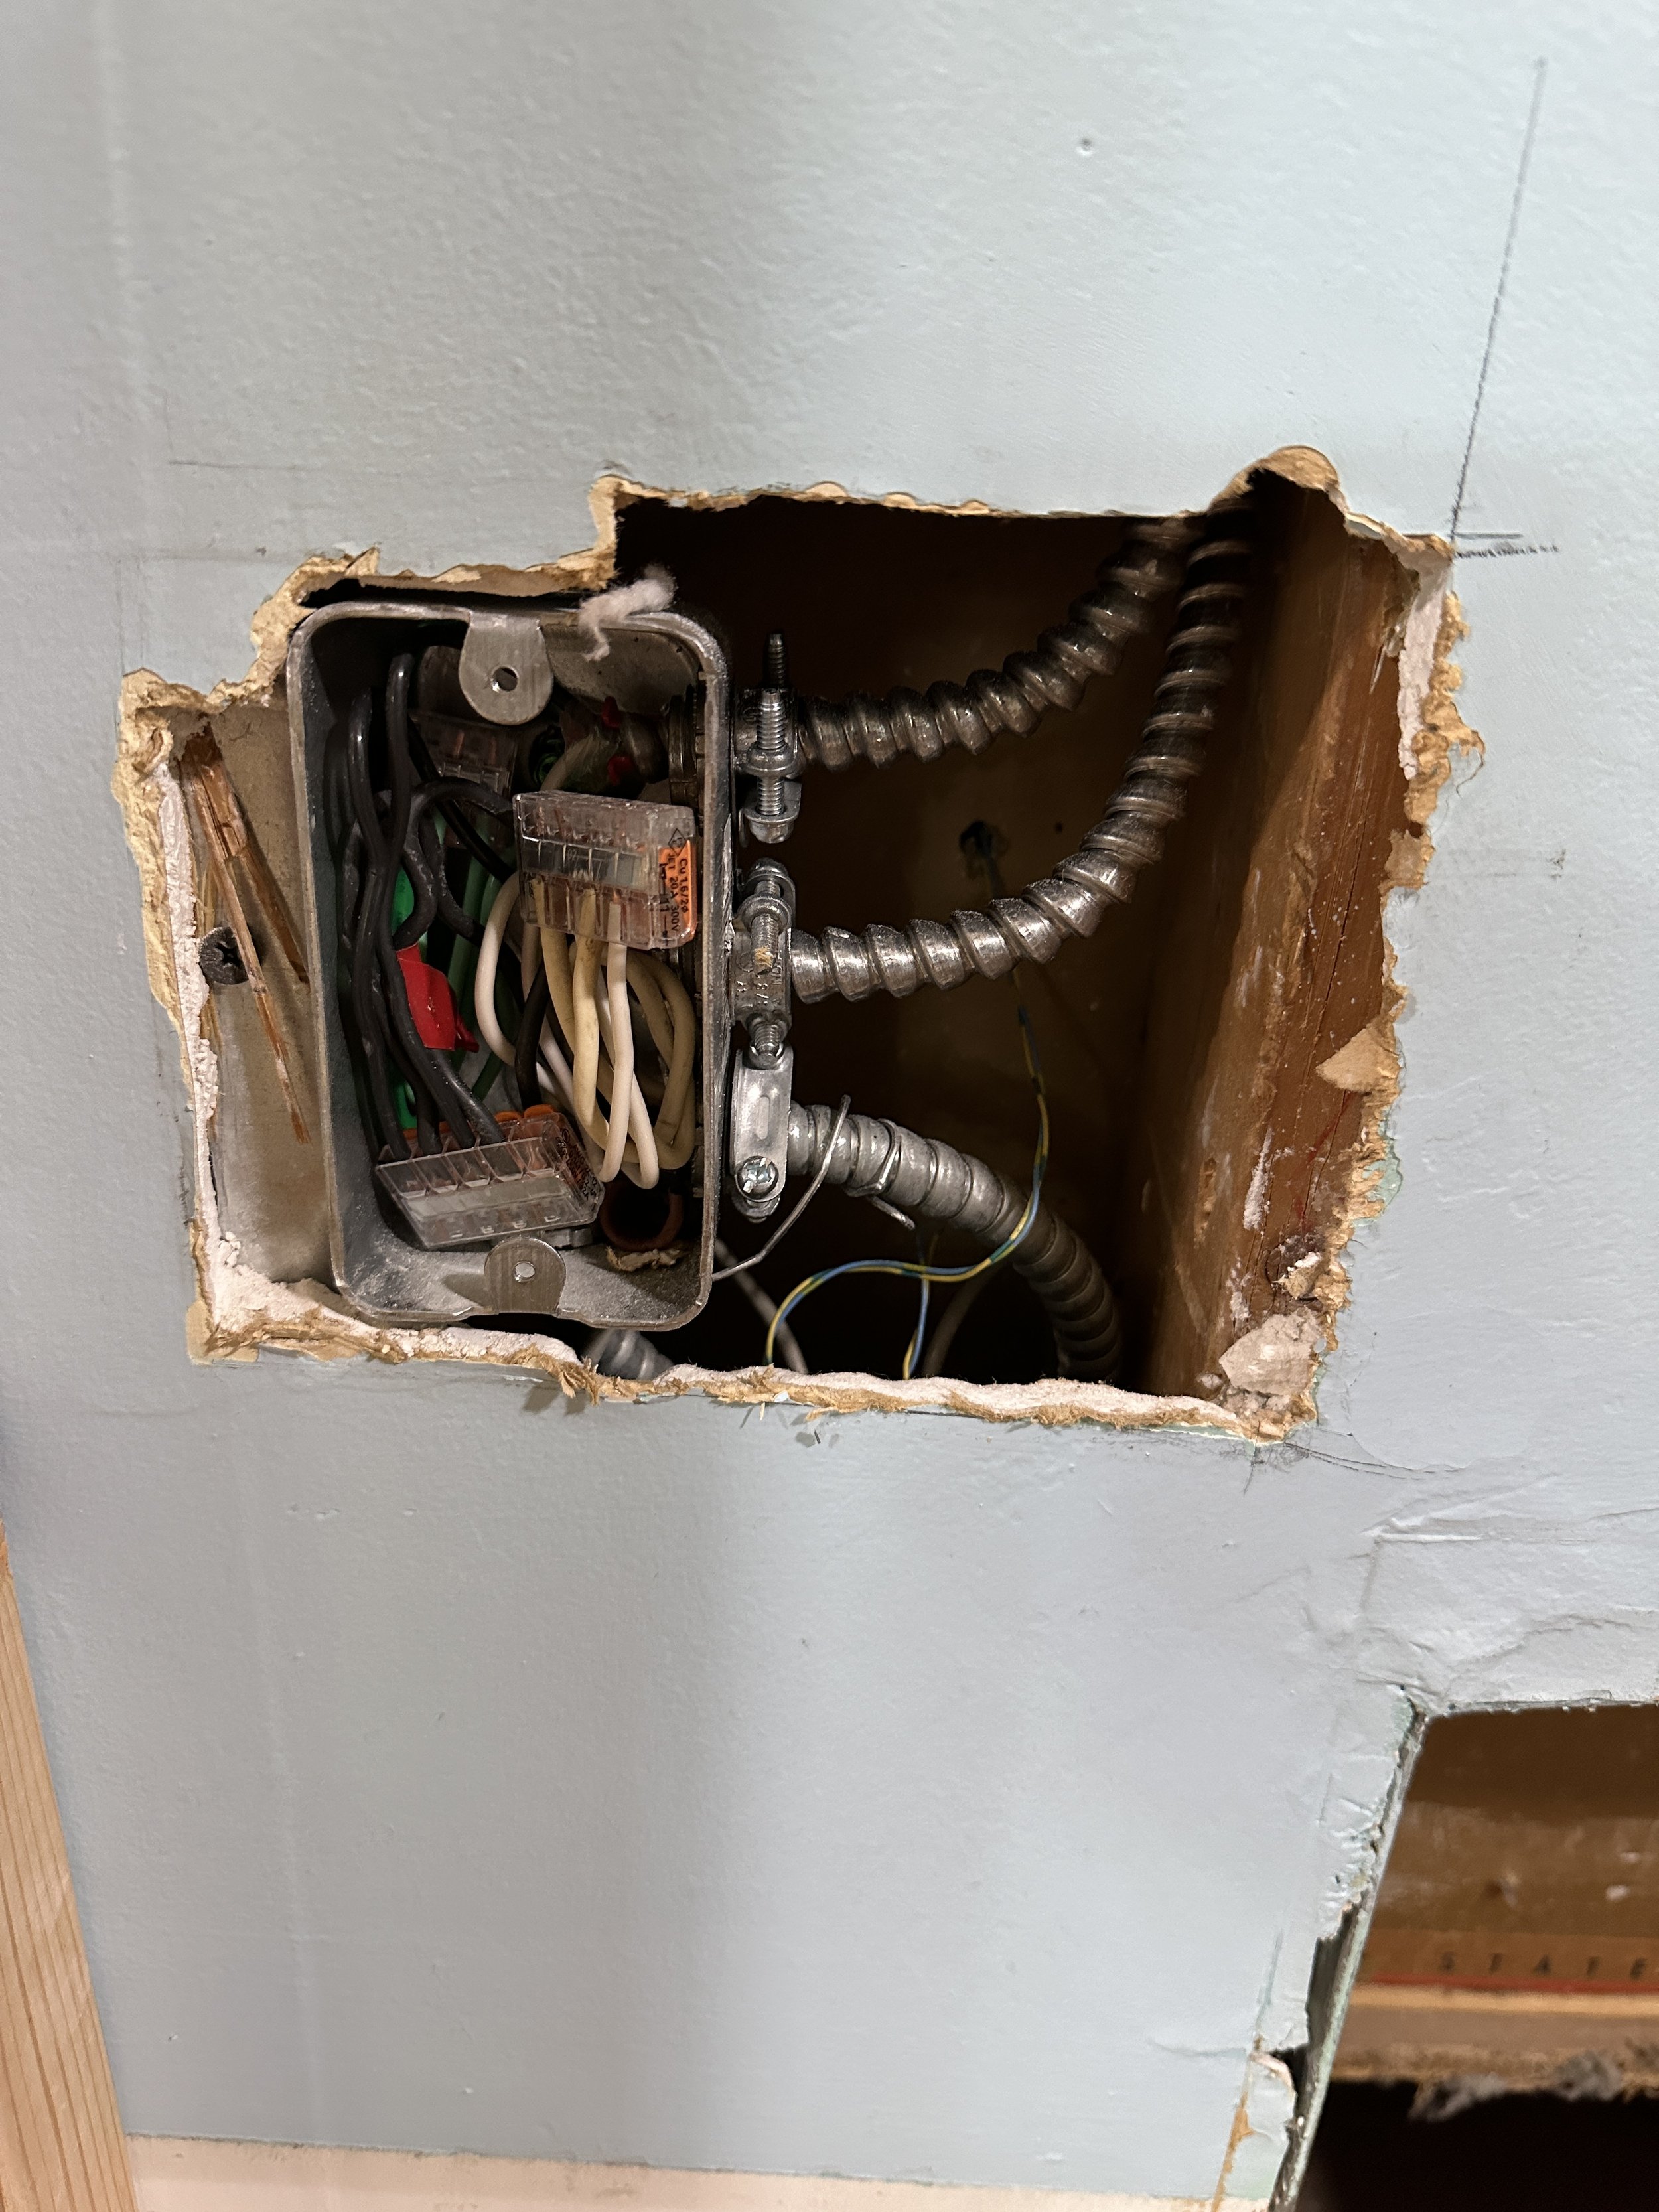
Another outlet located just south of the original doorway was another problem spot. This box initially fed the ceiling fan in the south part of the room and some existing outlets. We had to remove that box to accommodate some additional feeds for the outlets on the dividing wall. I also re-ran the feed to the south ceiling fan electrical box to be consistent with the other wiring.
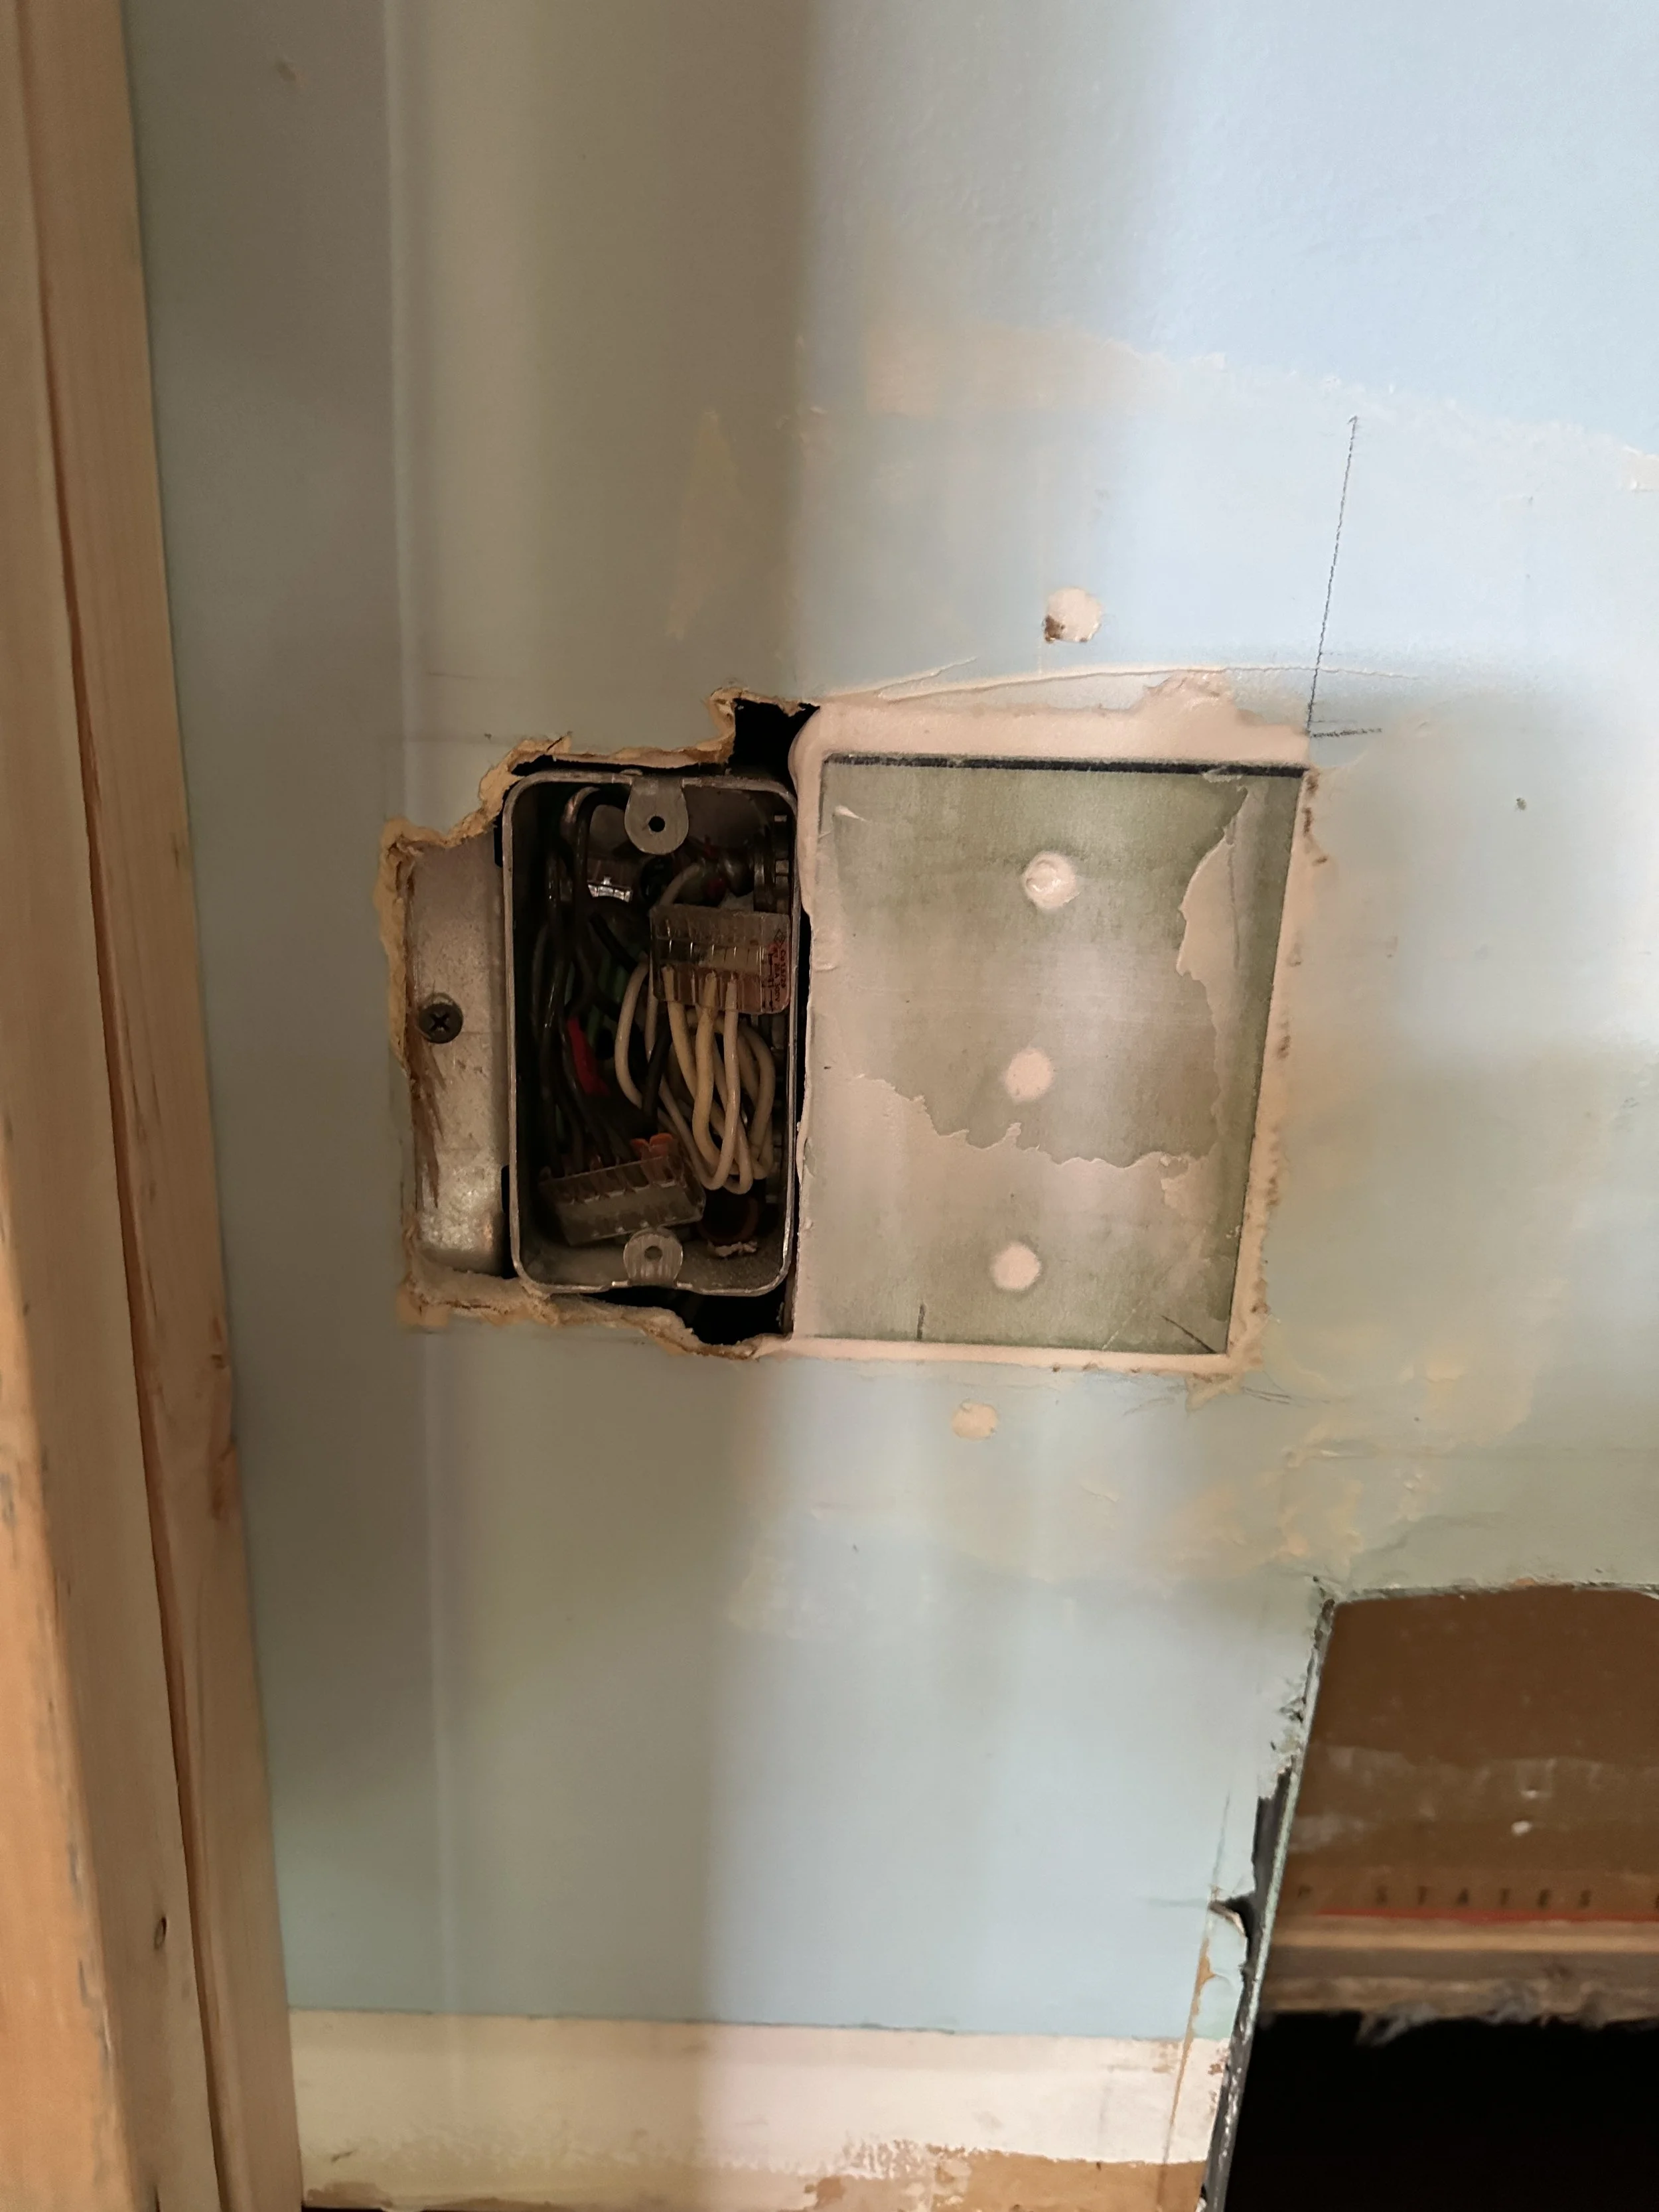
DRYWALL
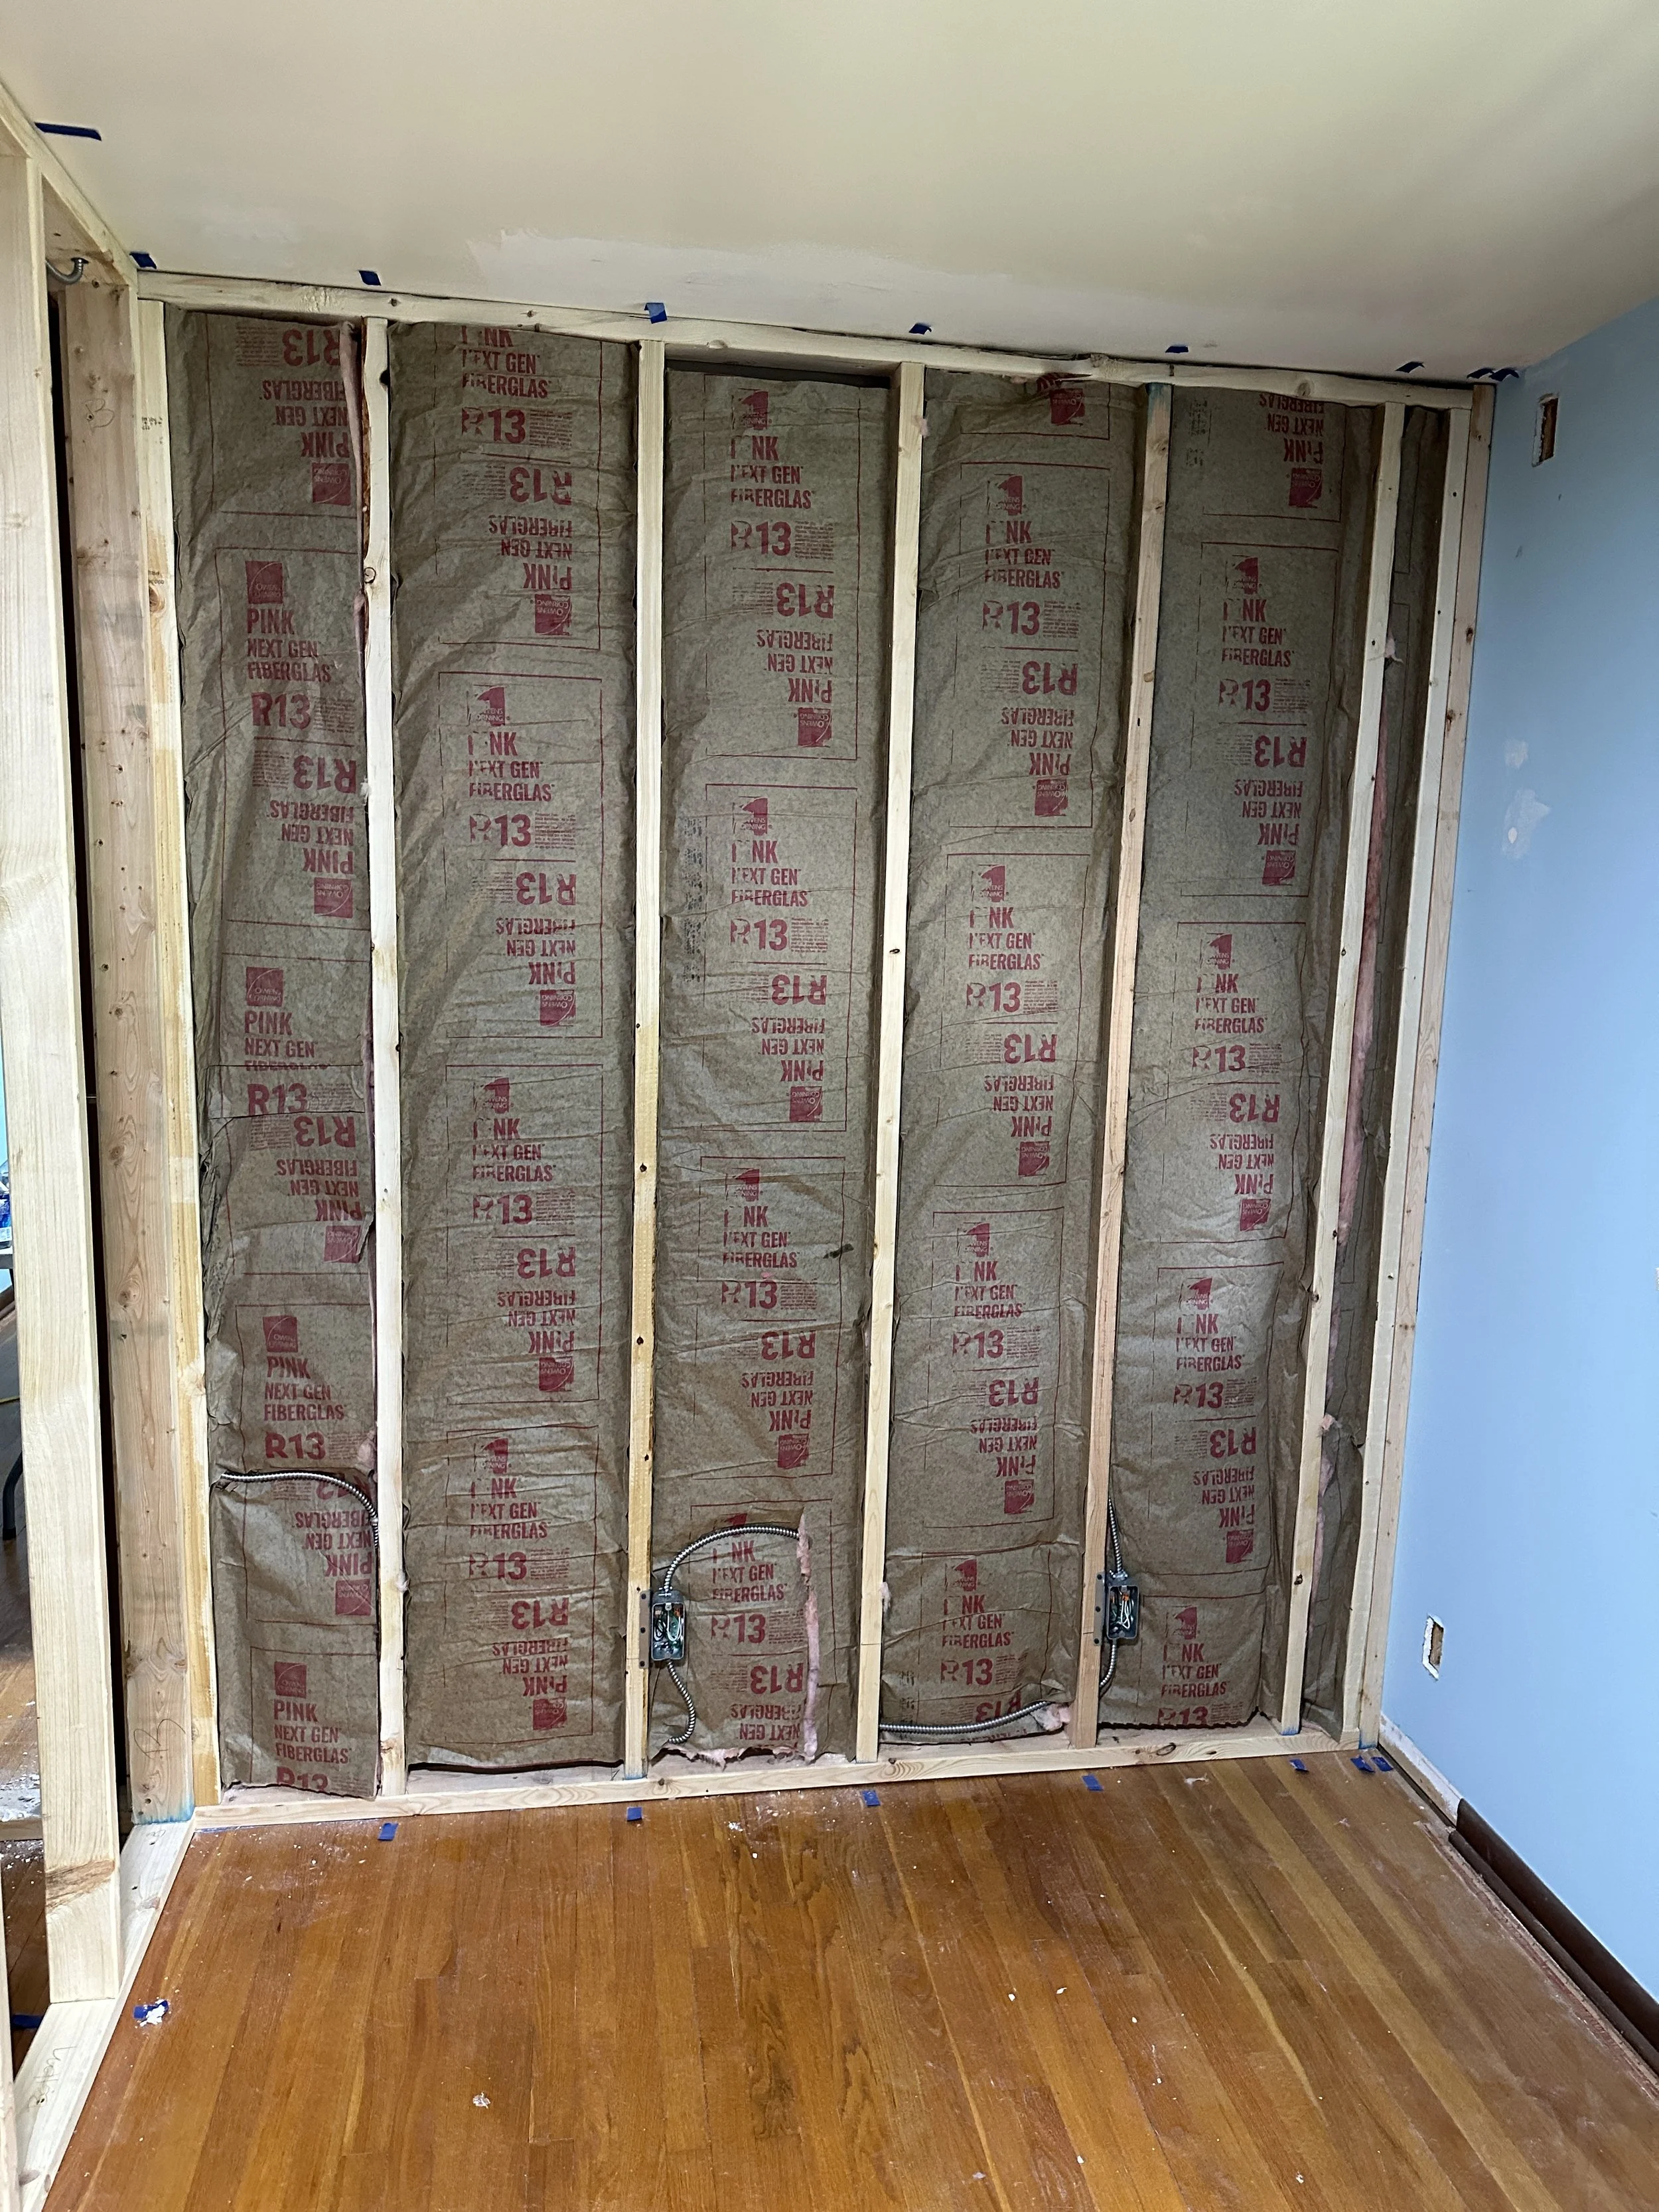
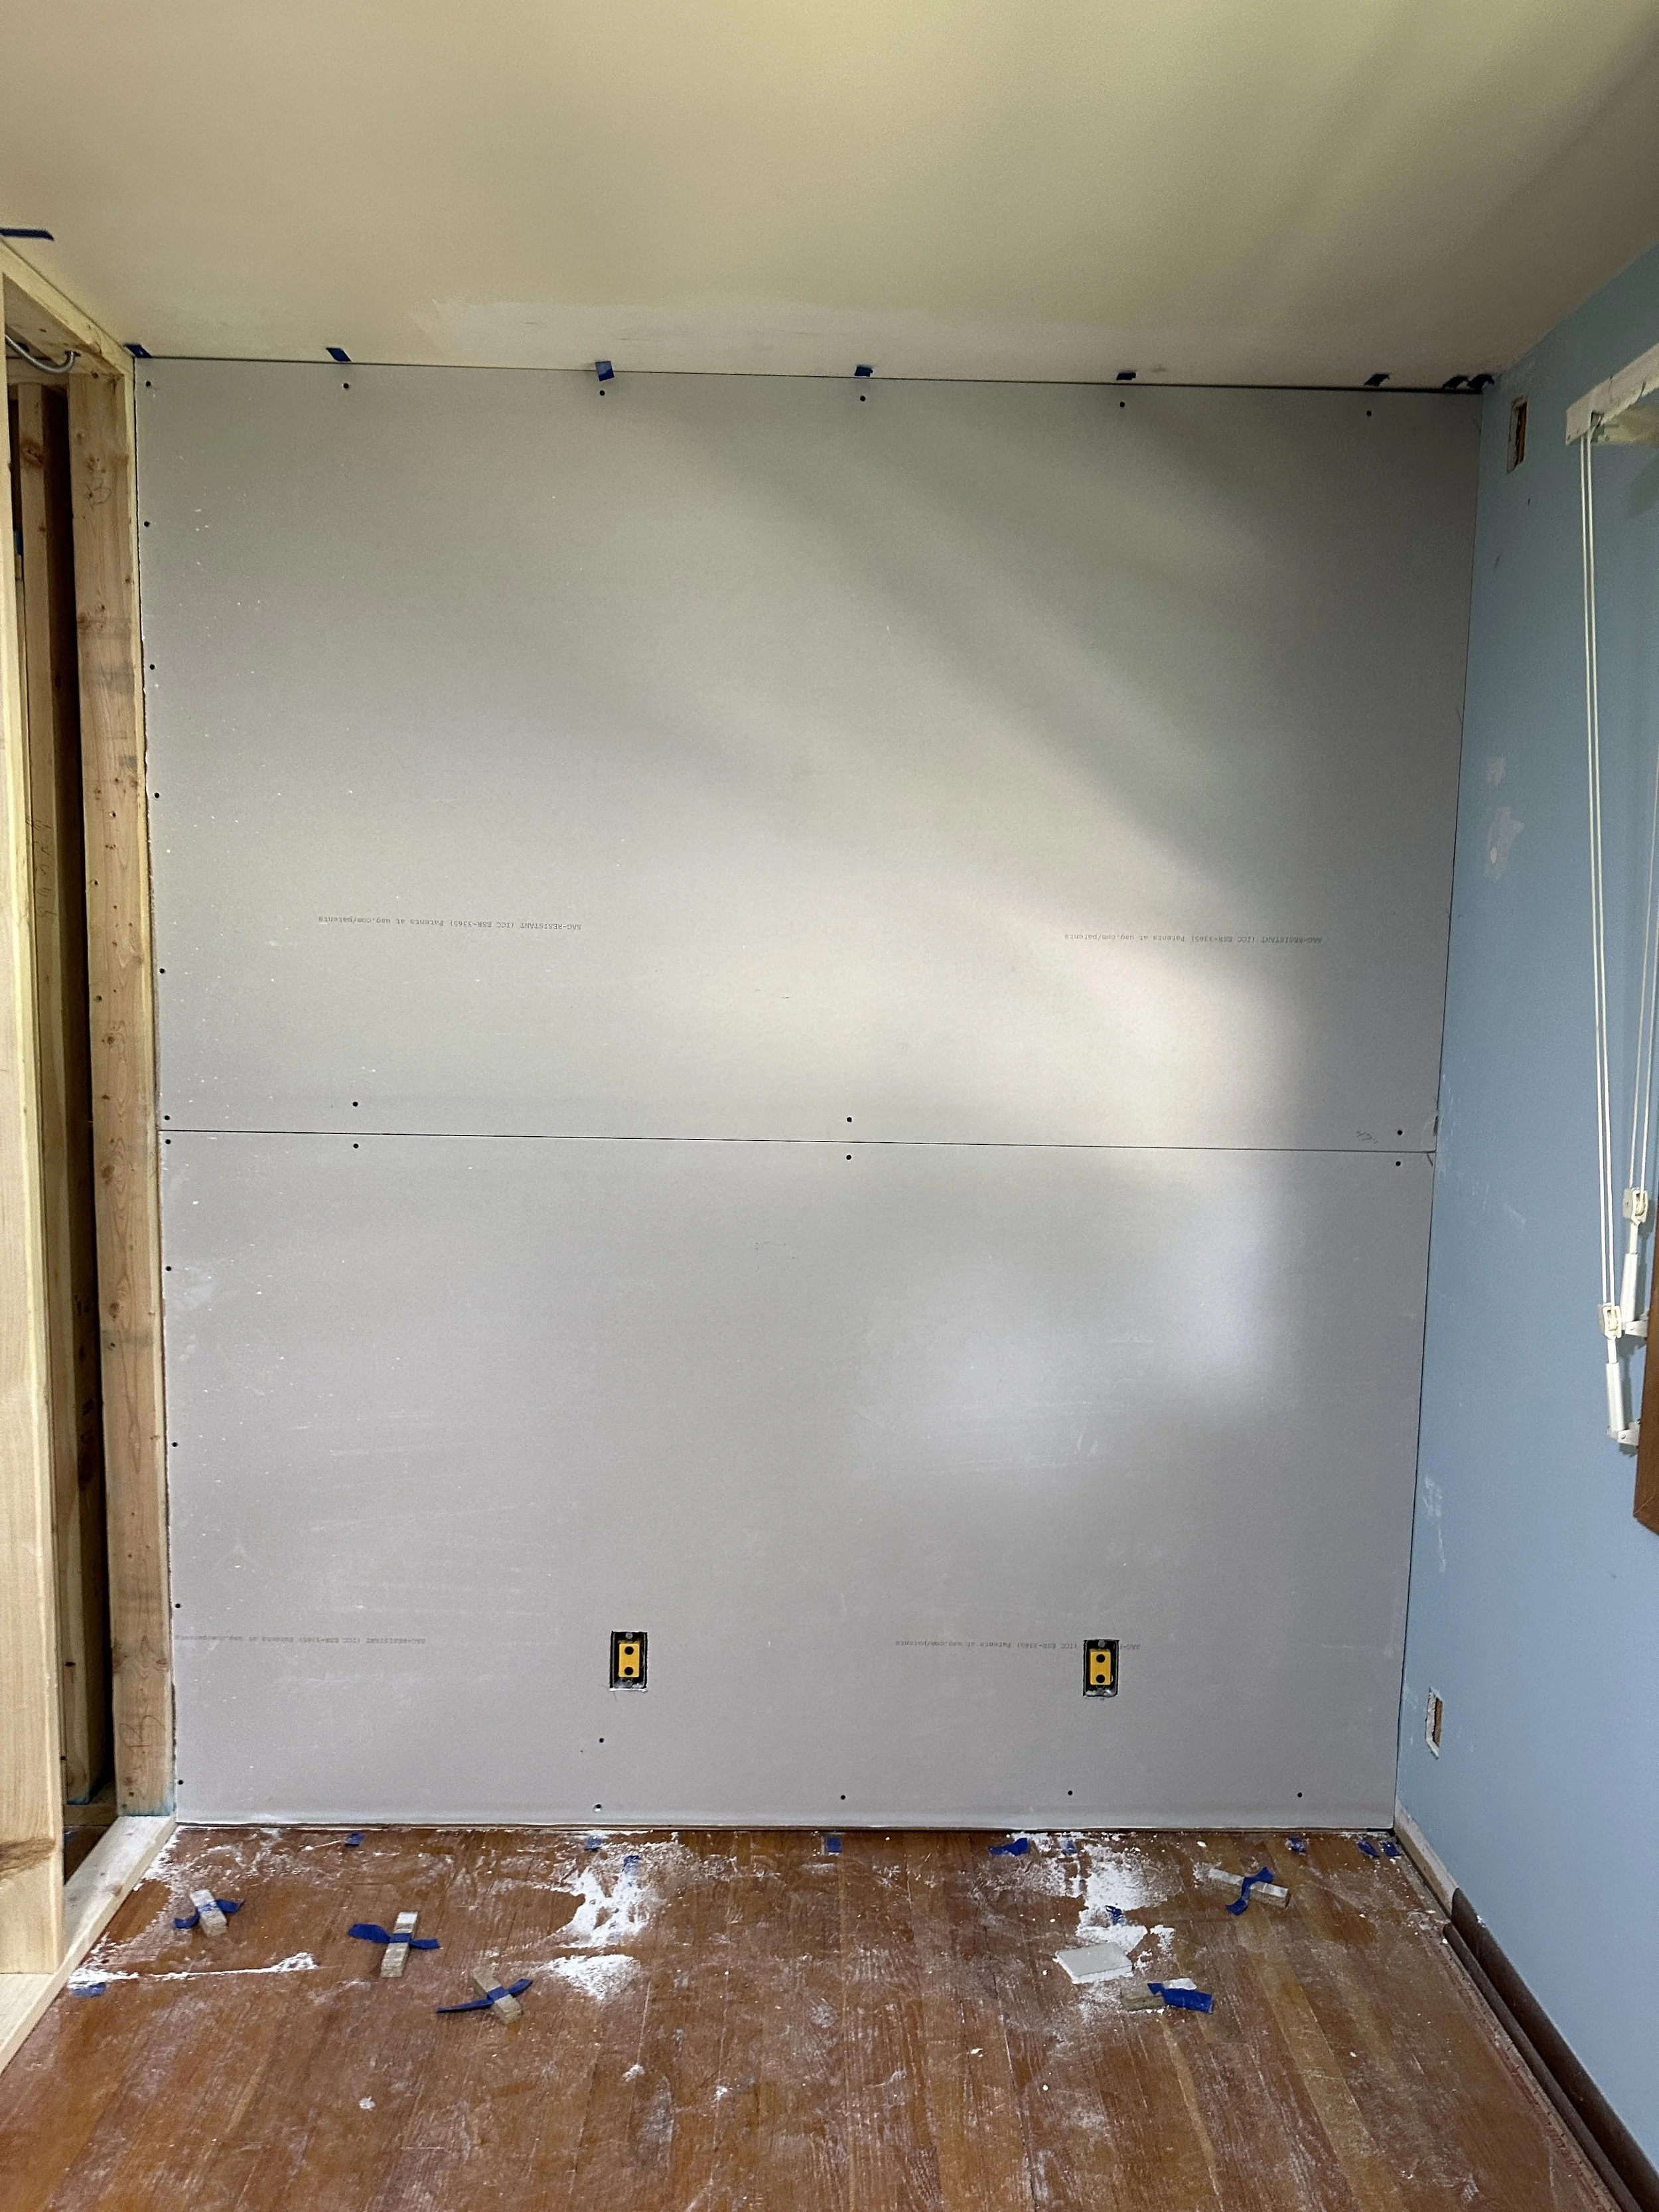
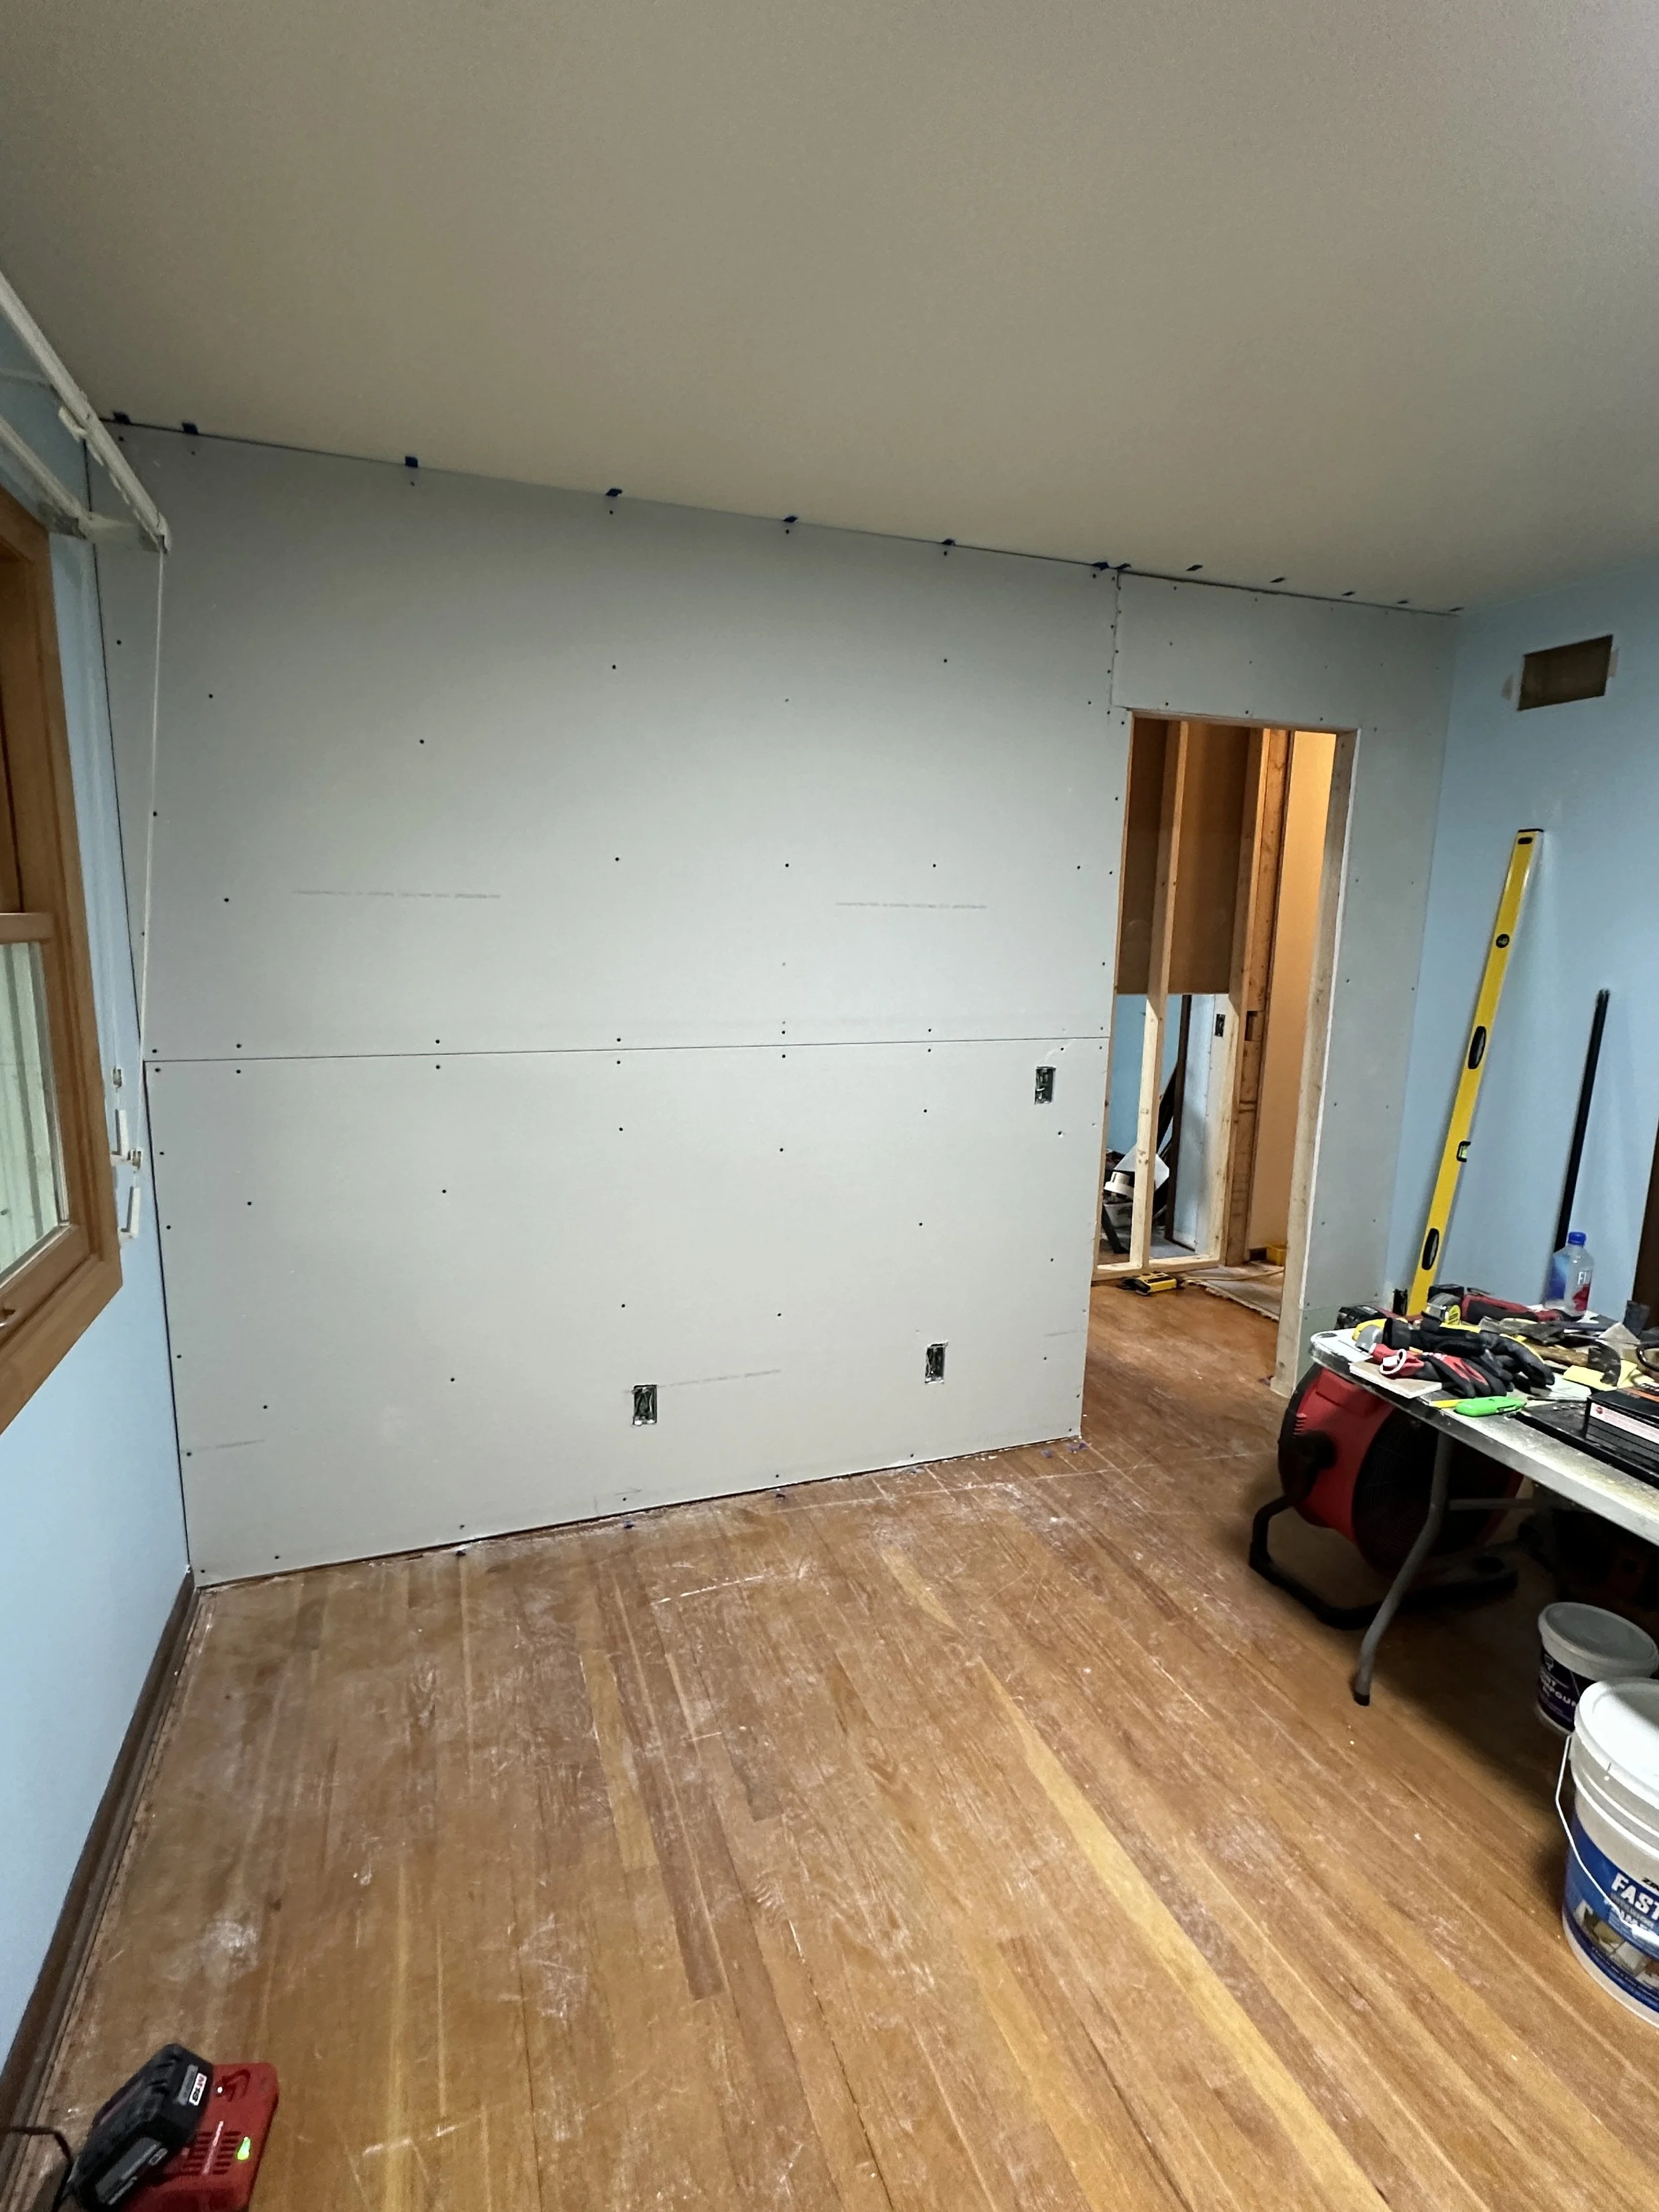

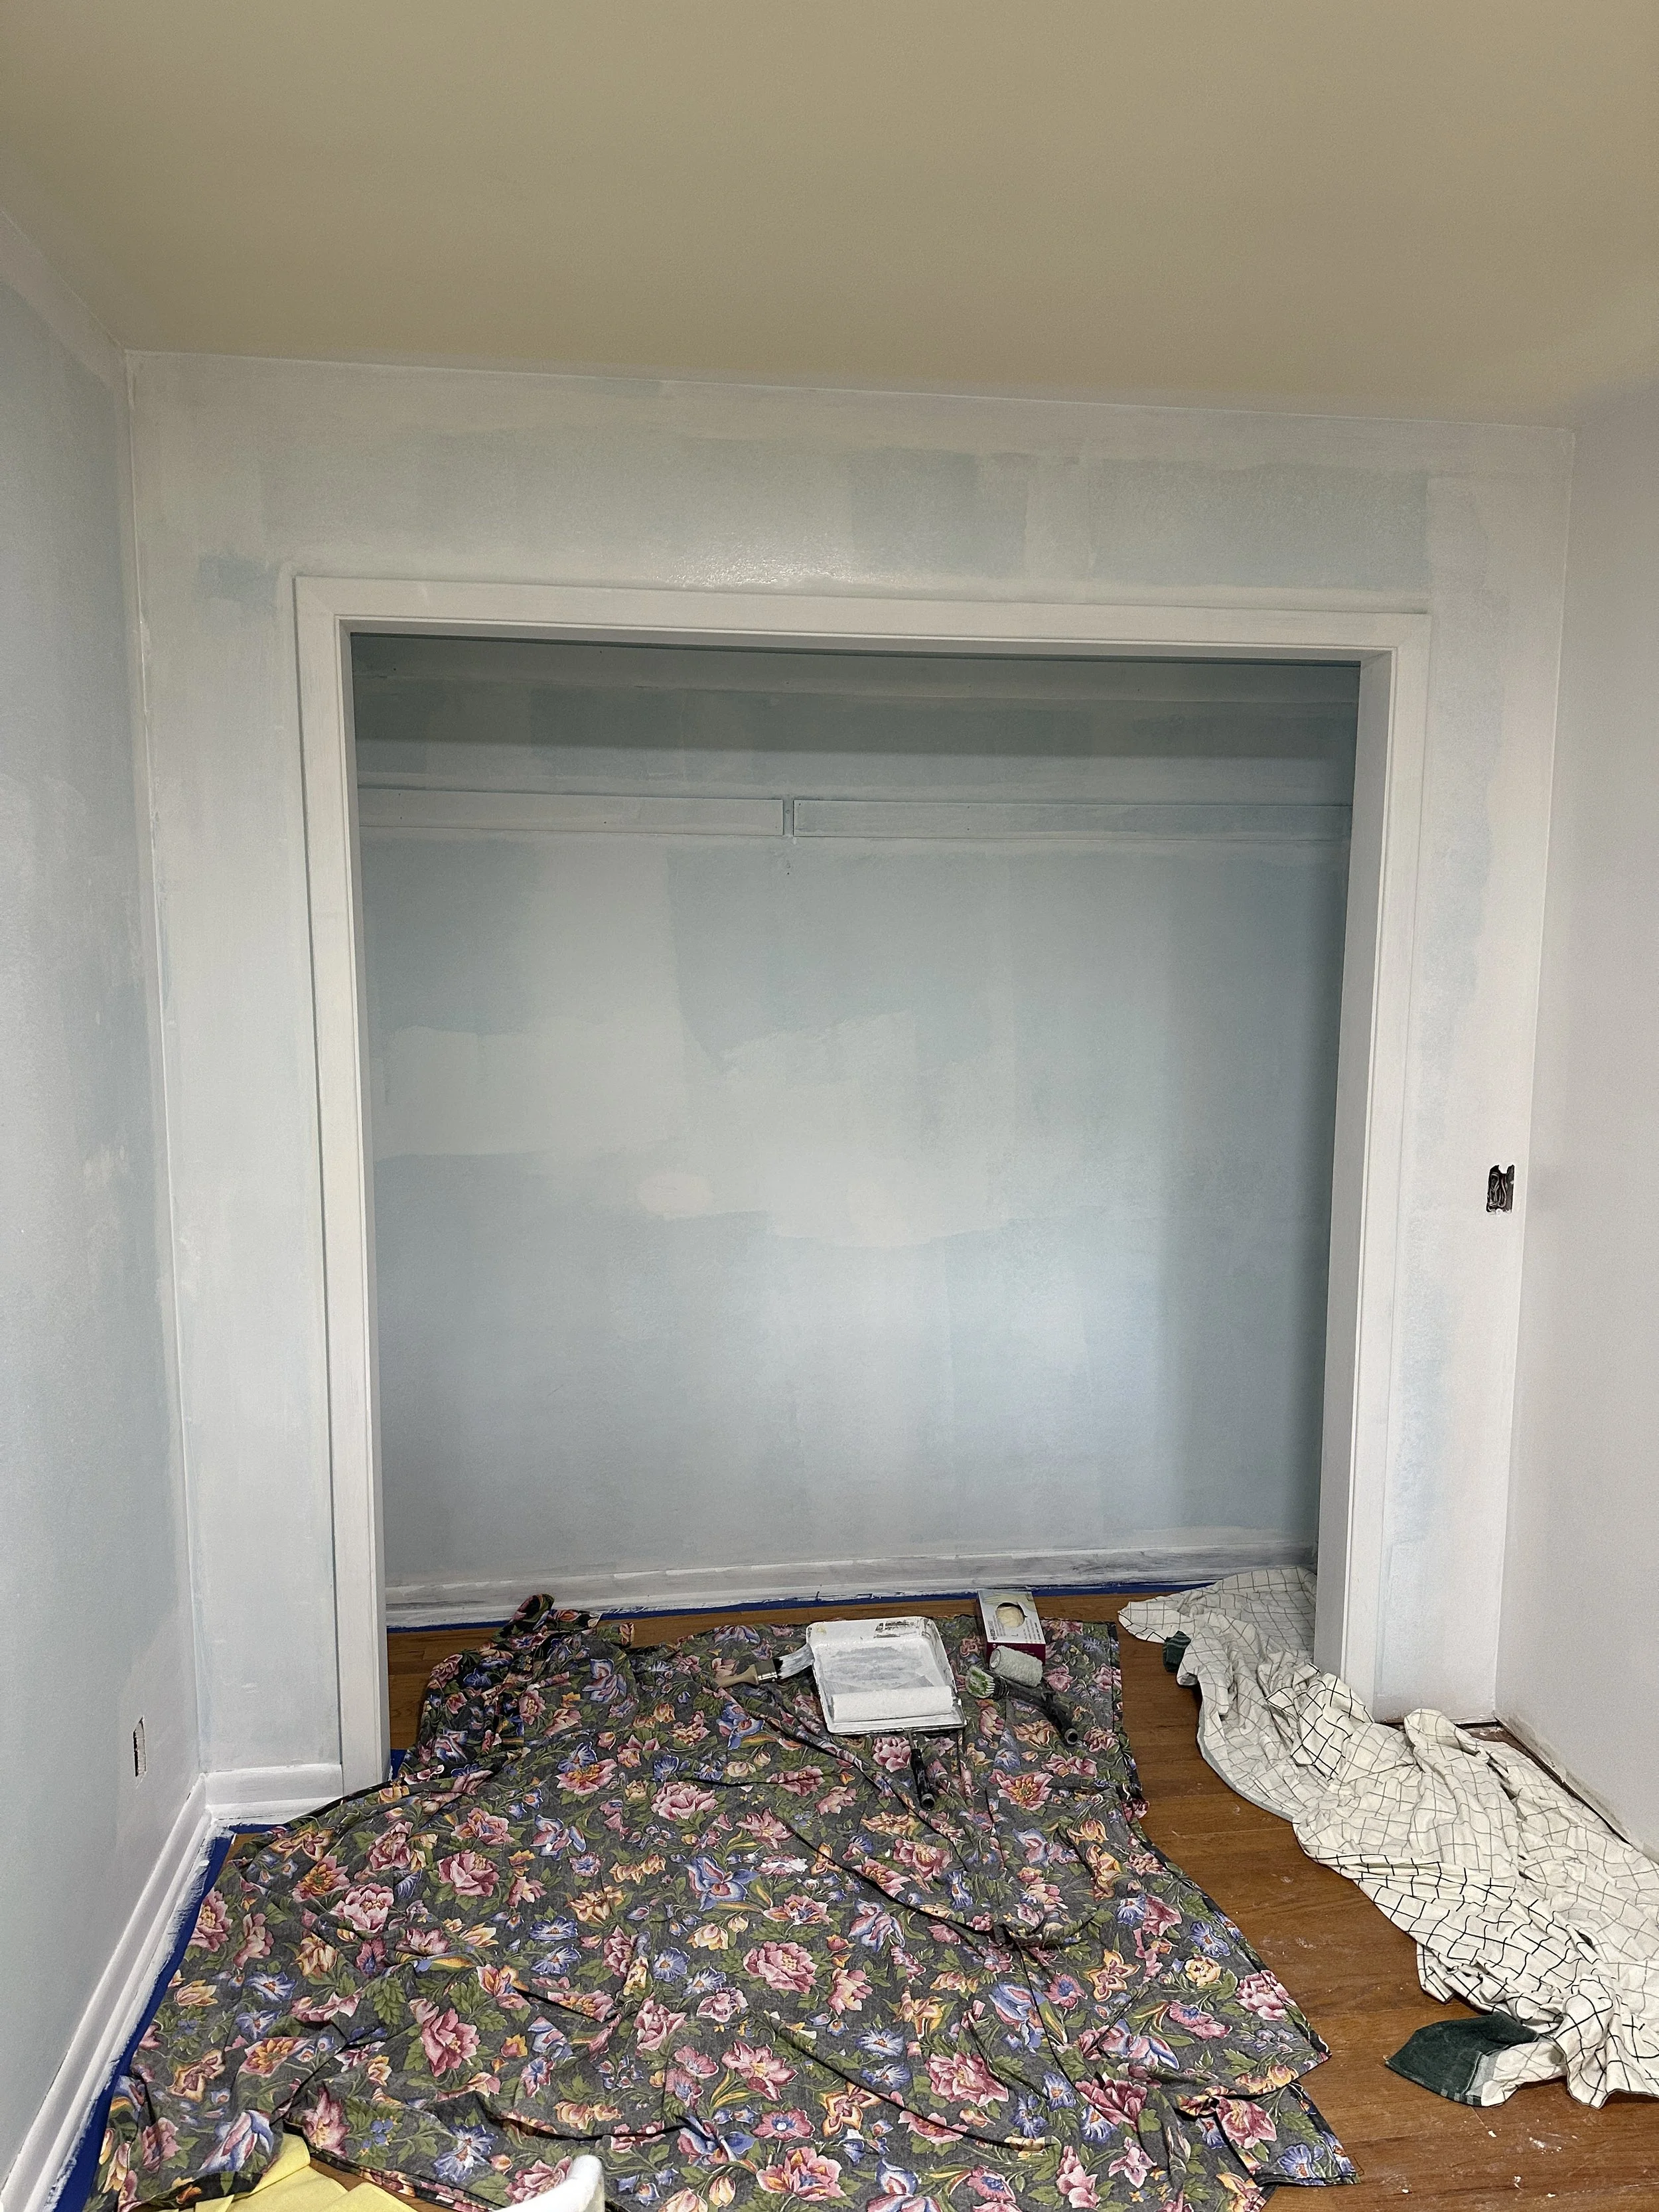
Before adding drywall to the framing we insulated the main separating wall. This was because it connected to an outside wall and we didn’t want to have any temperature influences from the outside effecting the rooms. The drywall process was pretty straight forward.
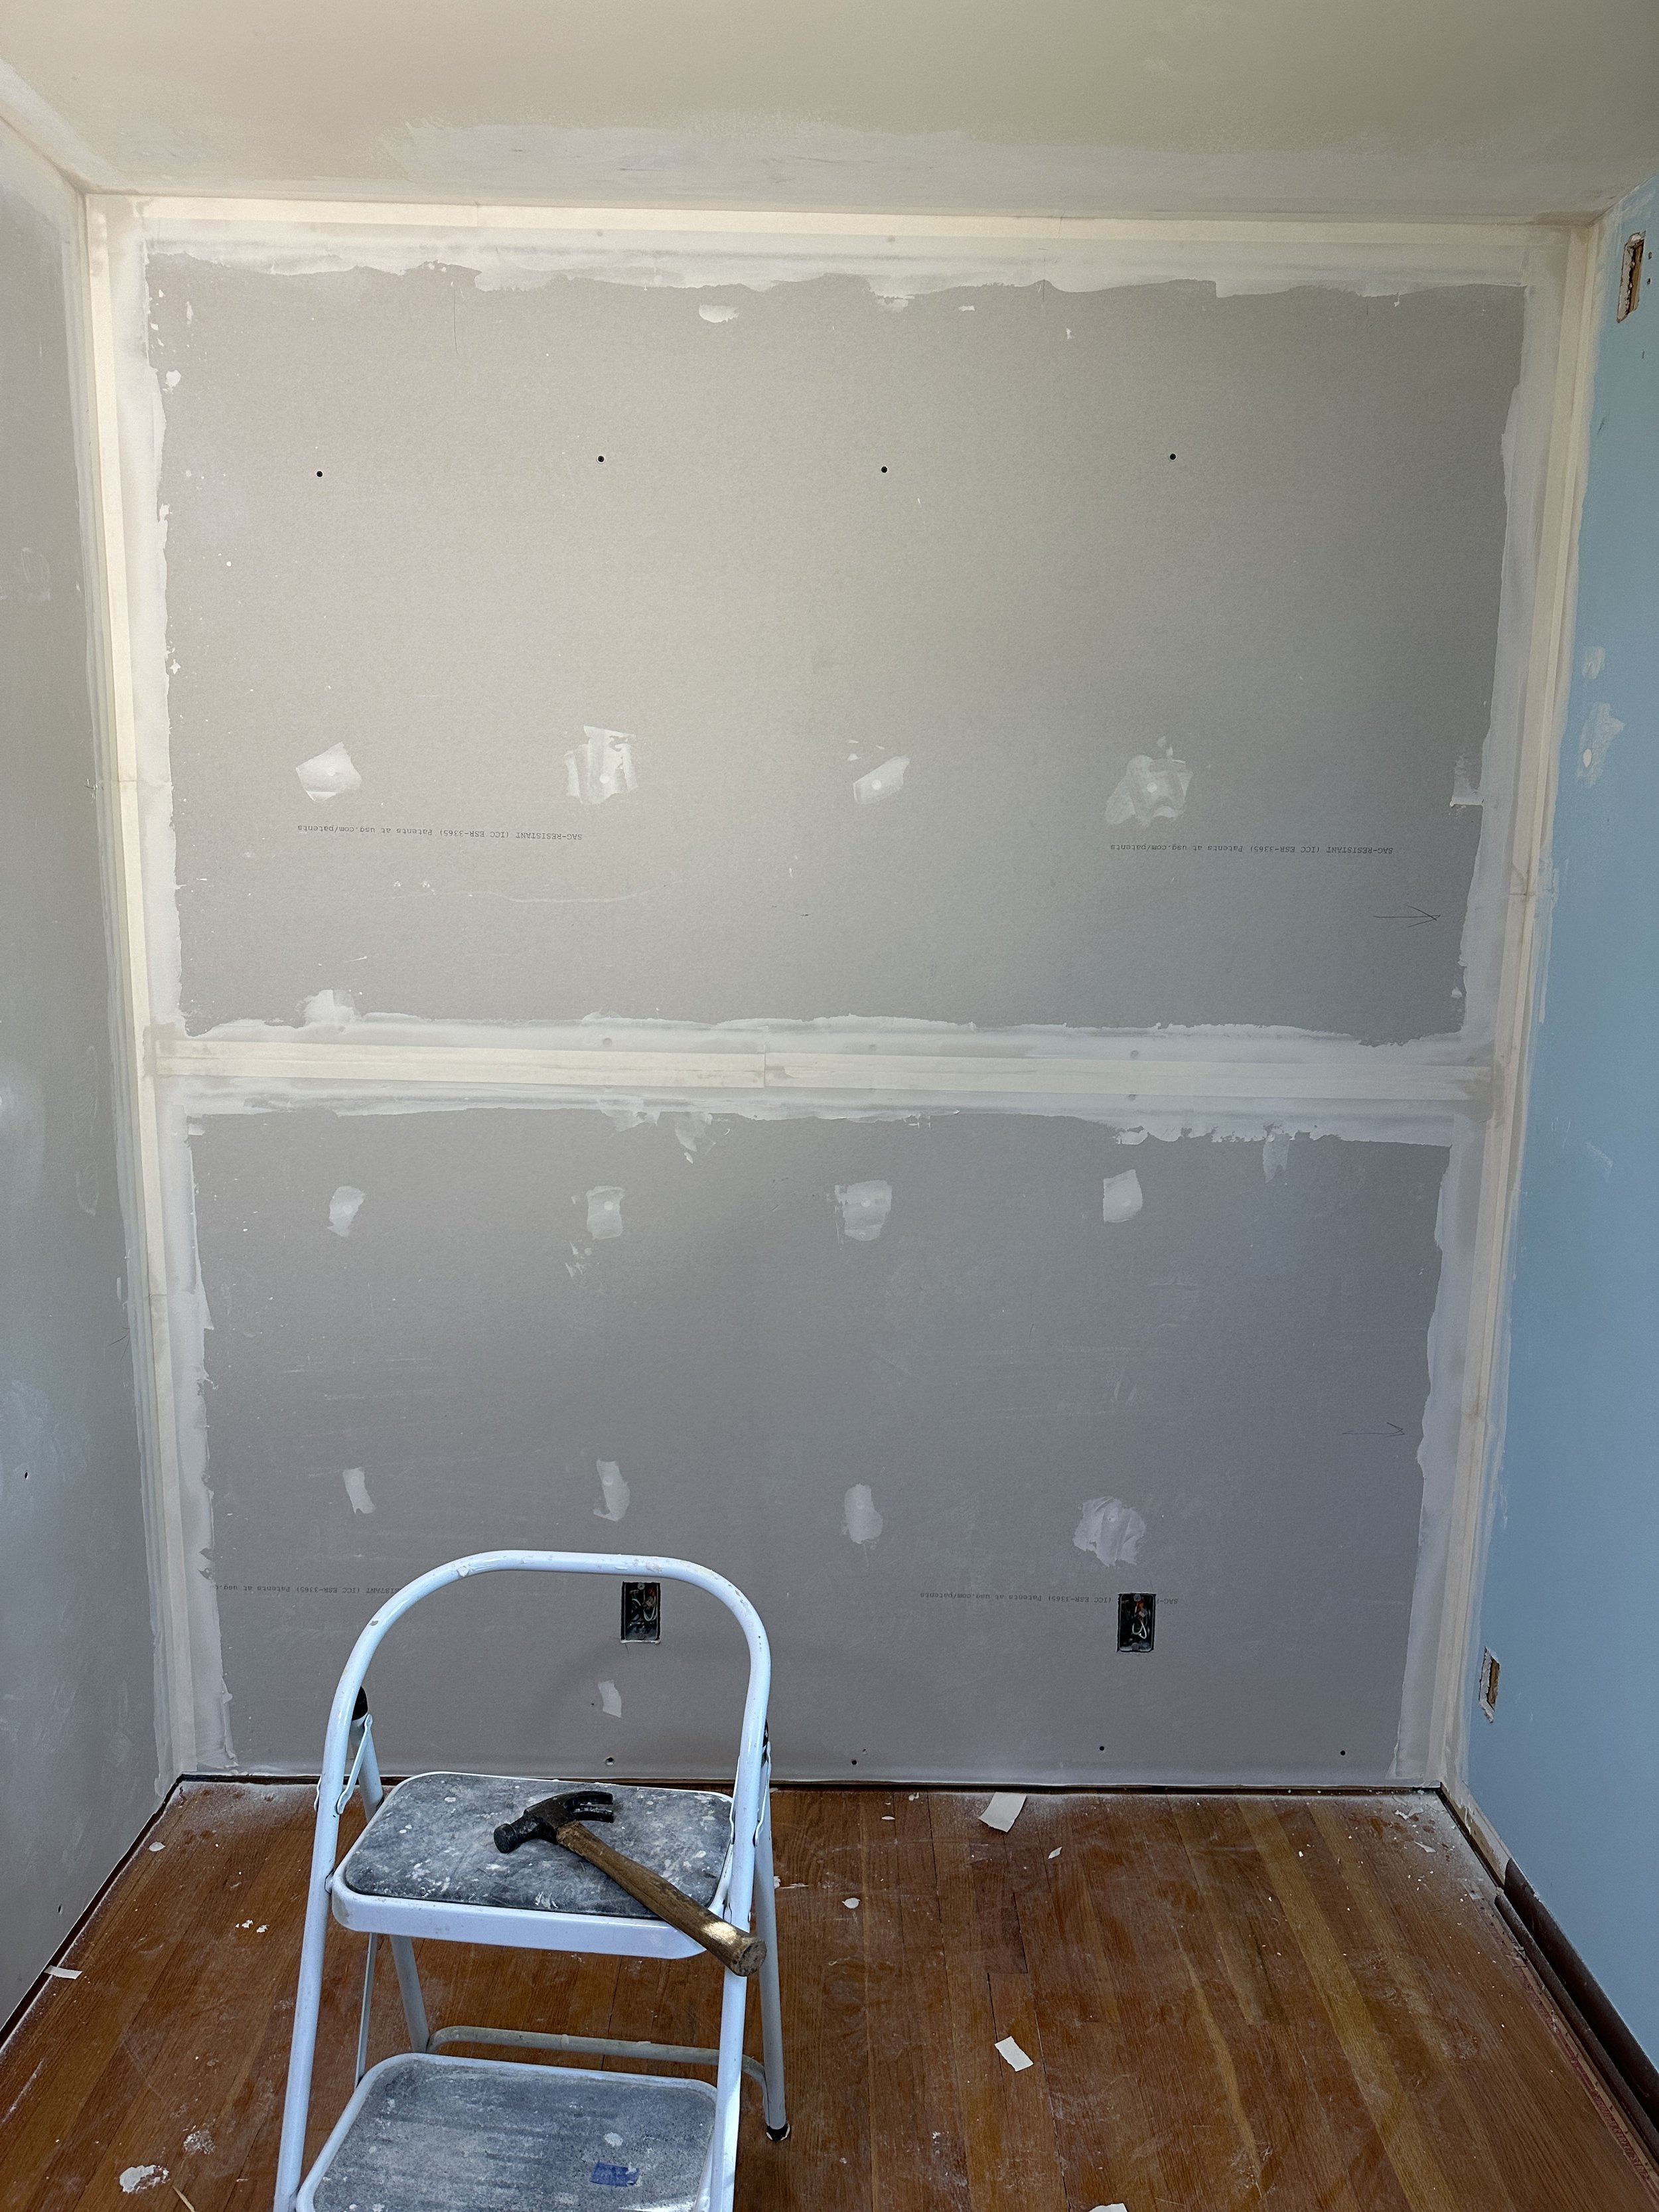
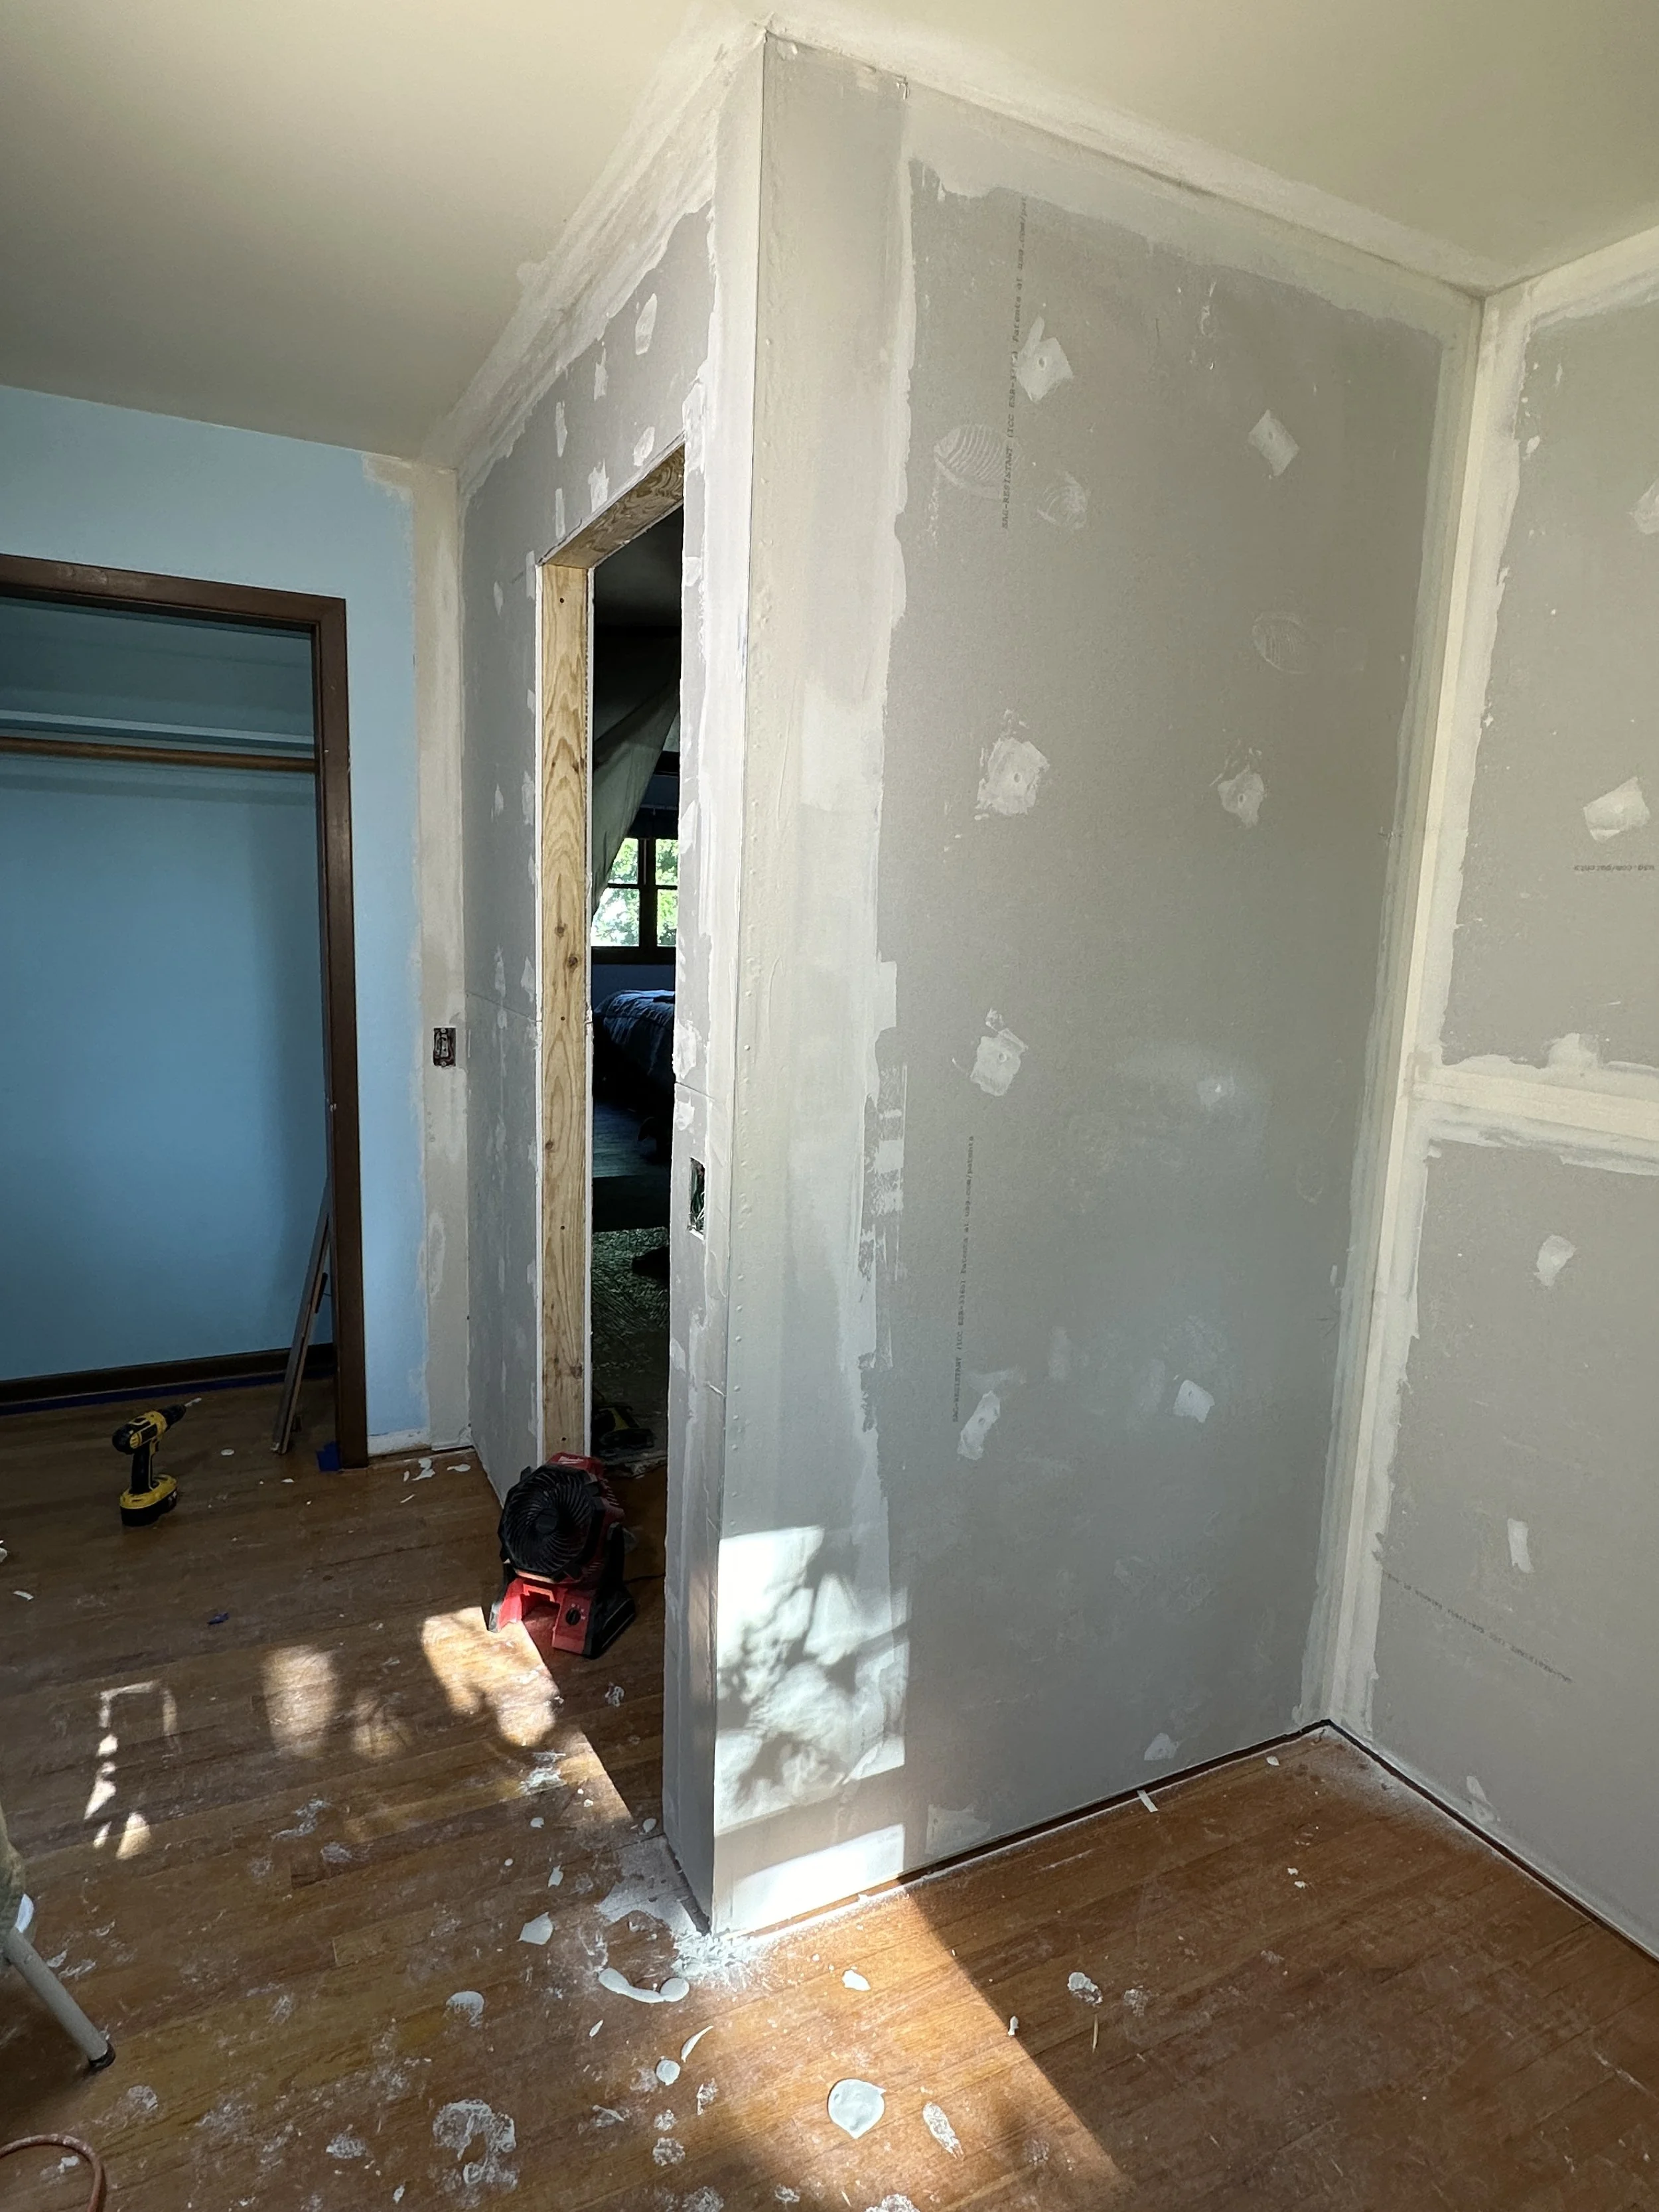
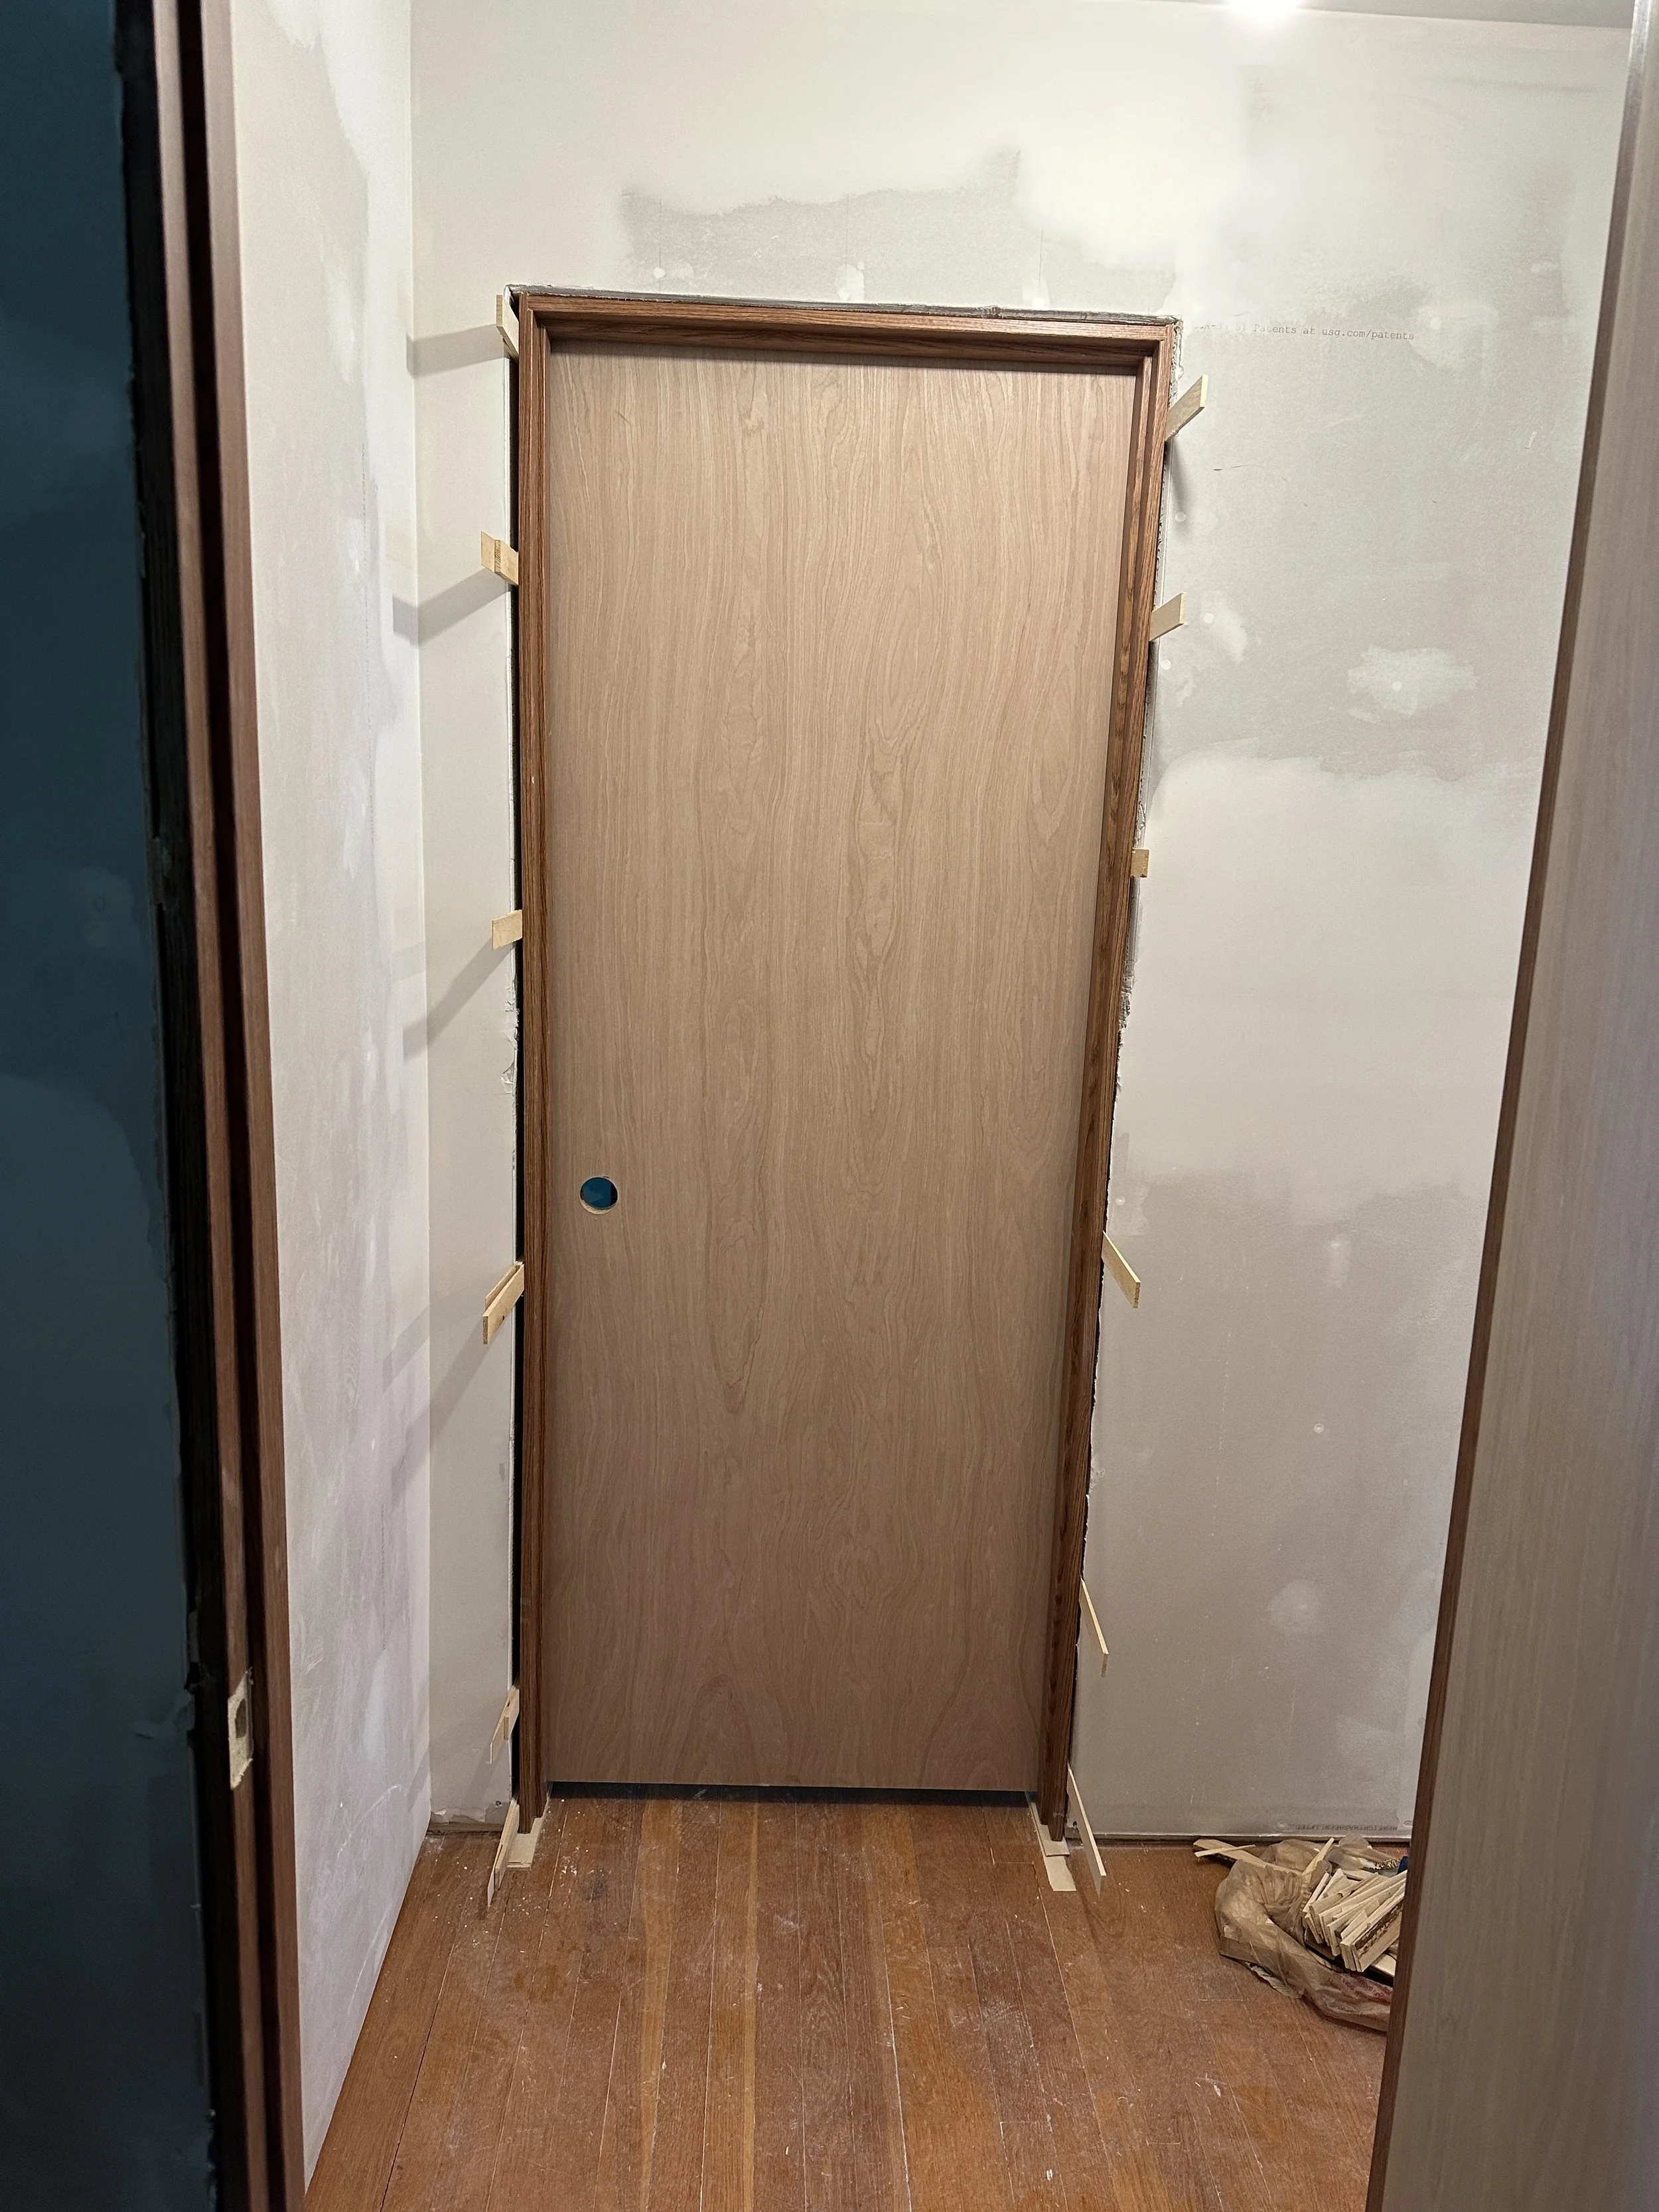
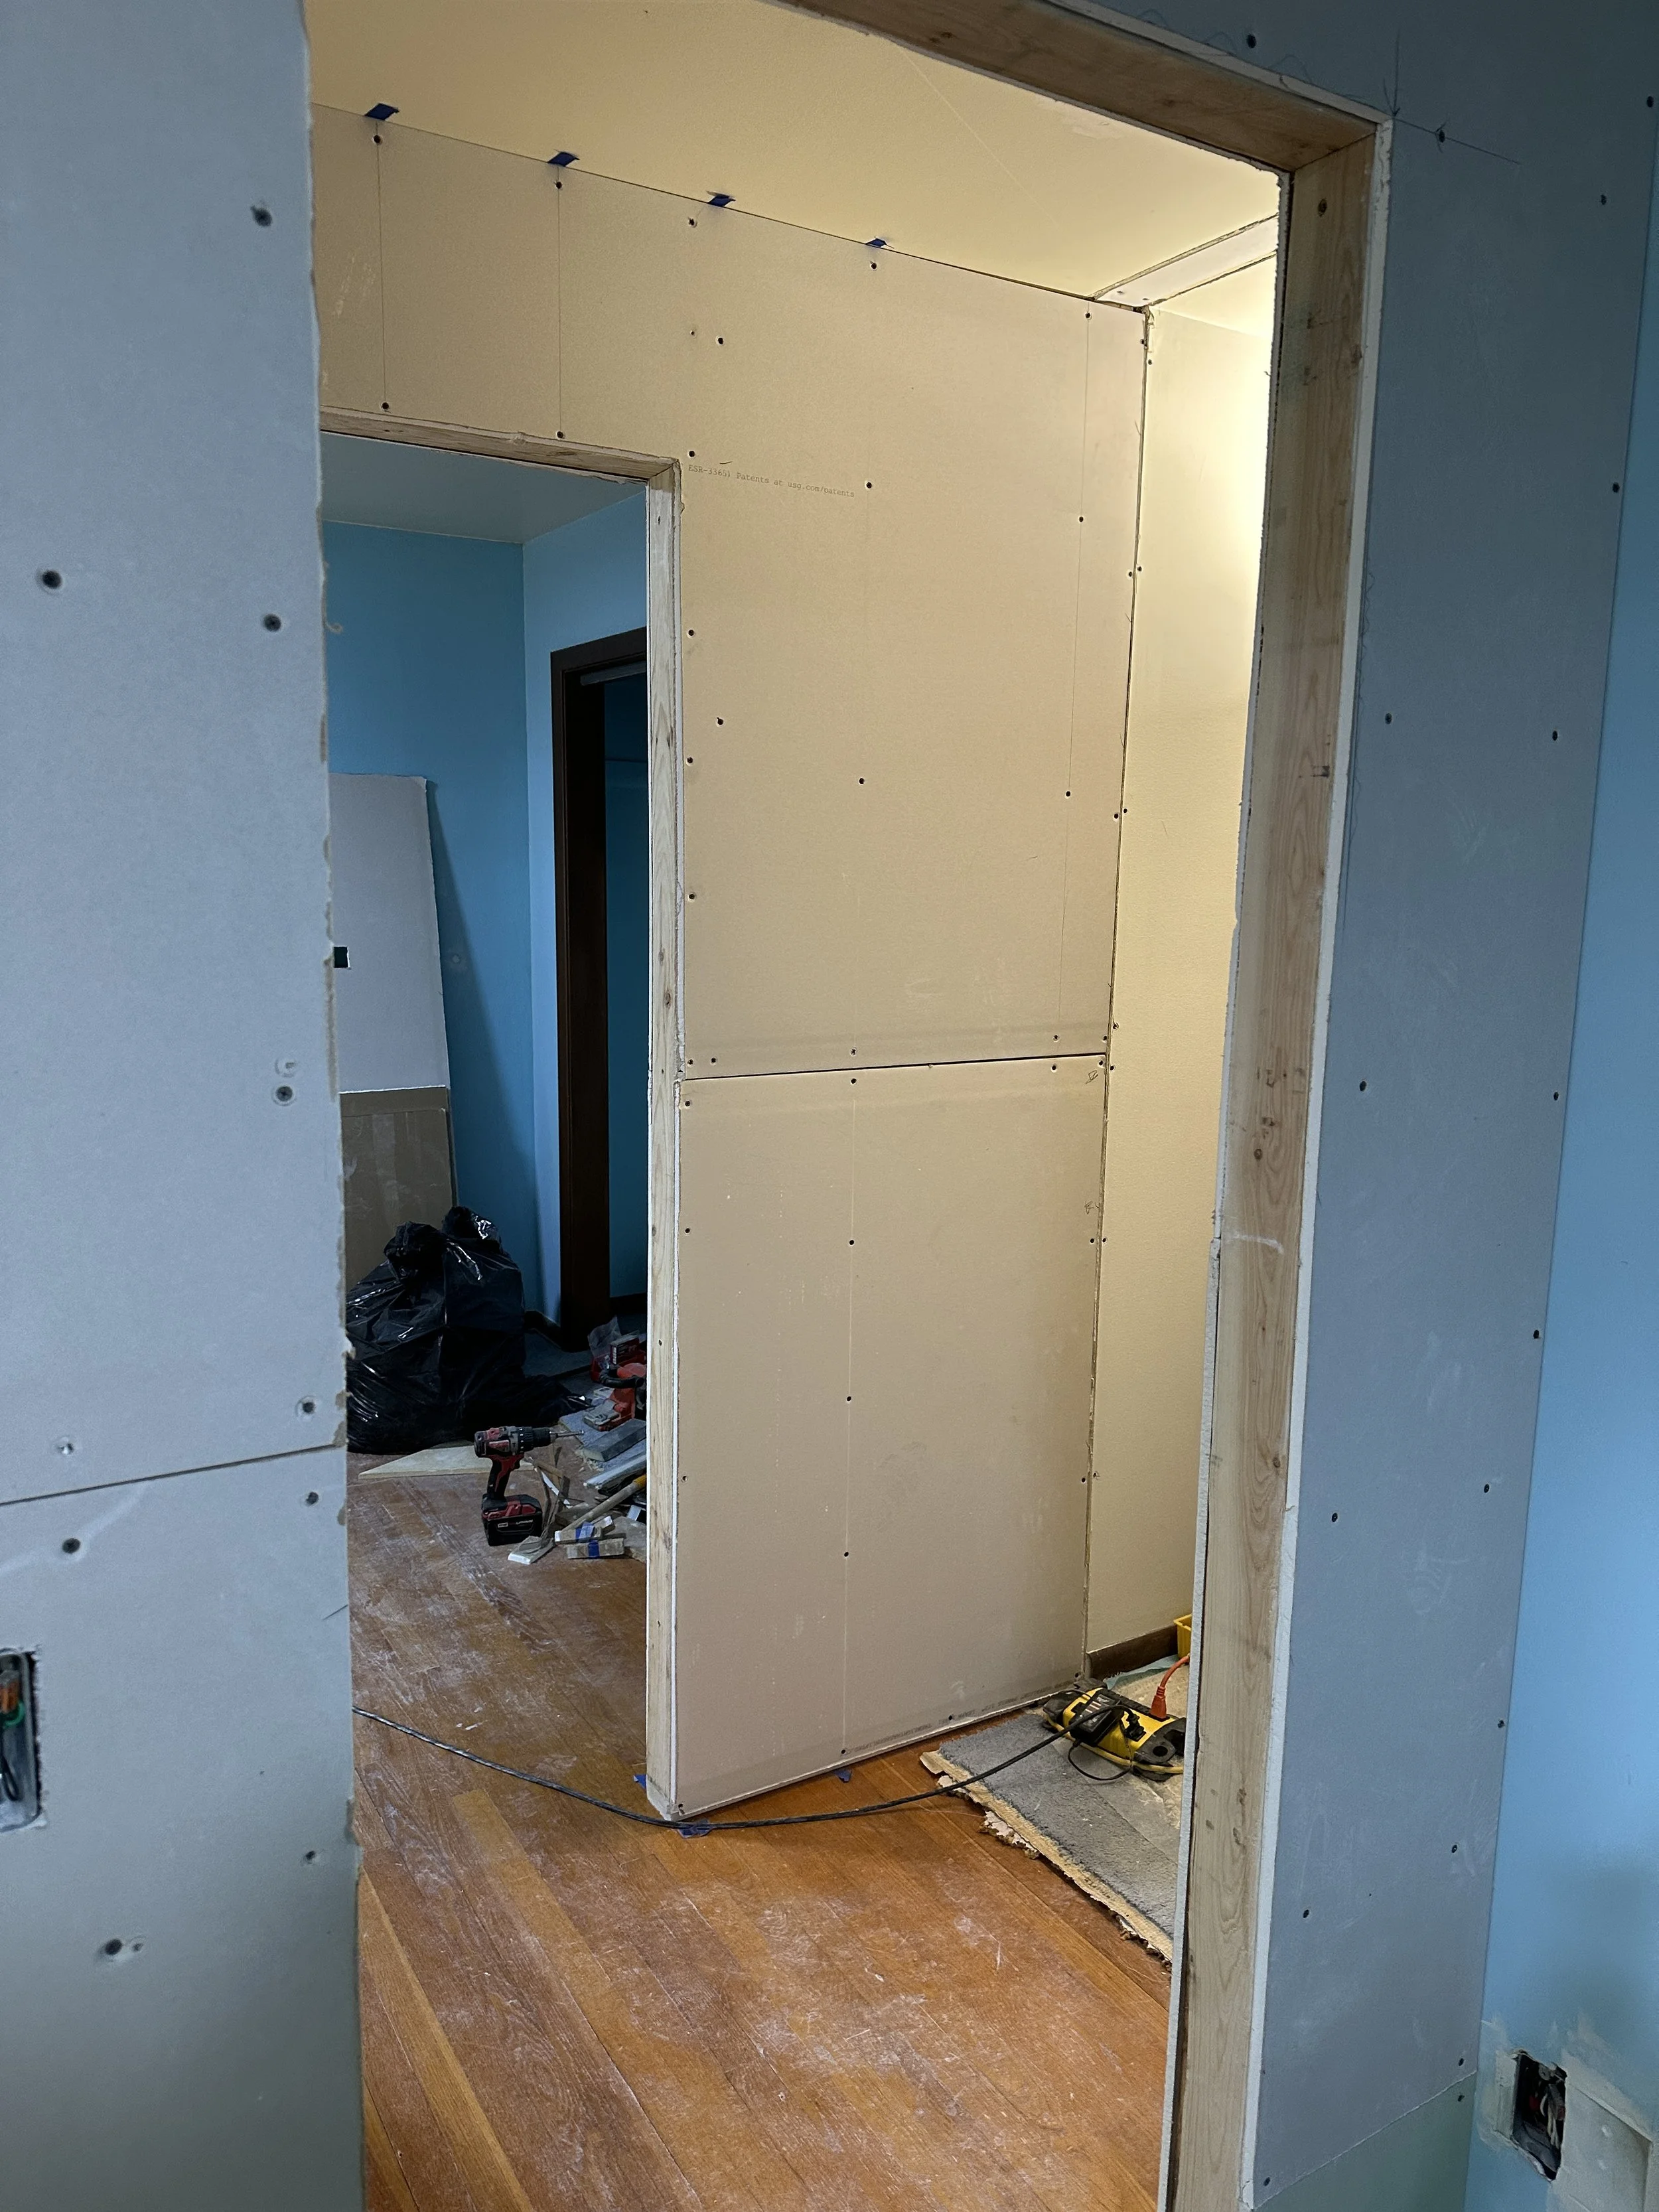
Finishing the drywall or mudding was not a highlight of the build. It’s very messy and time consuming. After the drywall was finished and before painting we installed the doorways with the help of Matt’s future father-in-law Joe. The doors would be removed and painted before final installation.
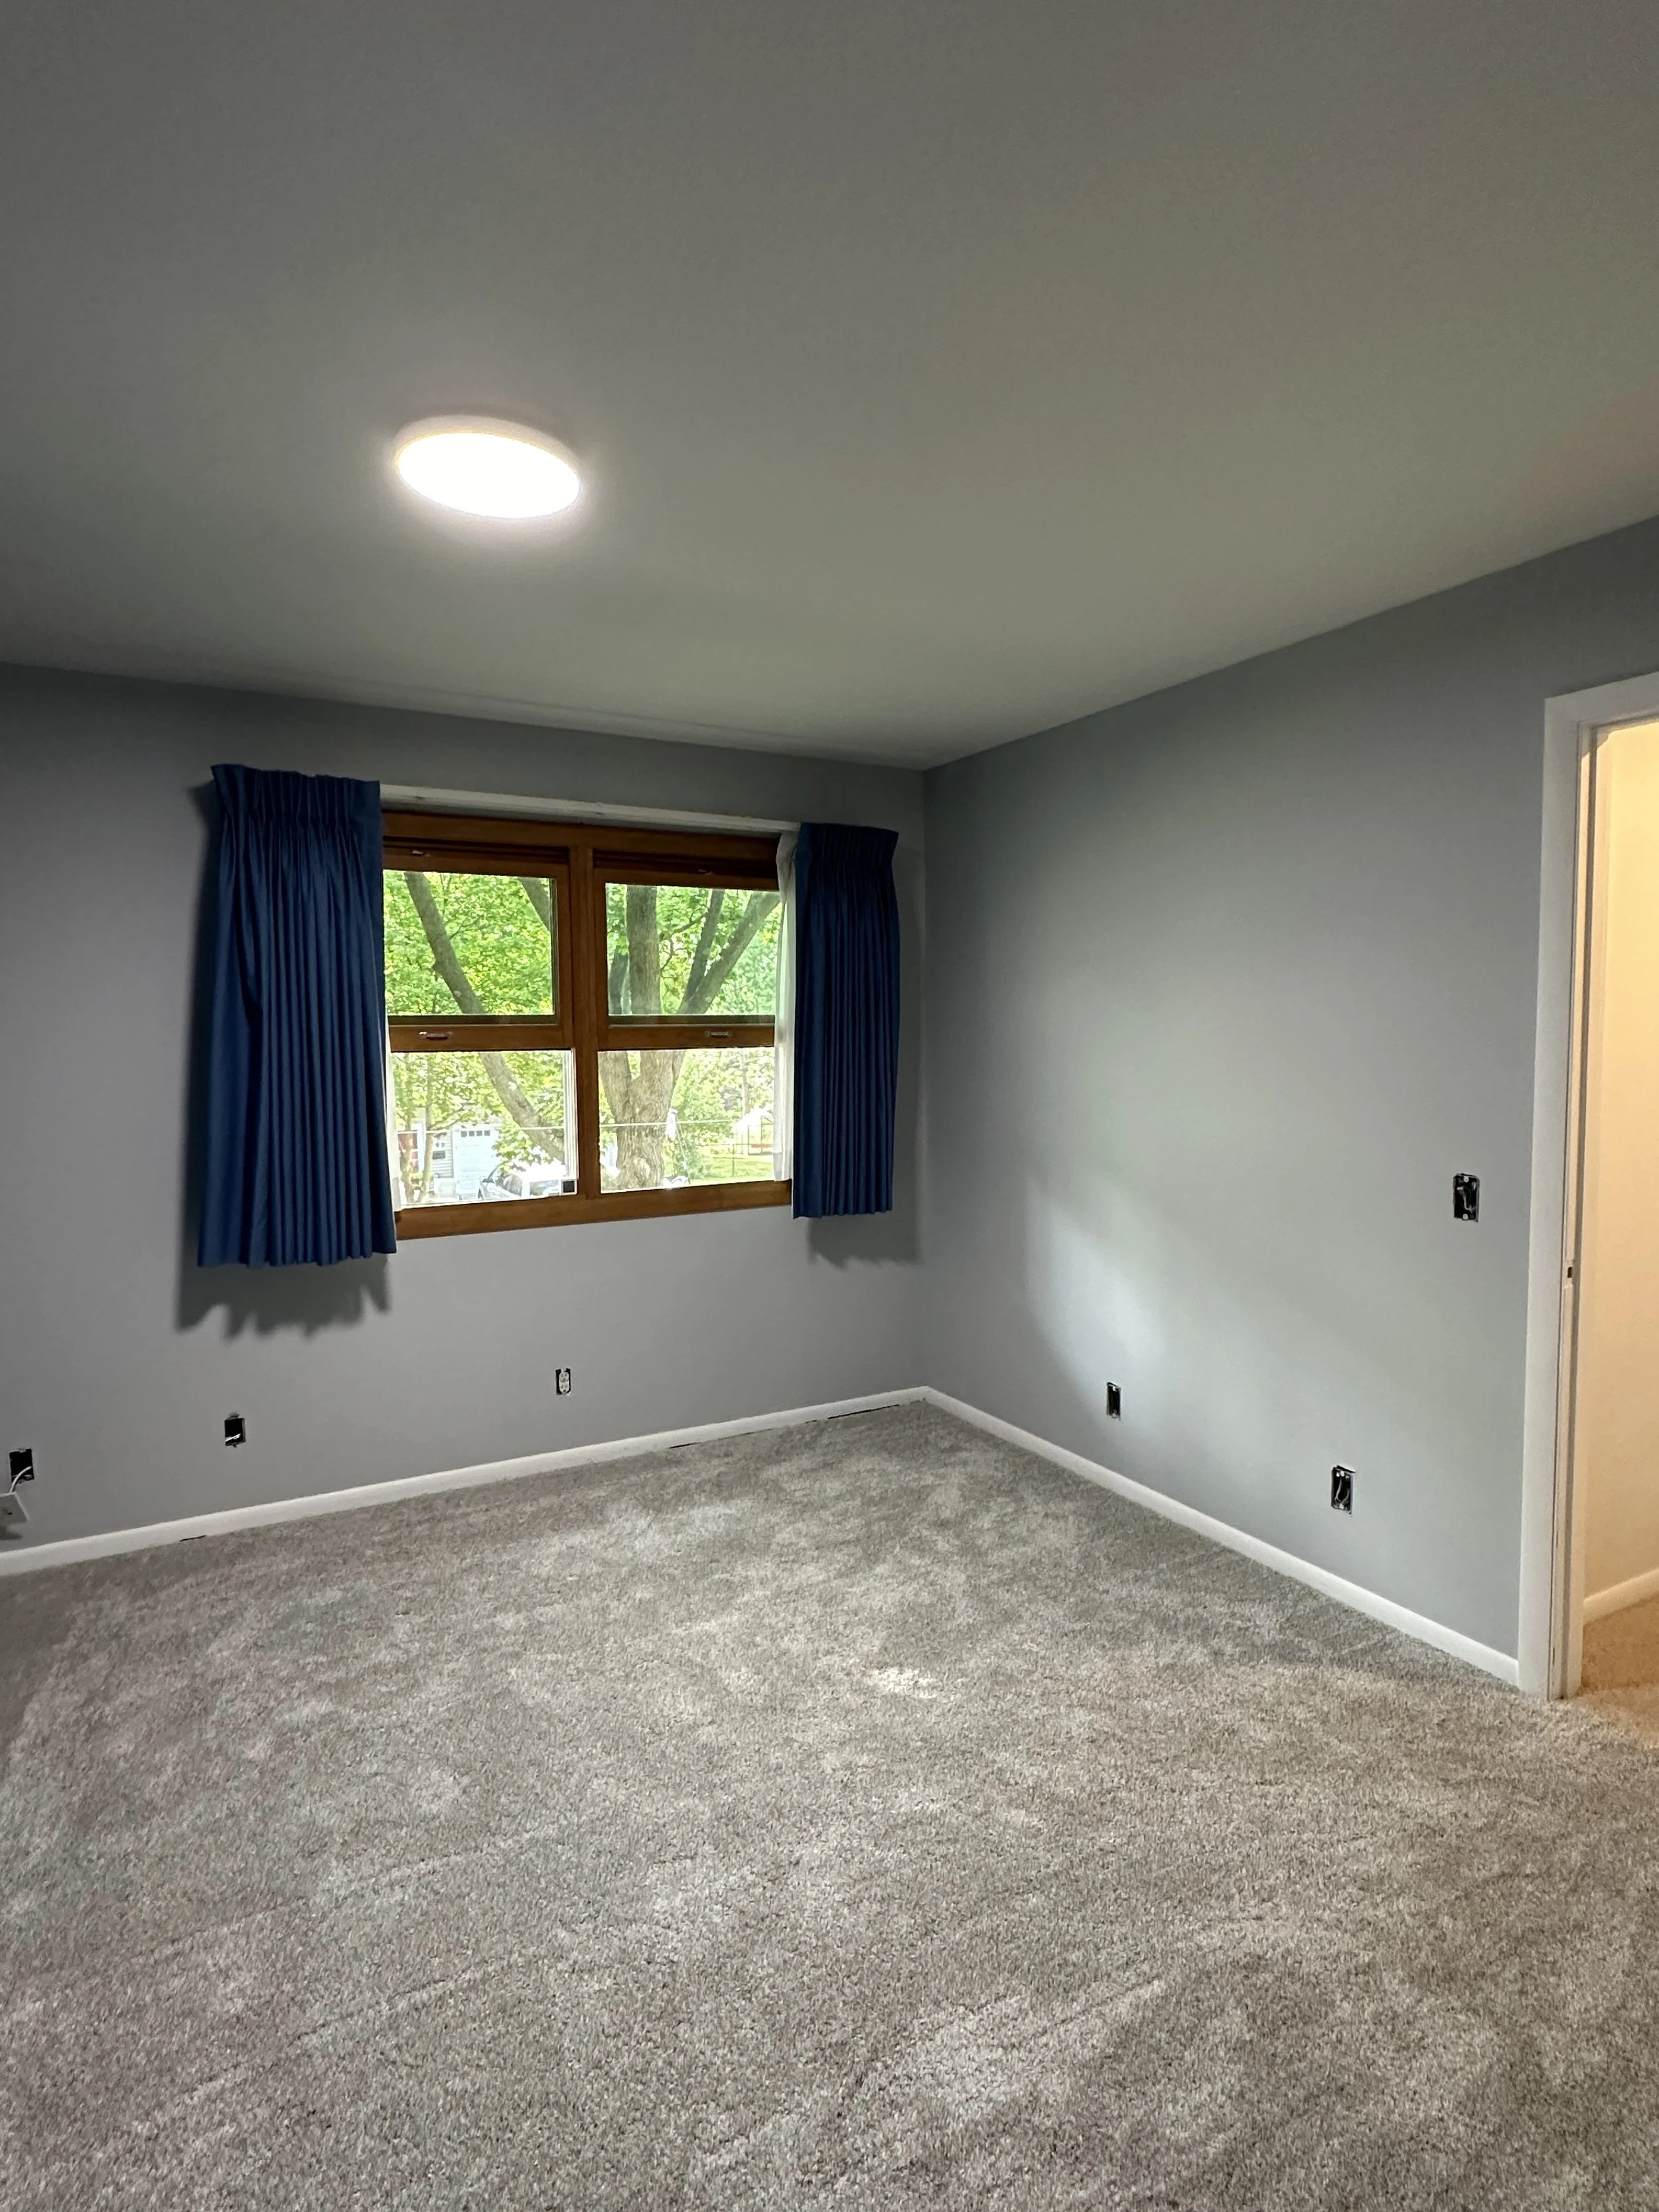
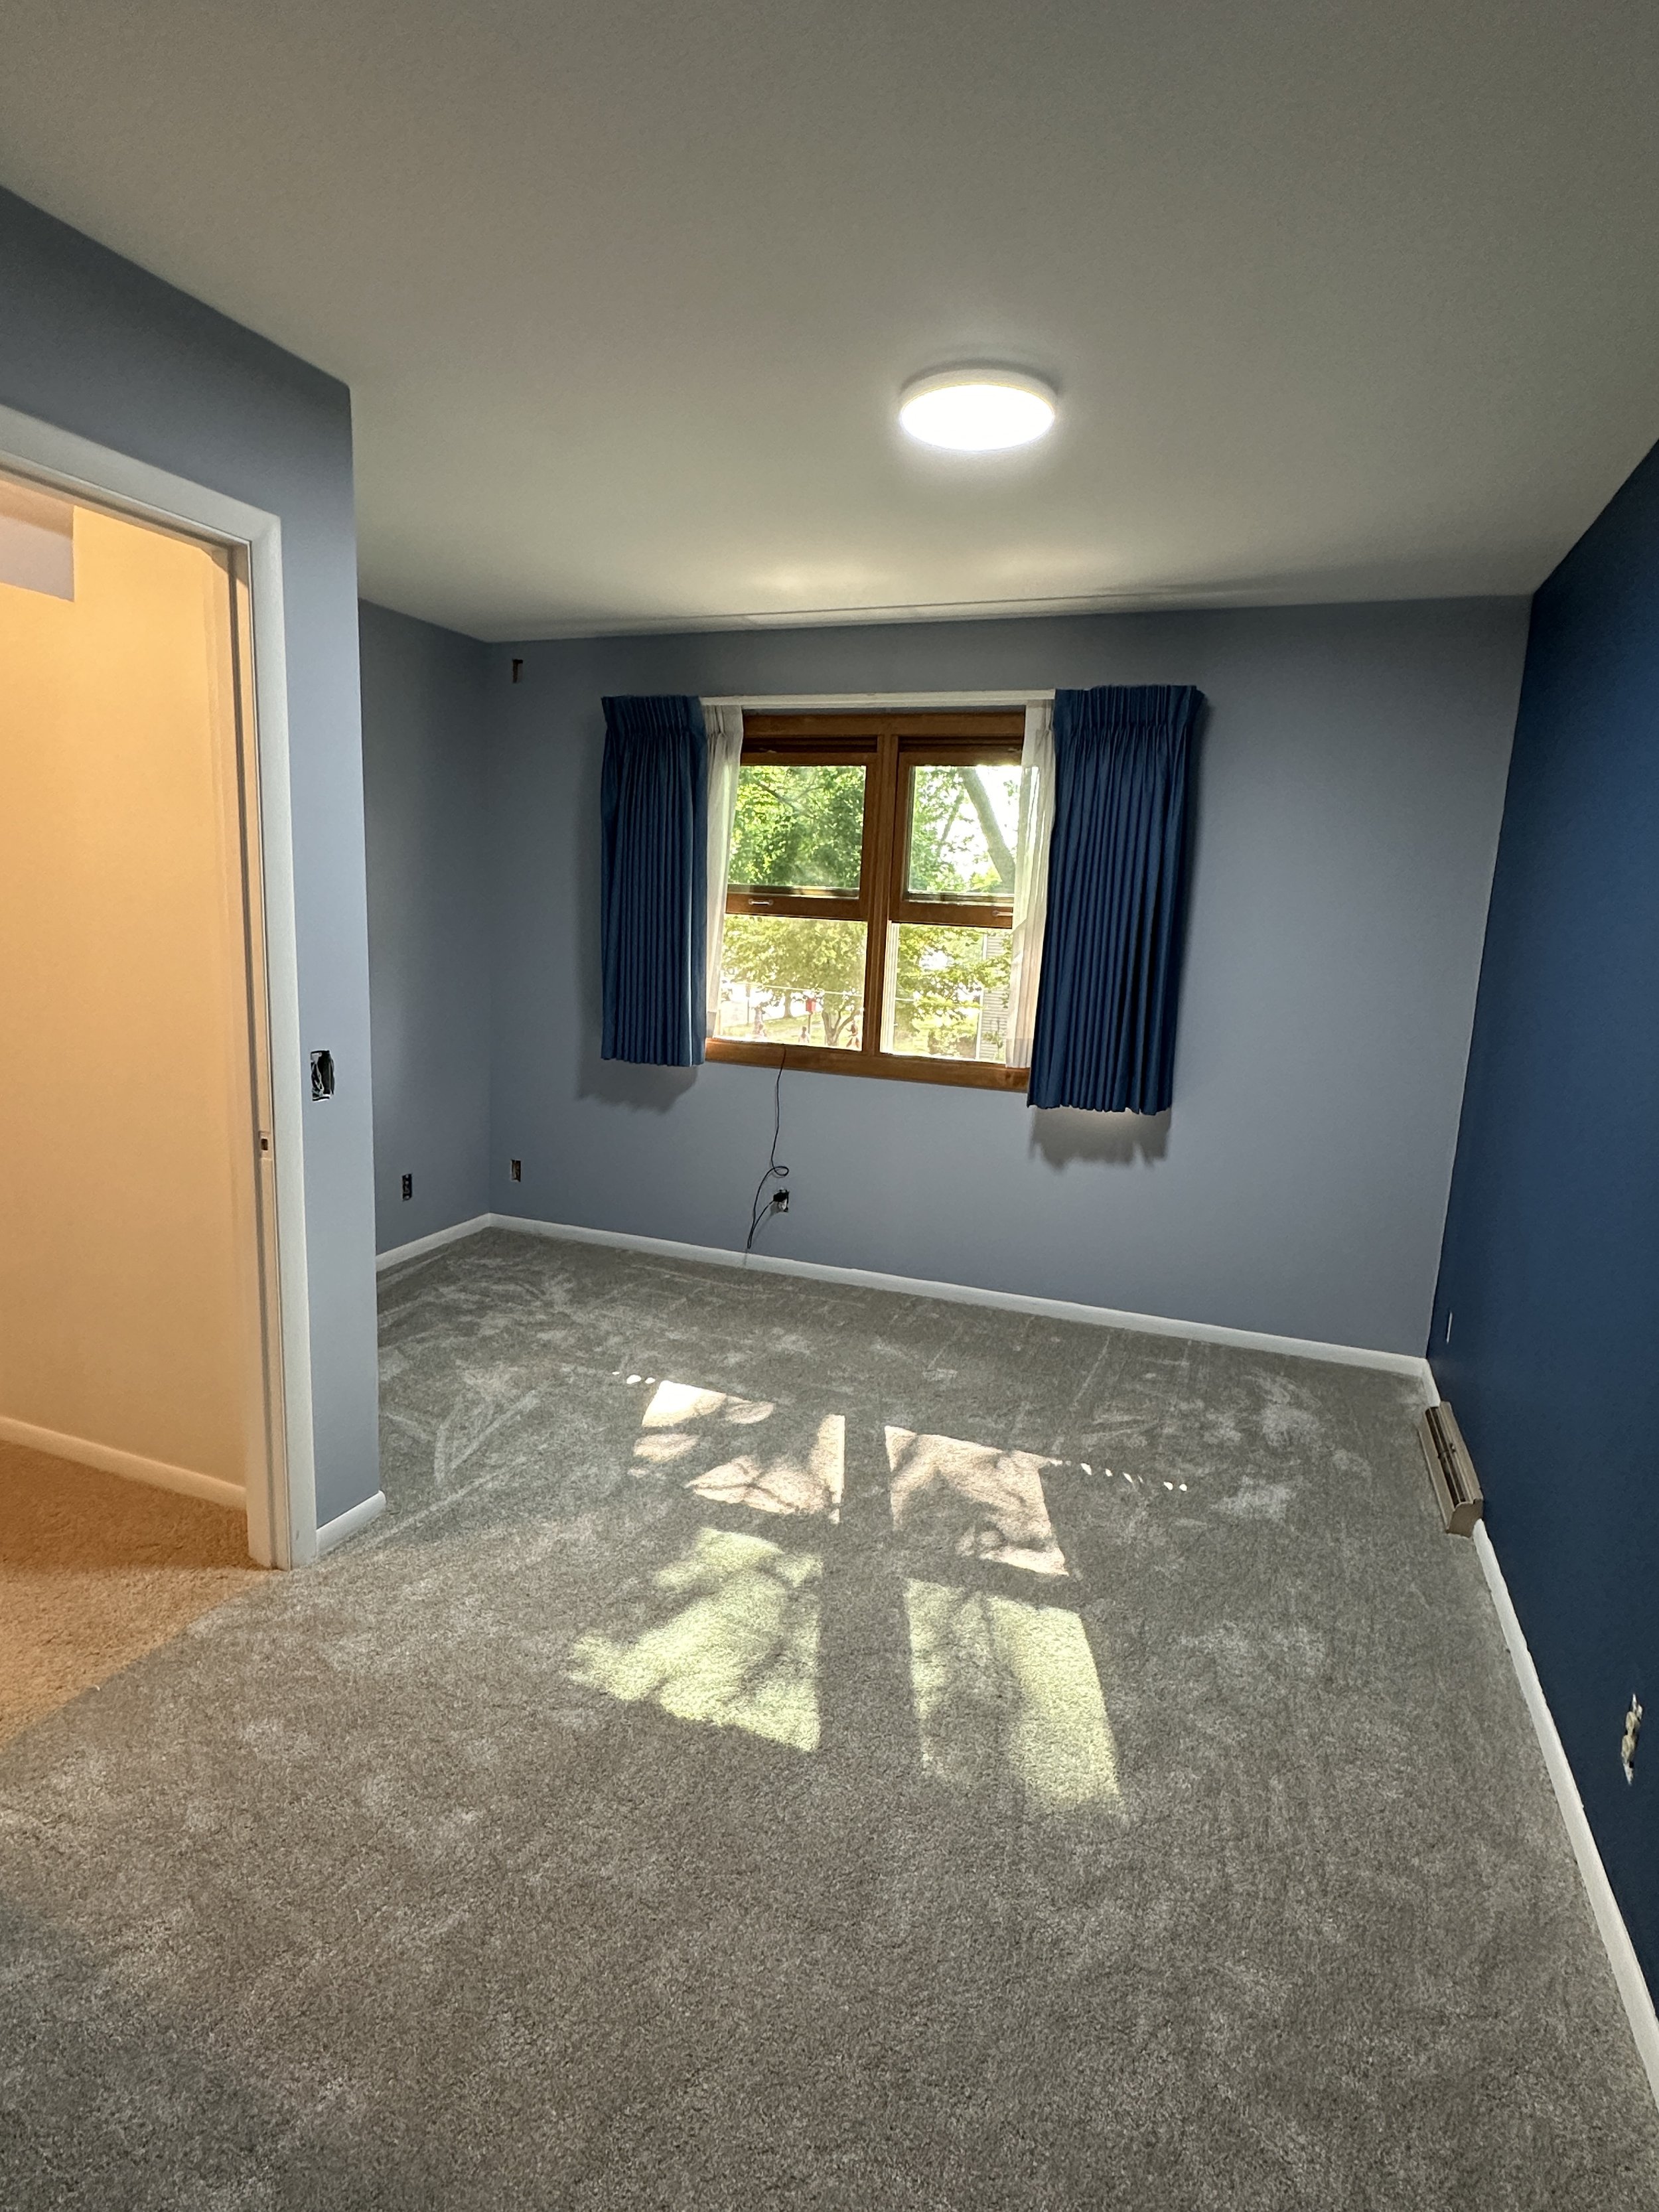
PAINTING
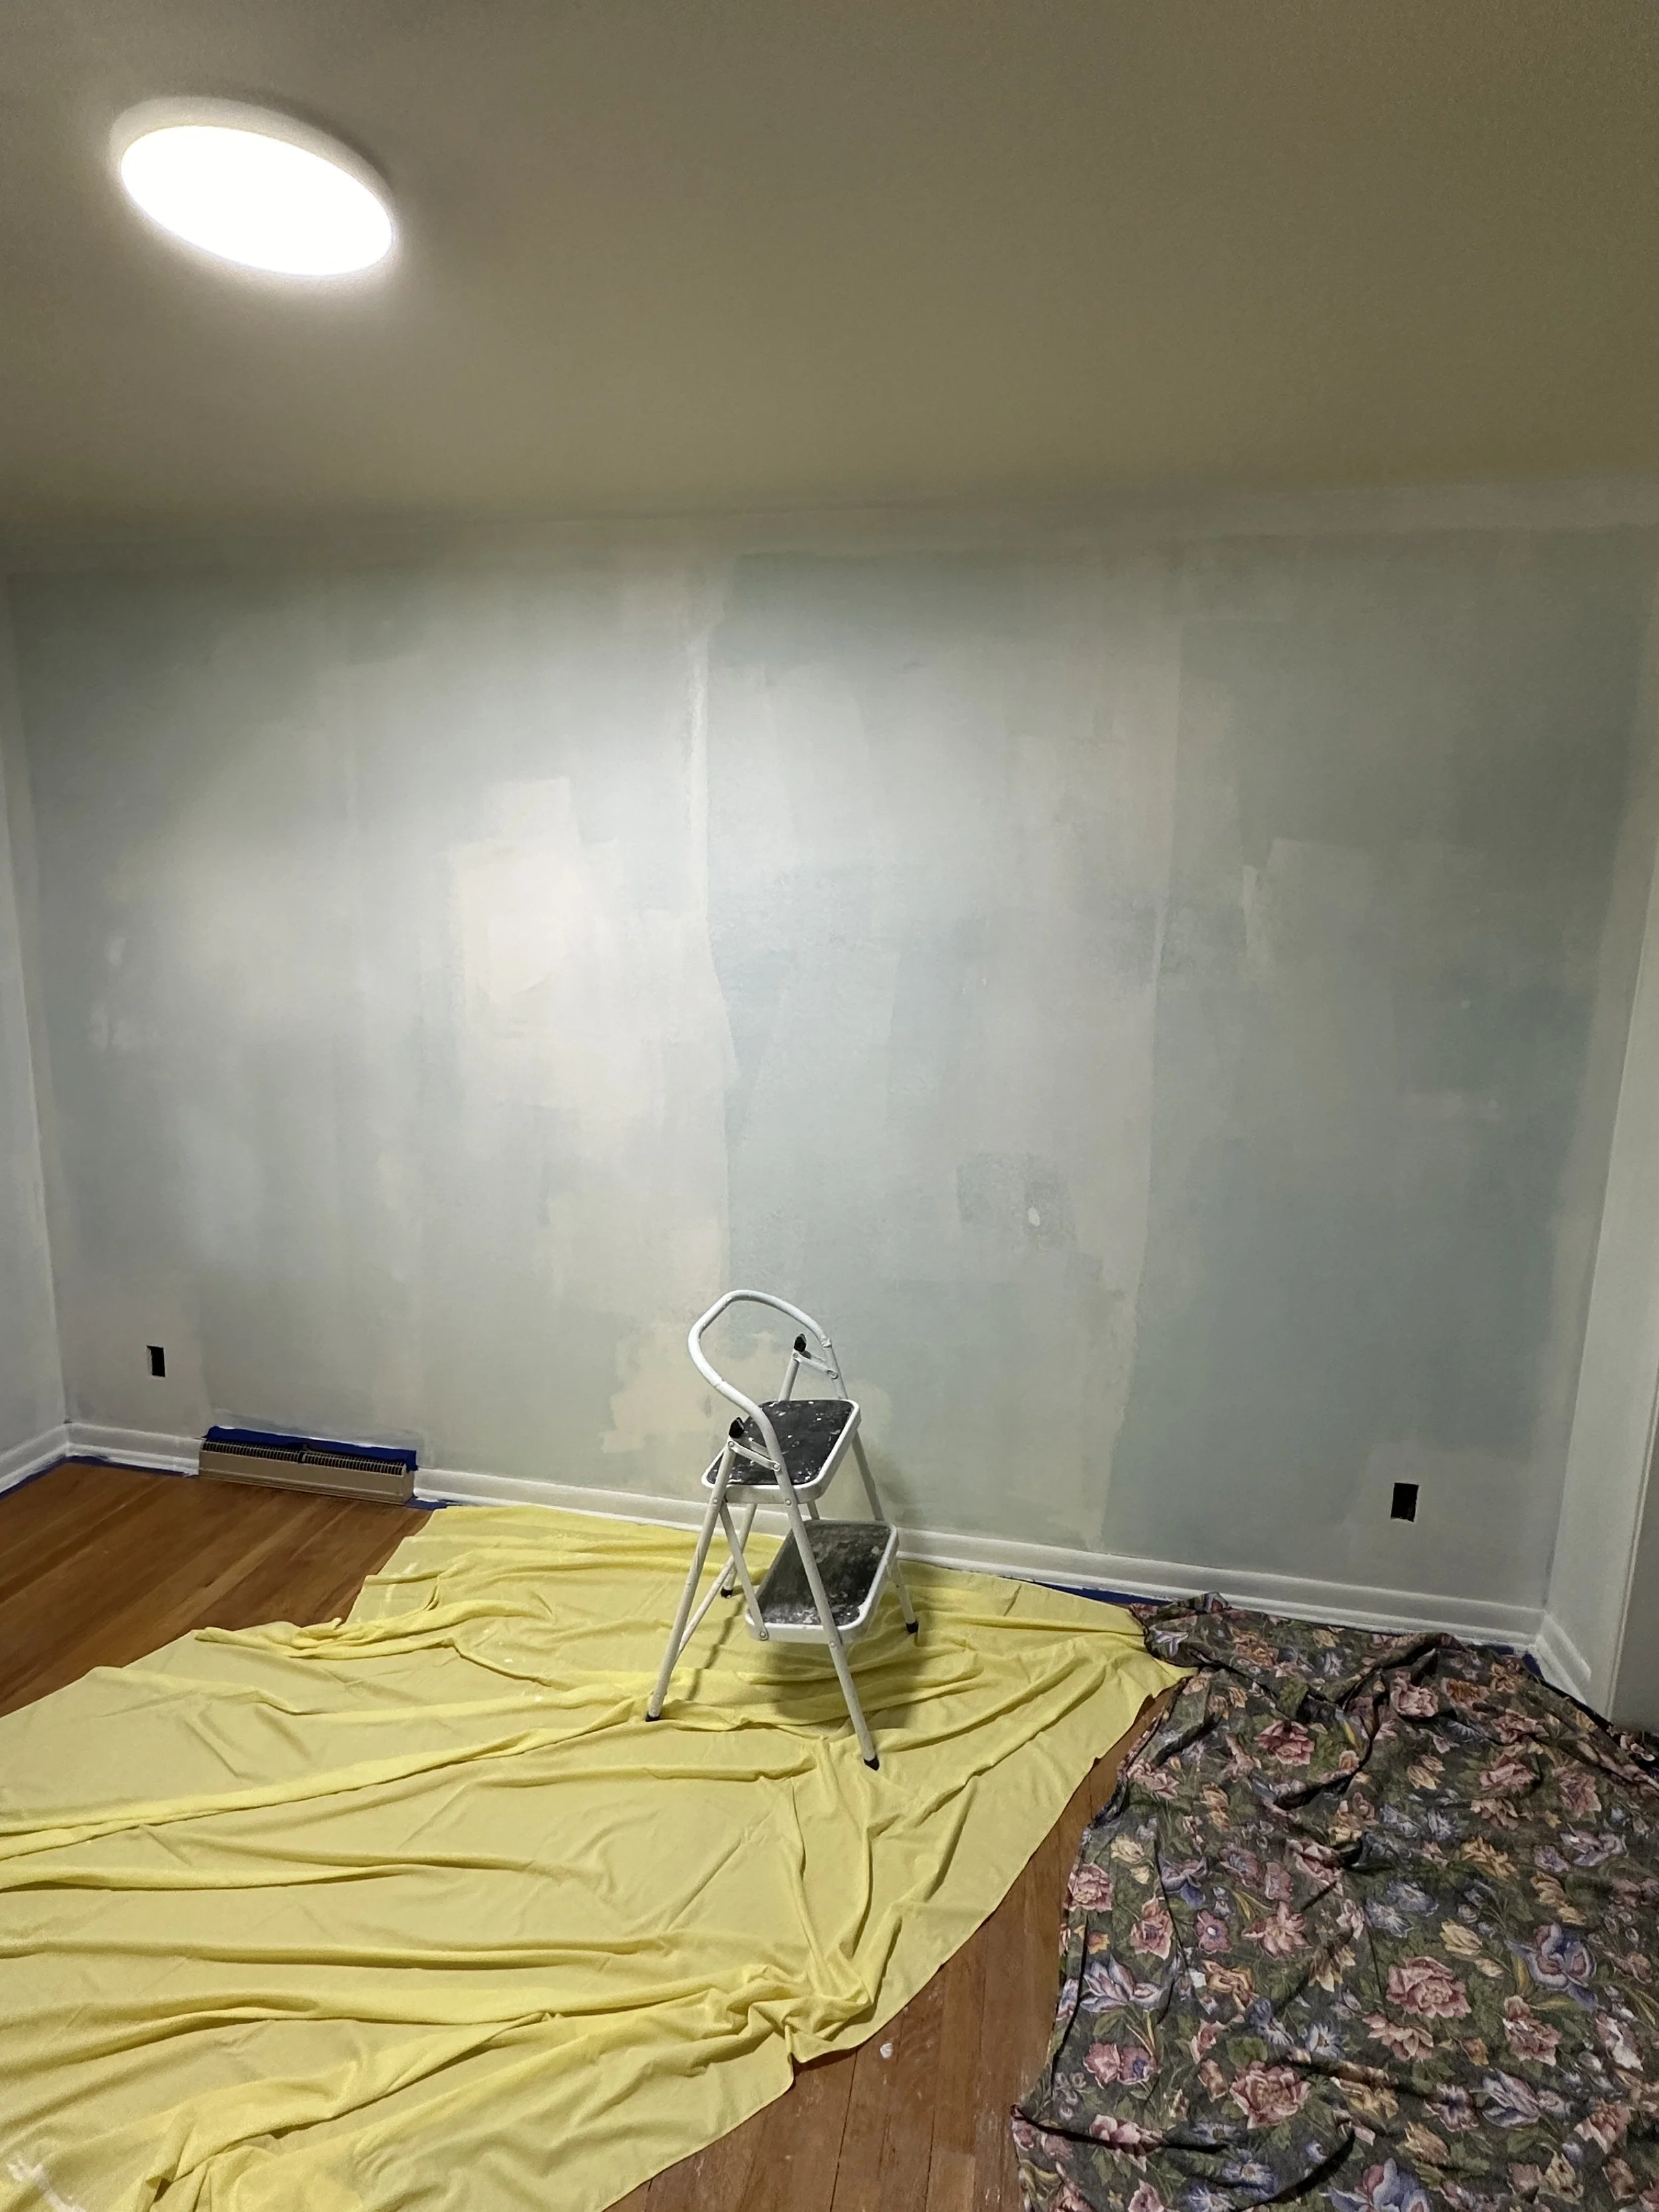
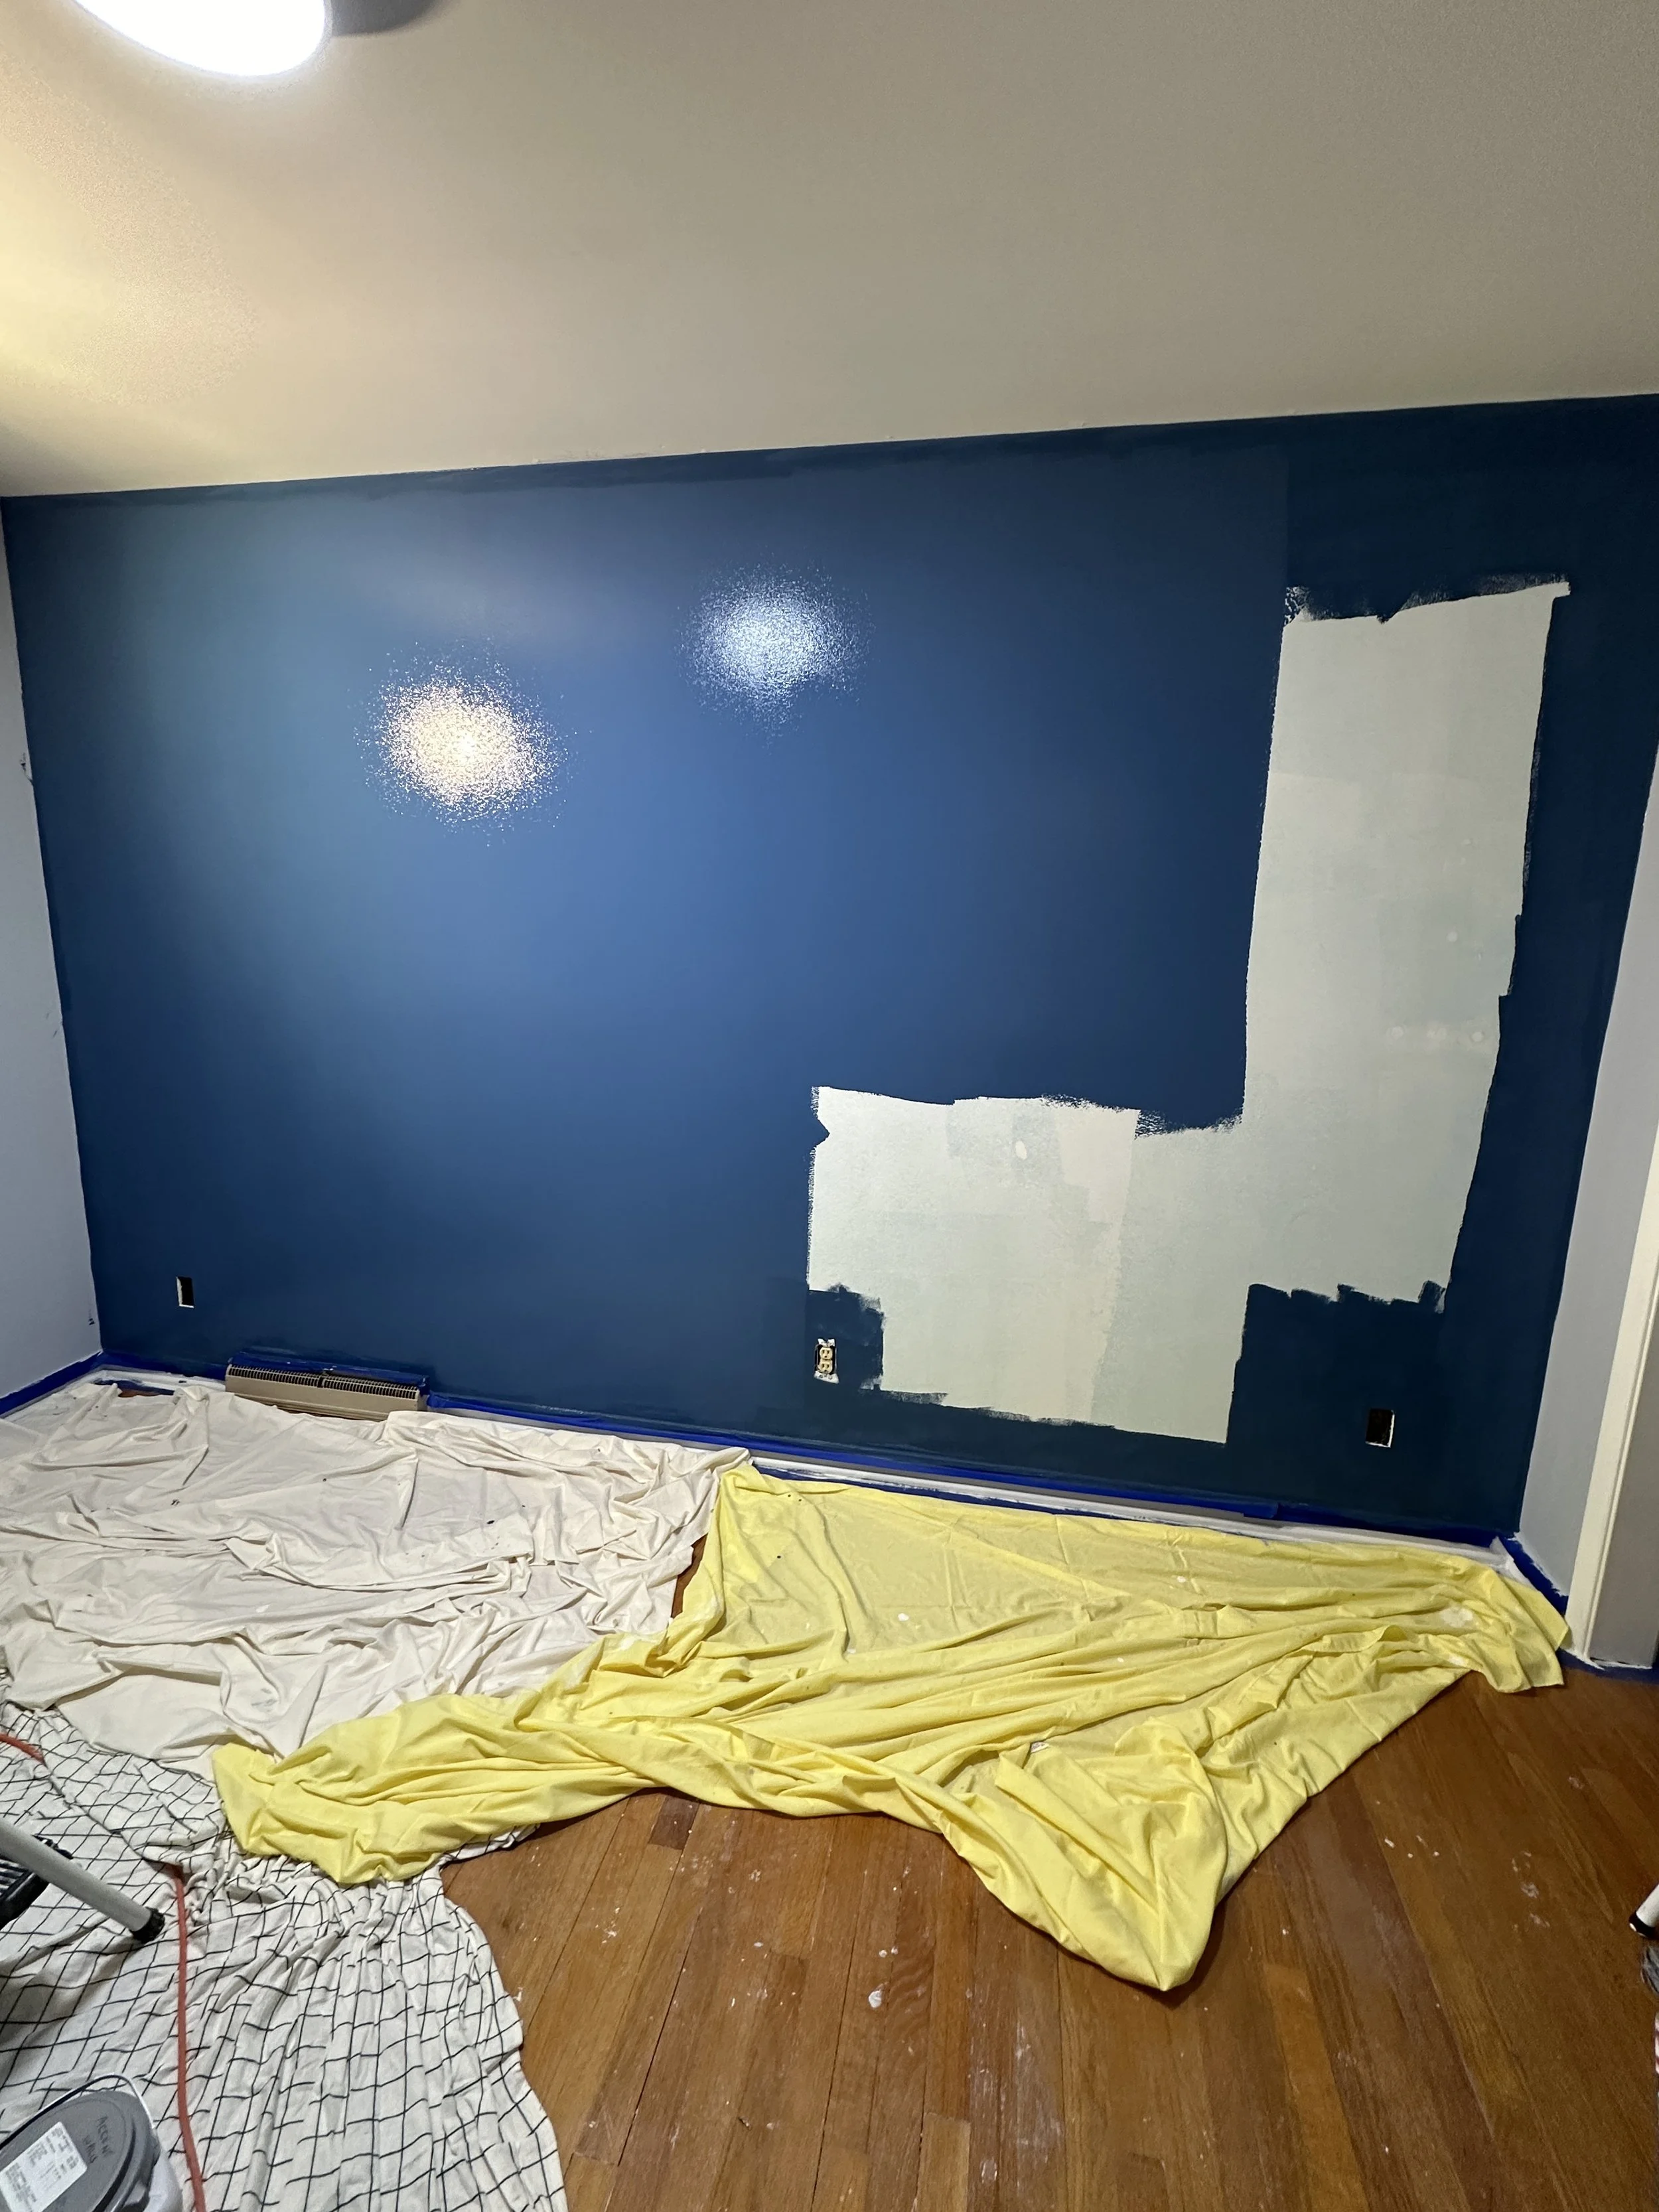
We primed both rooms and their associated closets before applying the final color. Each room had a different color chosen by the grand-kids with the addition of a contrast wall. In all we used six different colors of paint: one for each room, a contrast color (same for both rooms), a hallway color, ceiling white and finally baseboard and trim white. The existing trim had to be primed with a different oil-based primer because we would be painting over a stained finish. Additionally, because we added some walls, we had to try and match baseboard trim to match the existing trim in the room. In hindsight I think we should have replaced the baseboard entirely.
CARPET

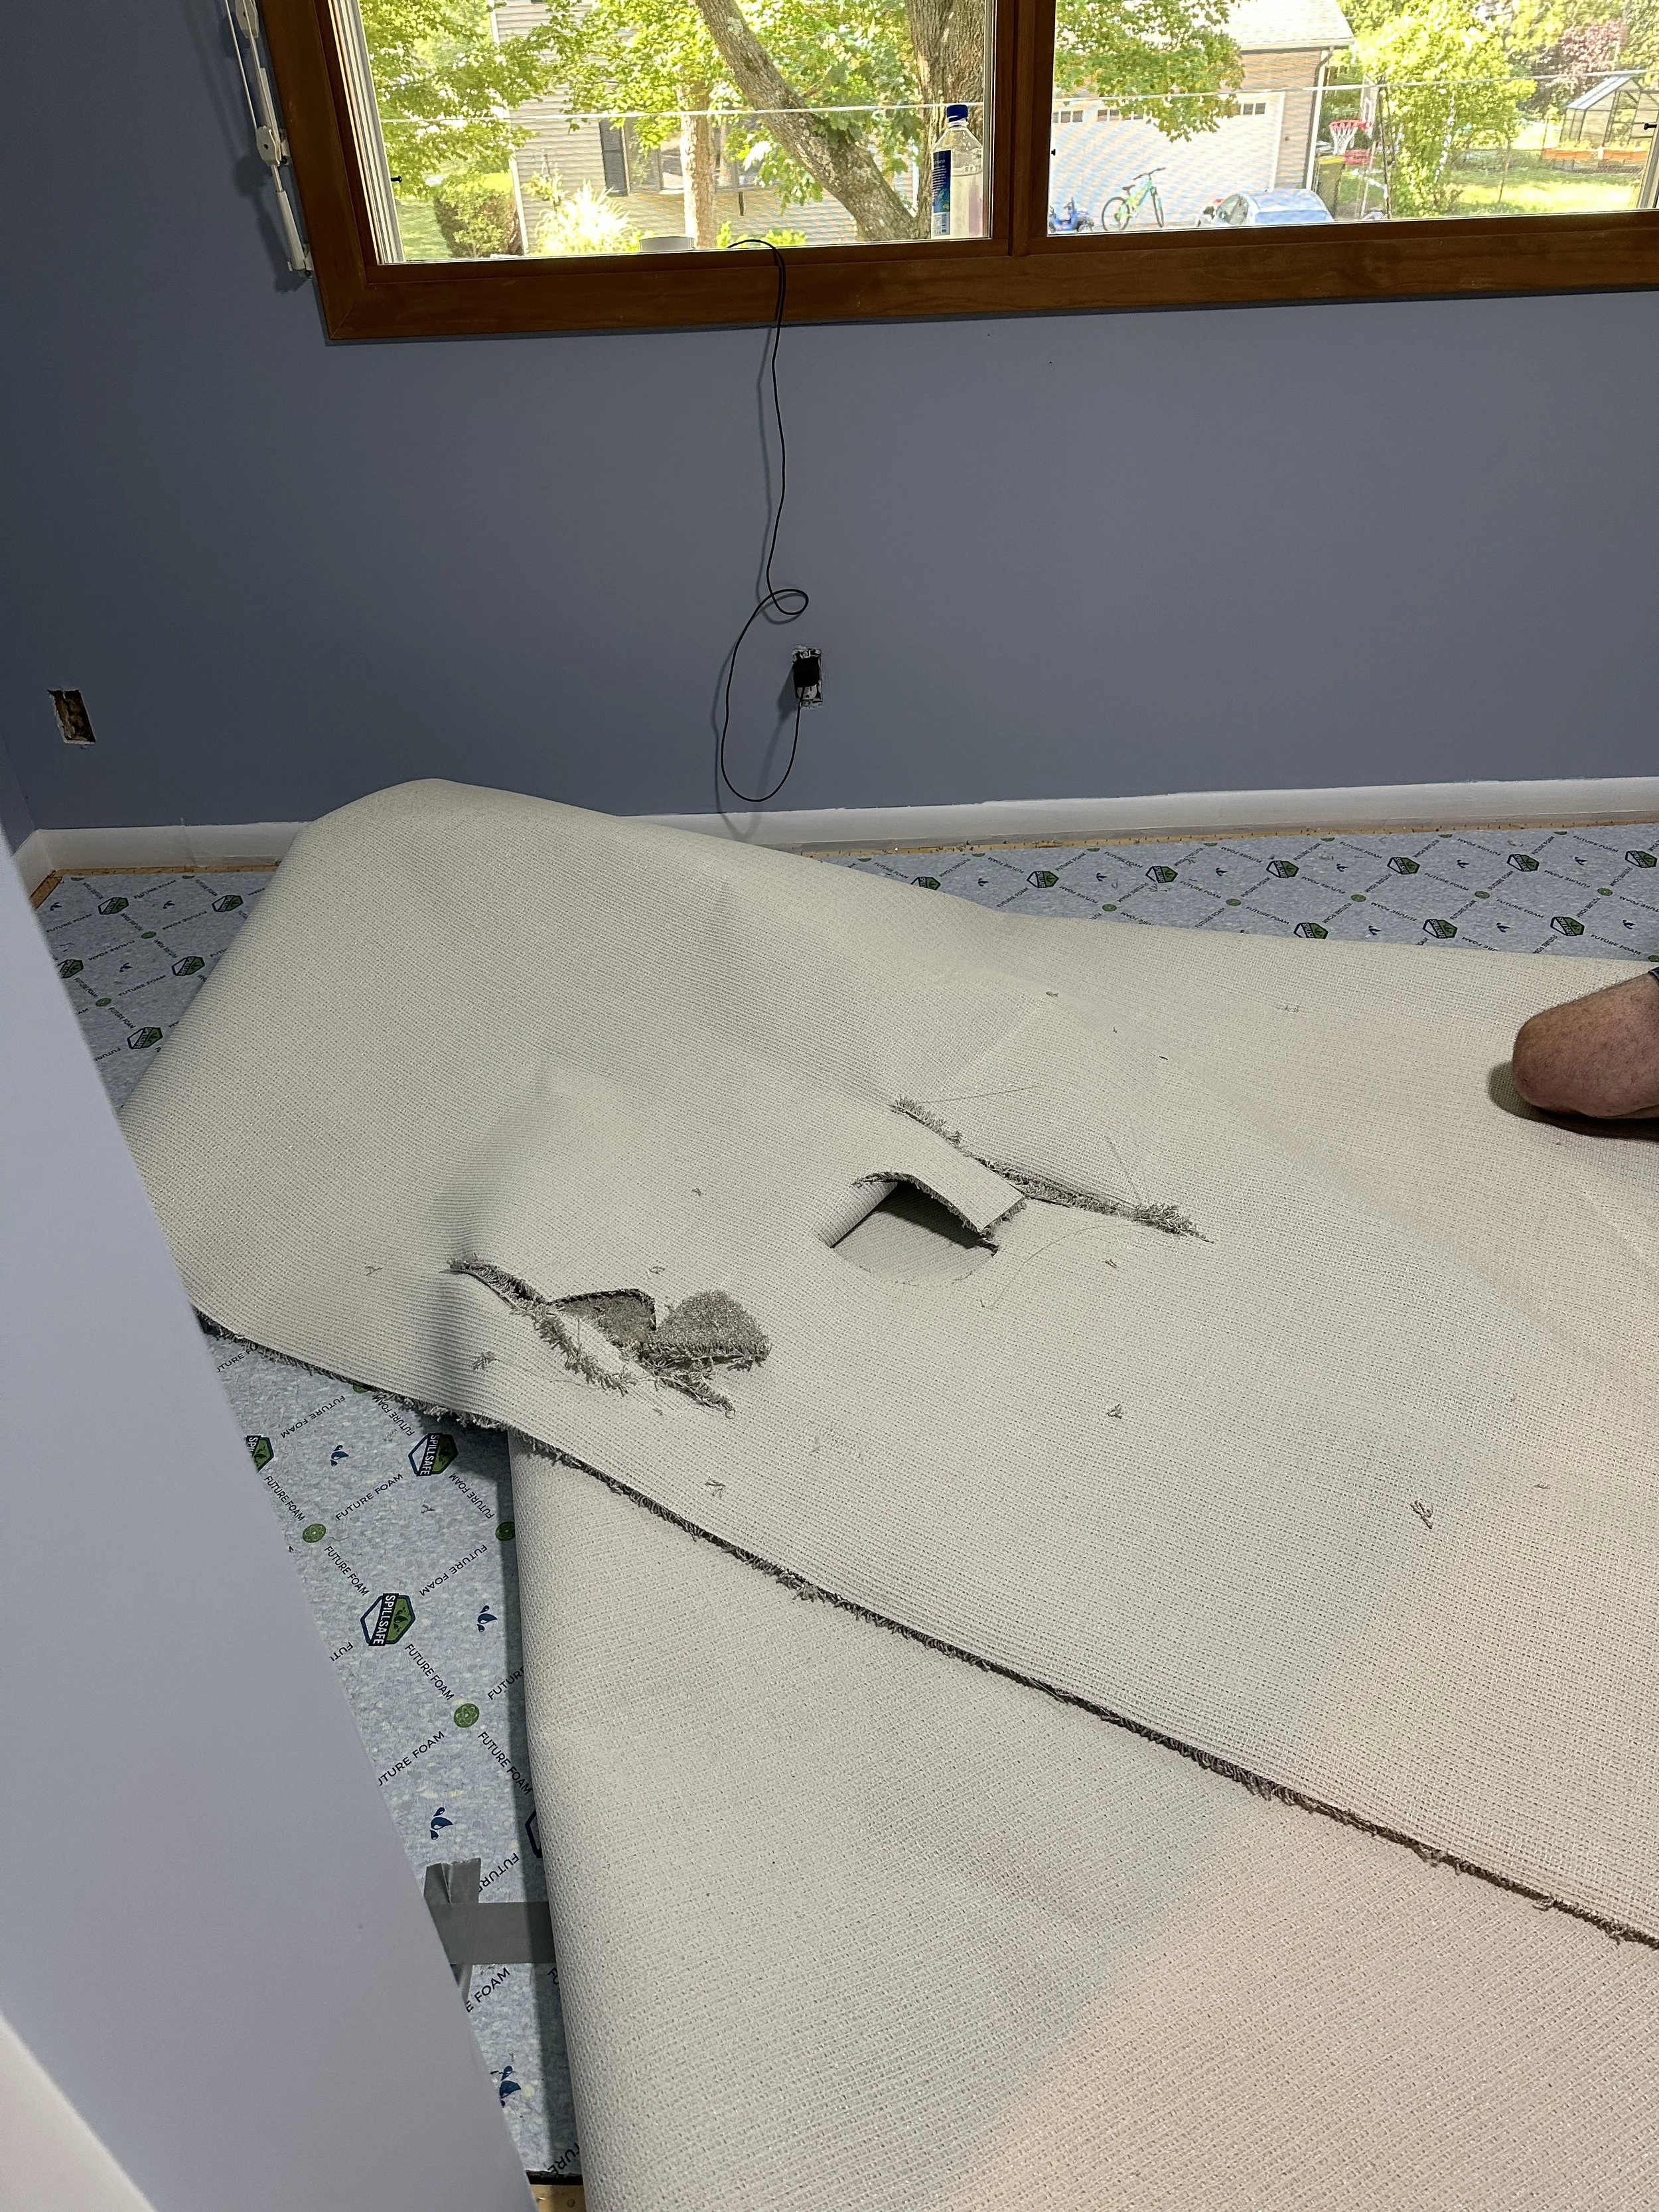
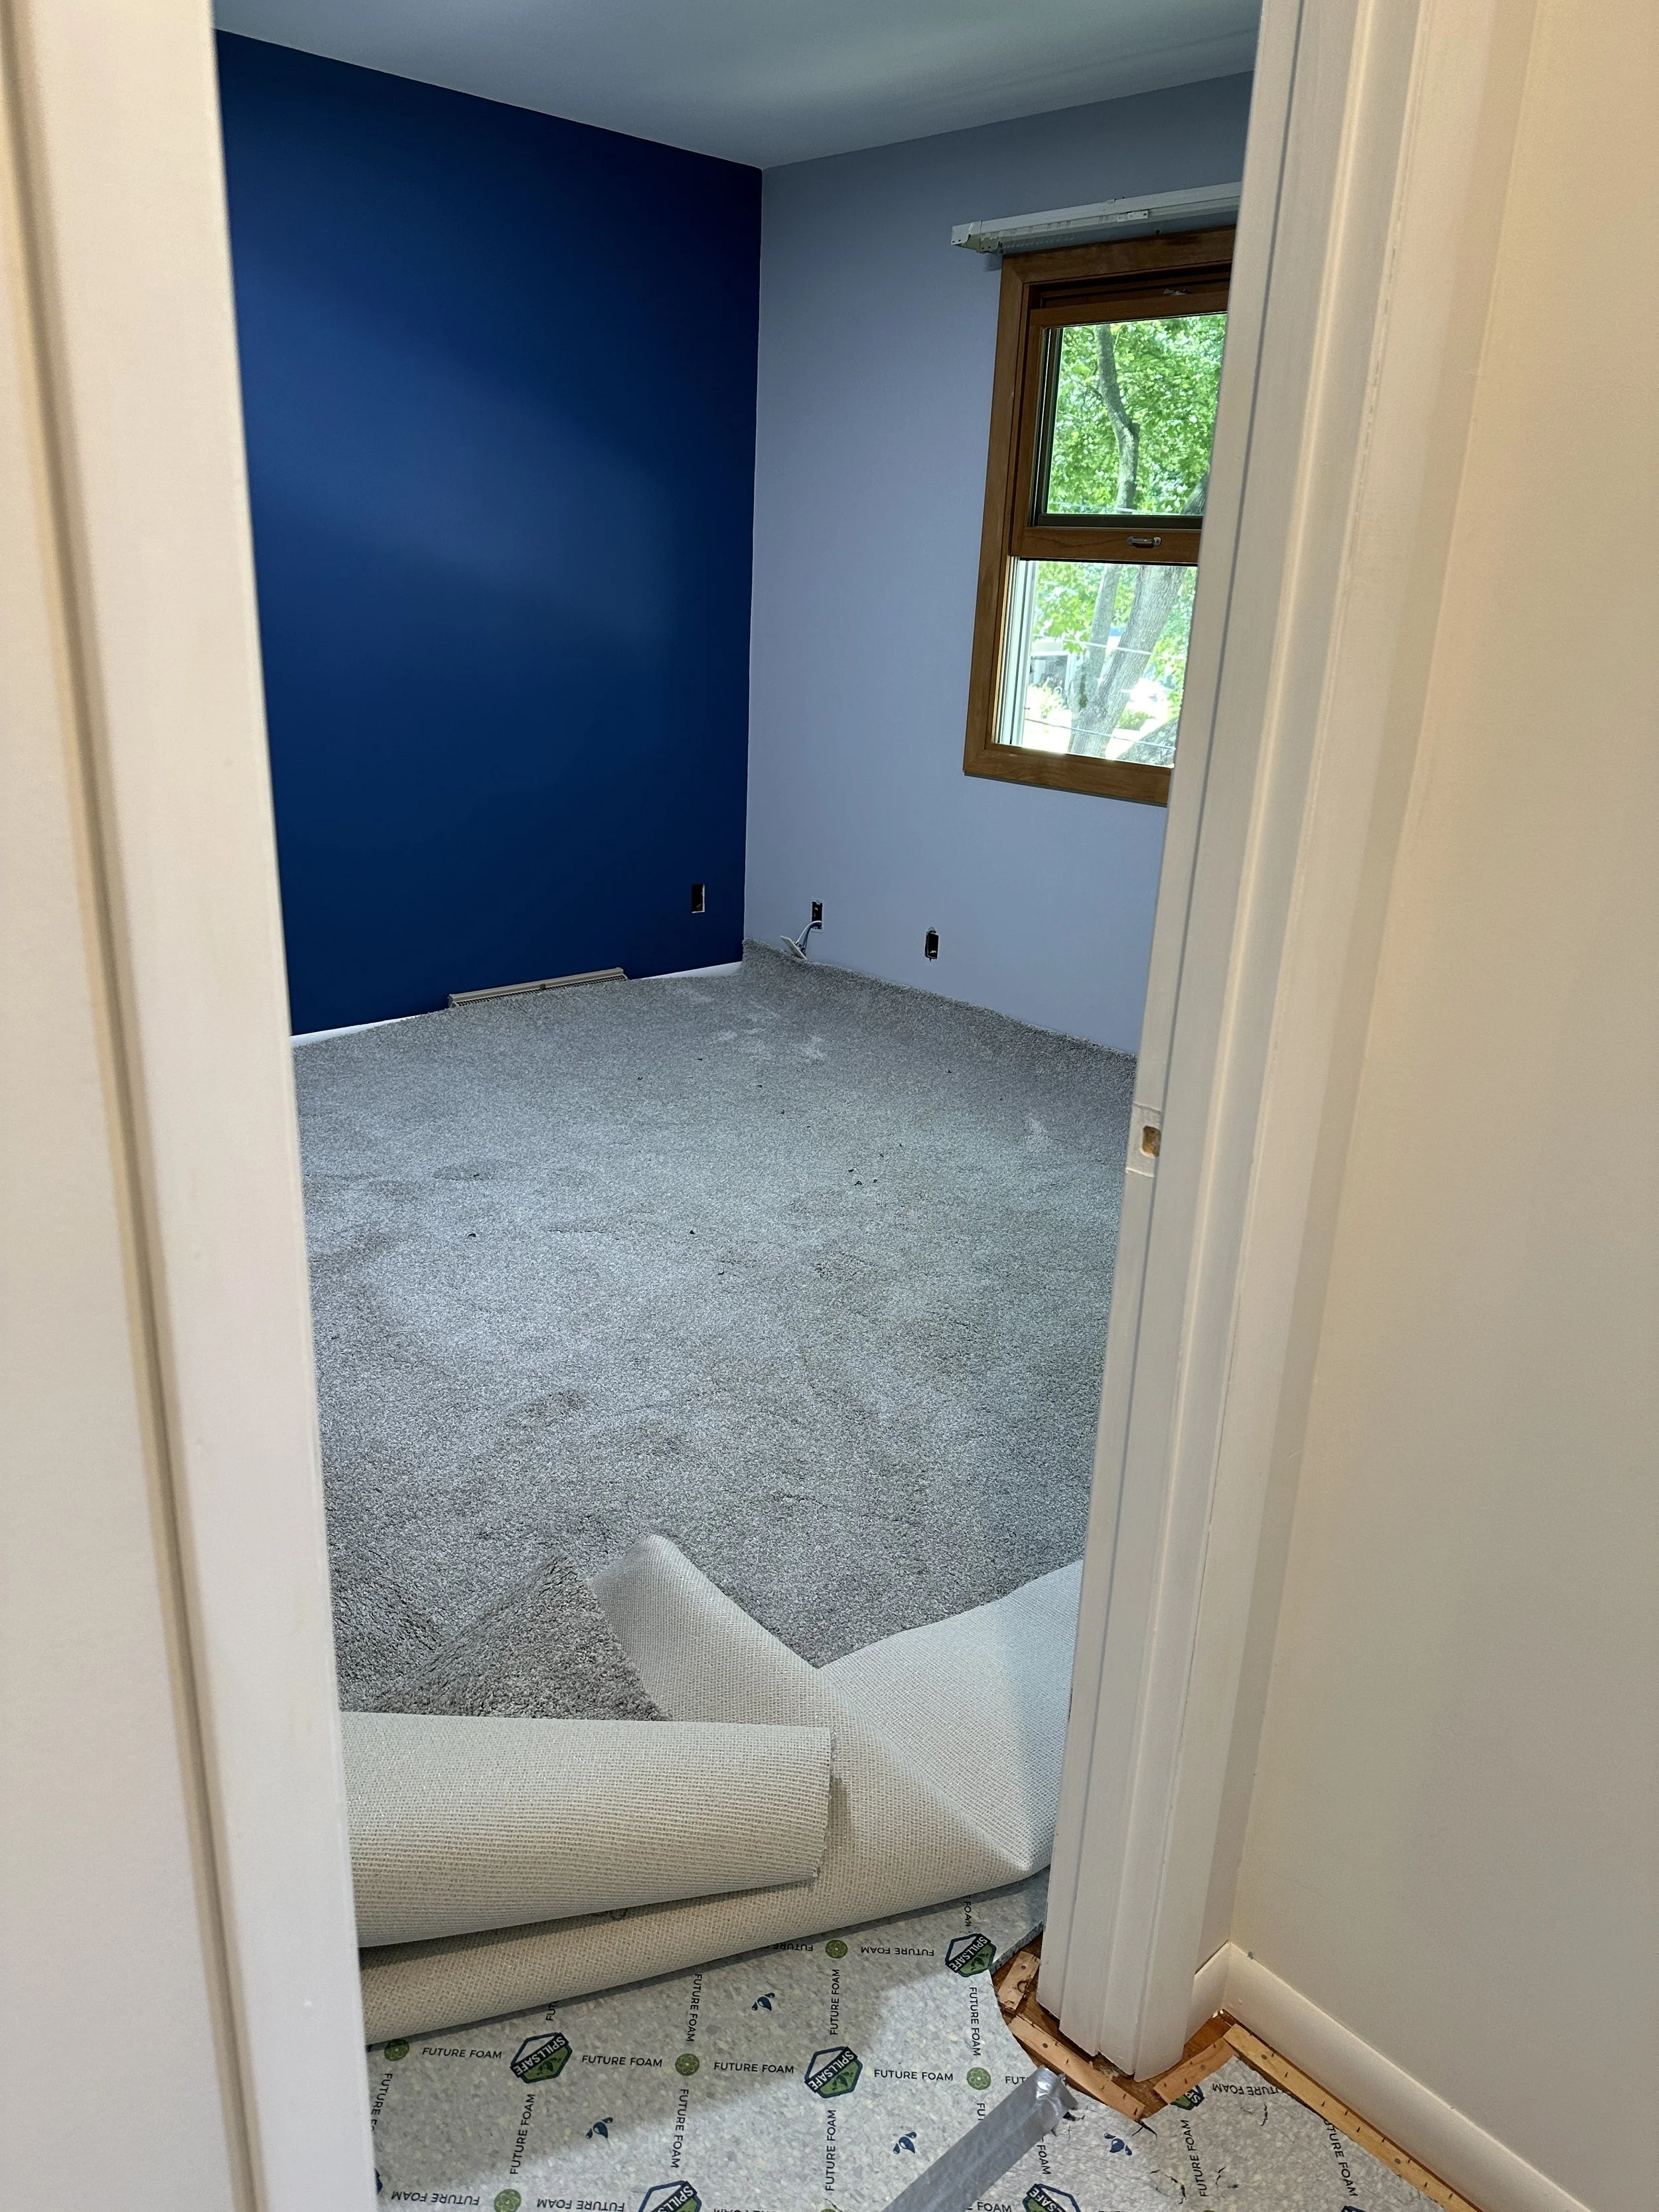
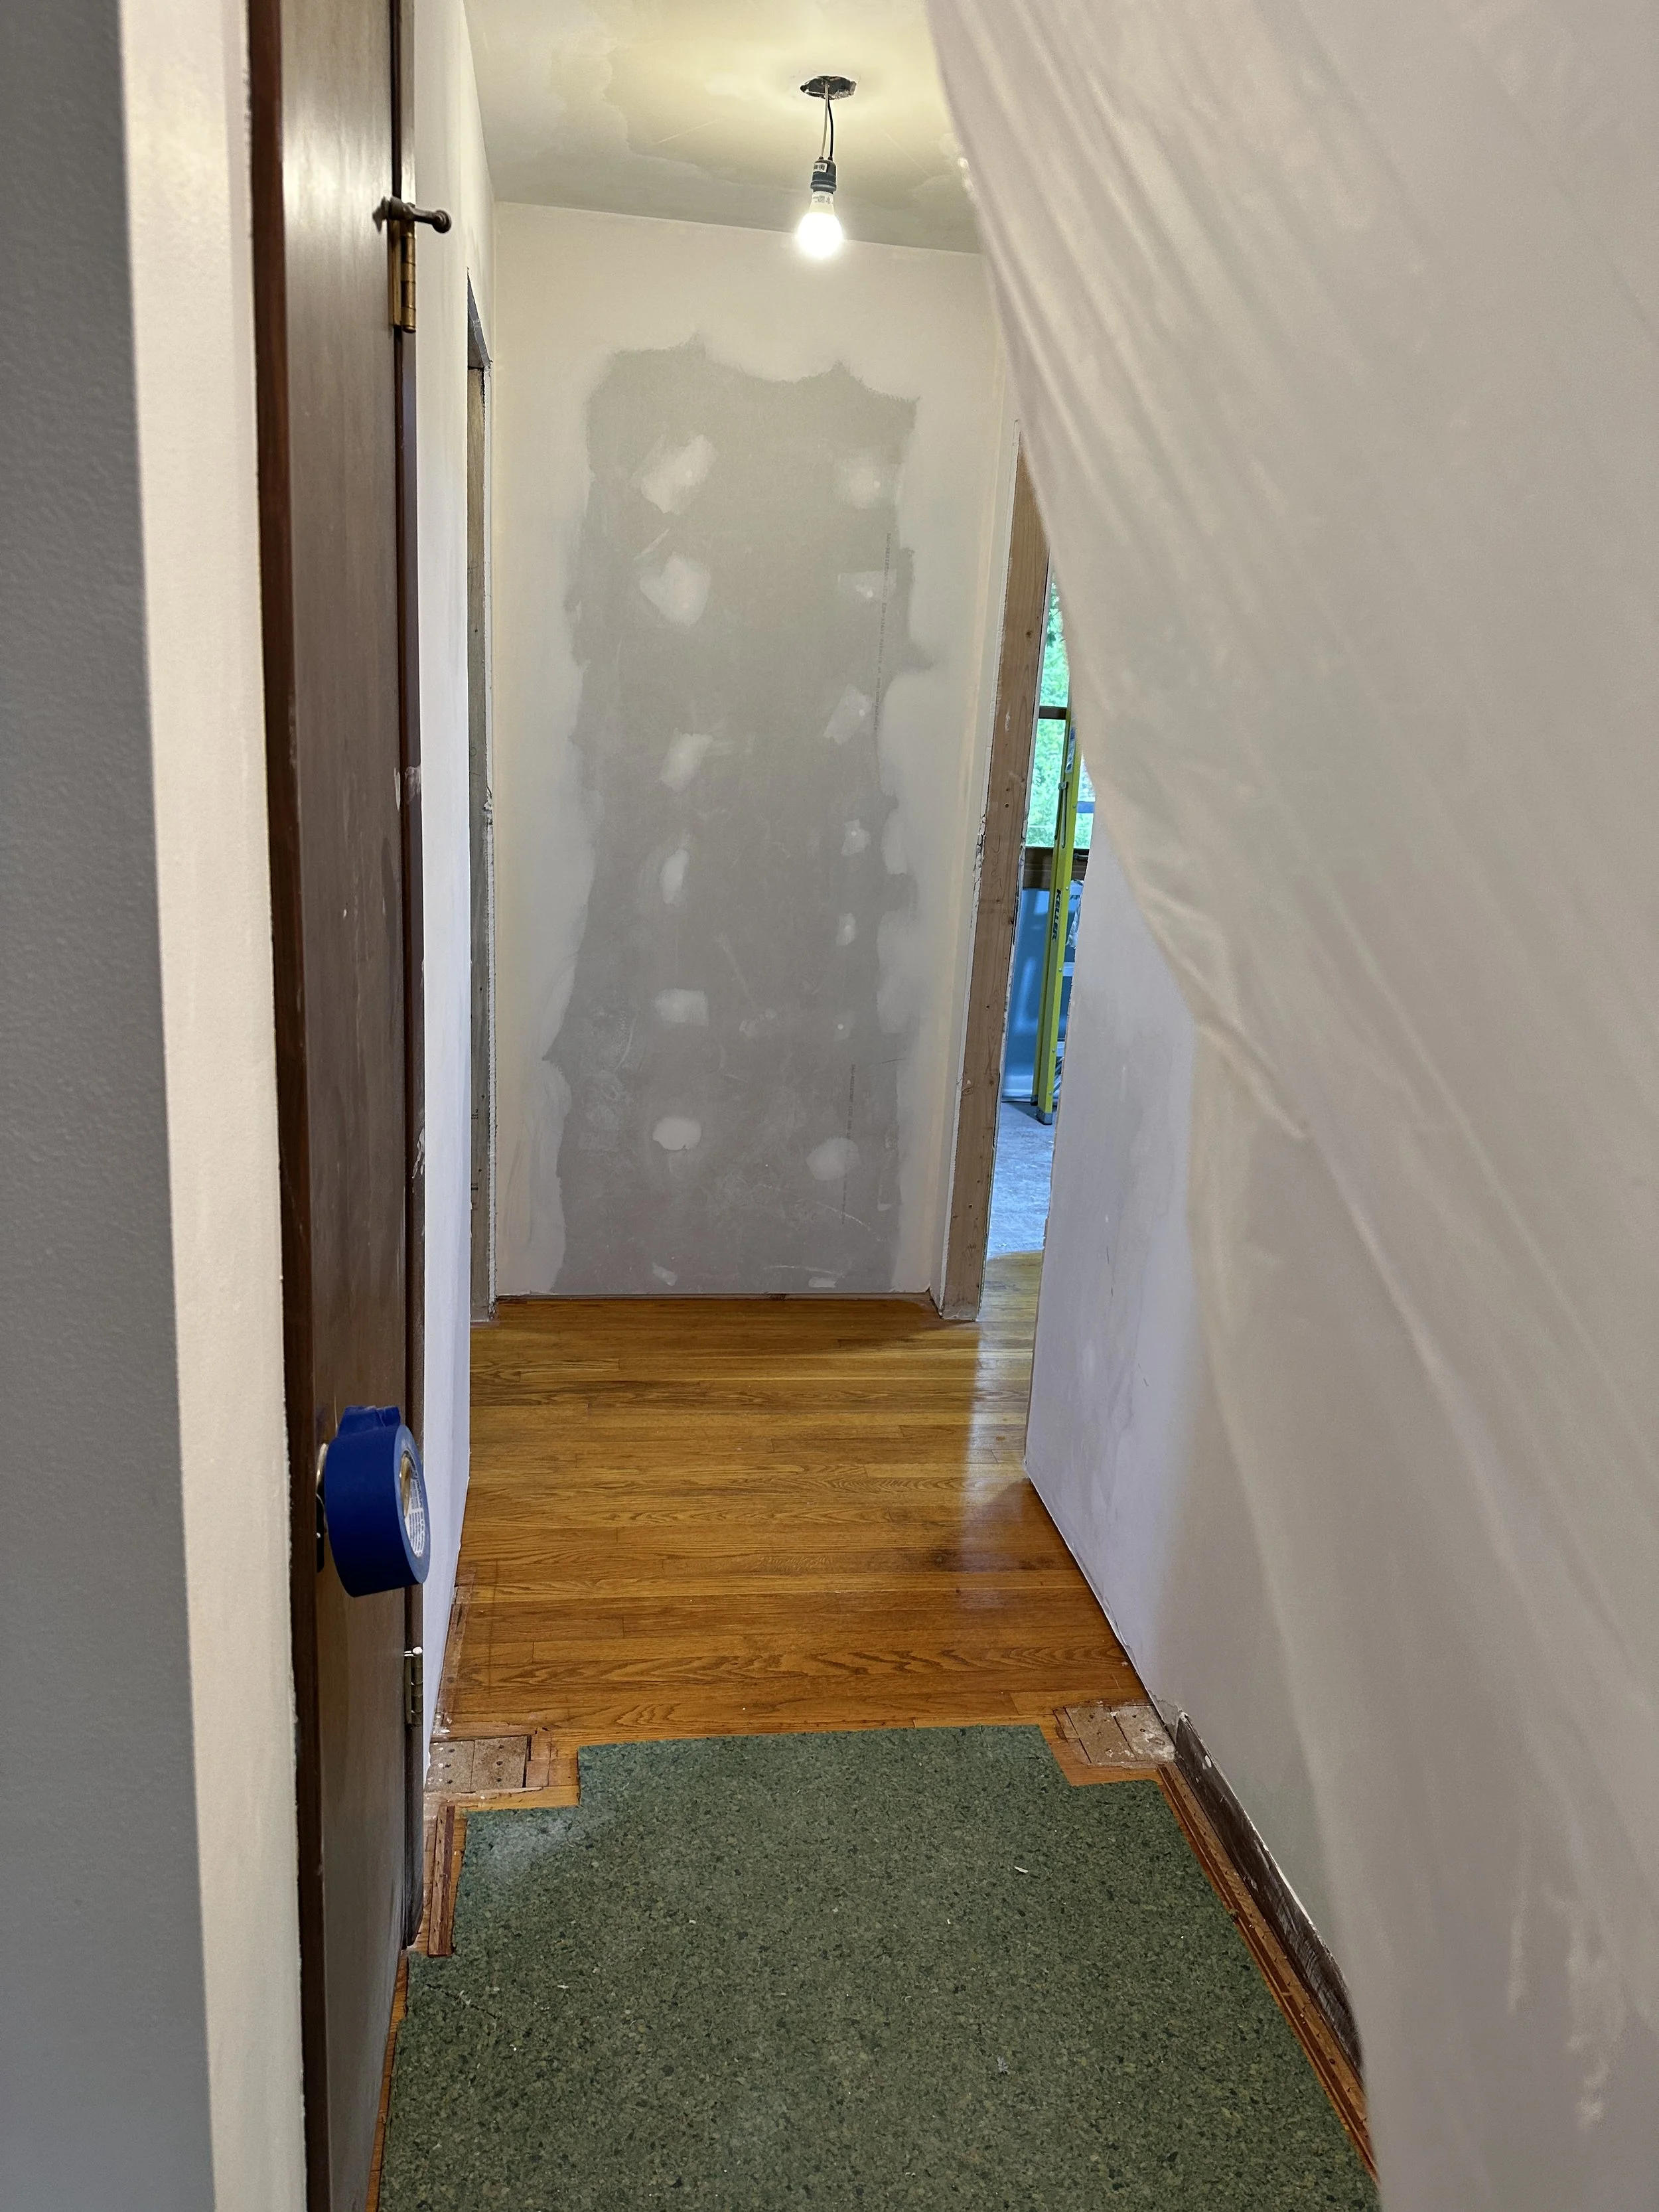
We originally planned to carpet both rooms with colors chosen by the grand-kids. We were hoping that the hallway extension could be patched with carpet from one of the bedrooms to mate up with the existing hallway carpet, but in the end we wound up tearing out the hallway carpet and putting in new. Some additional drama on installation day was when the installers found gouges in the north bedroom carpet — see upper right picture. They were able to turn the carpet 90 degrees and were able to get it to look great in the end — see lower right picture.
HOME STRETCH
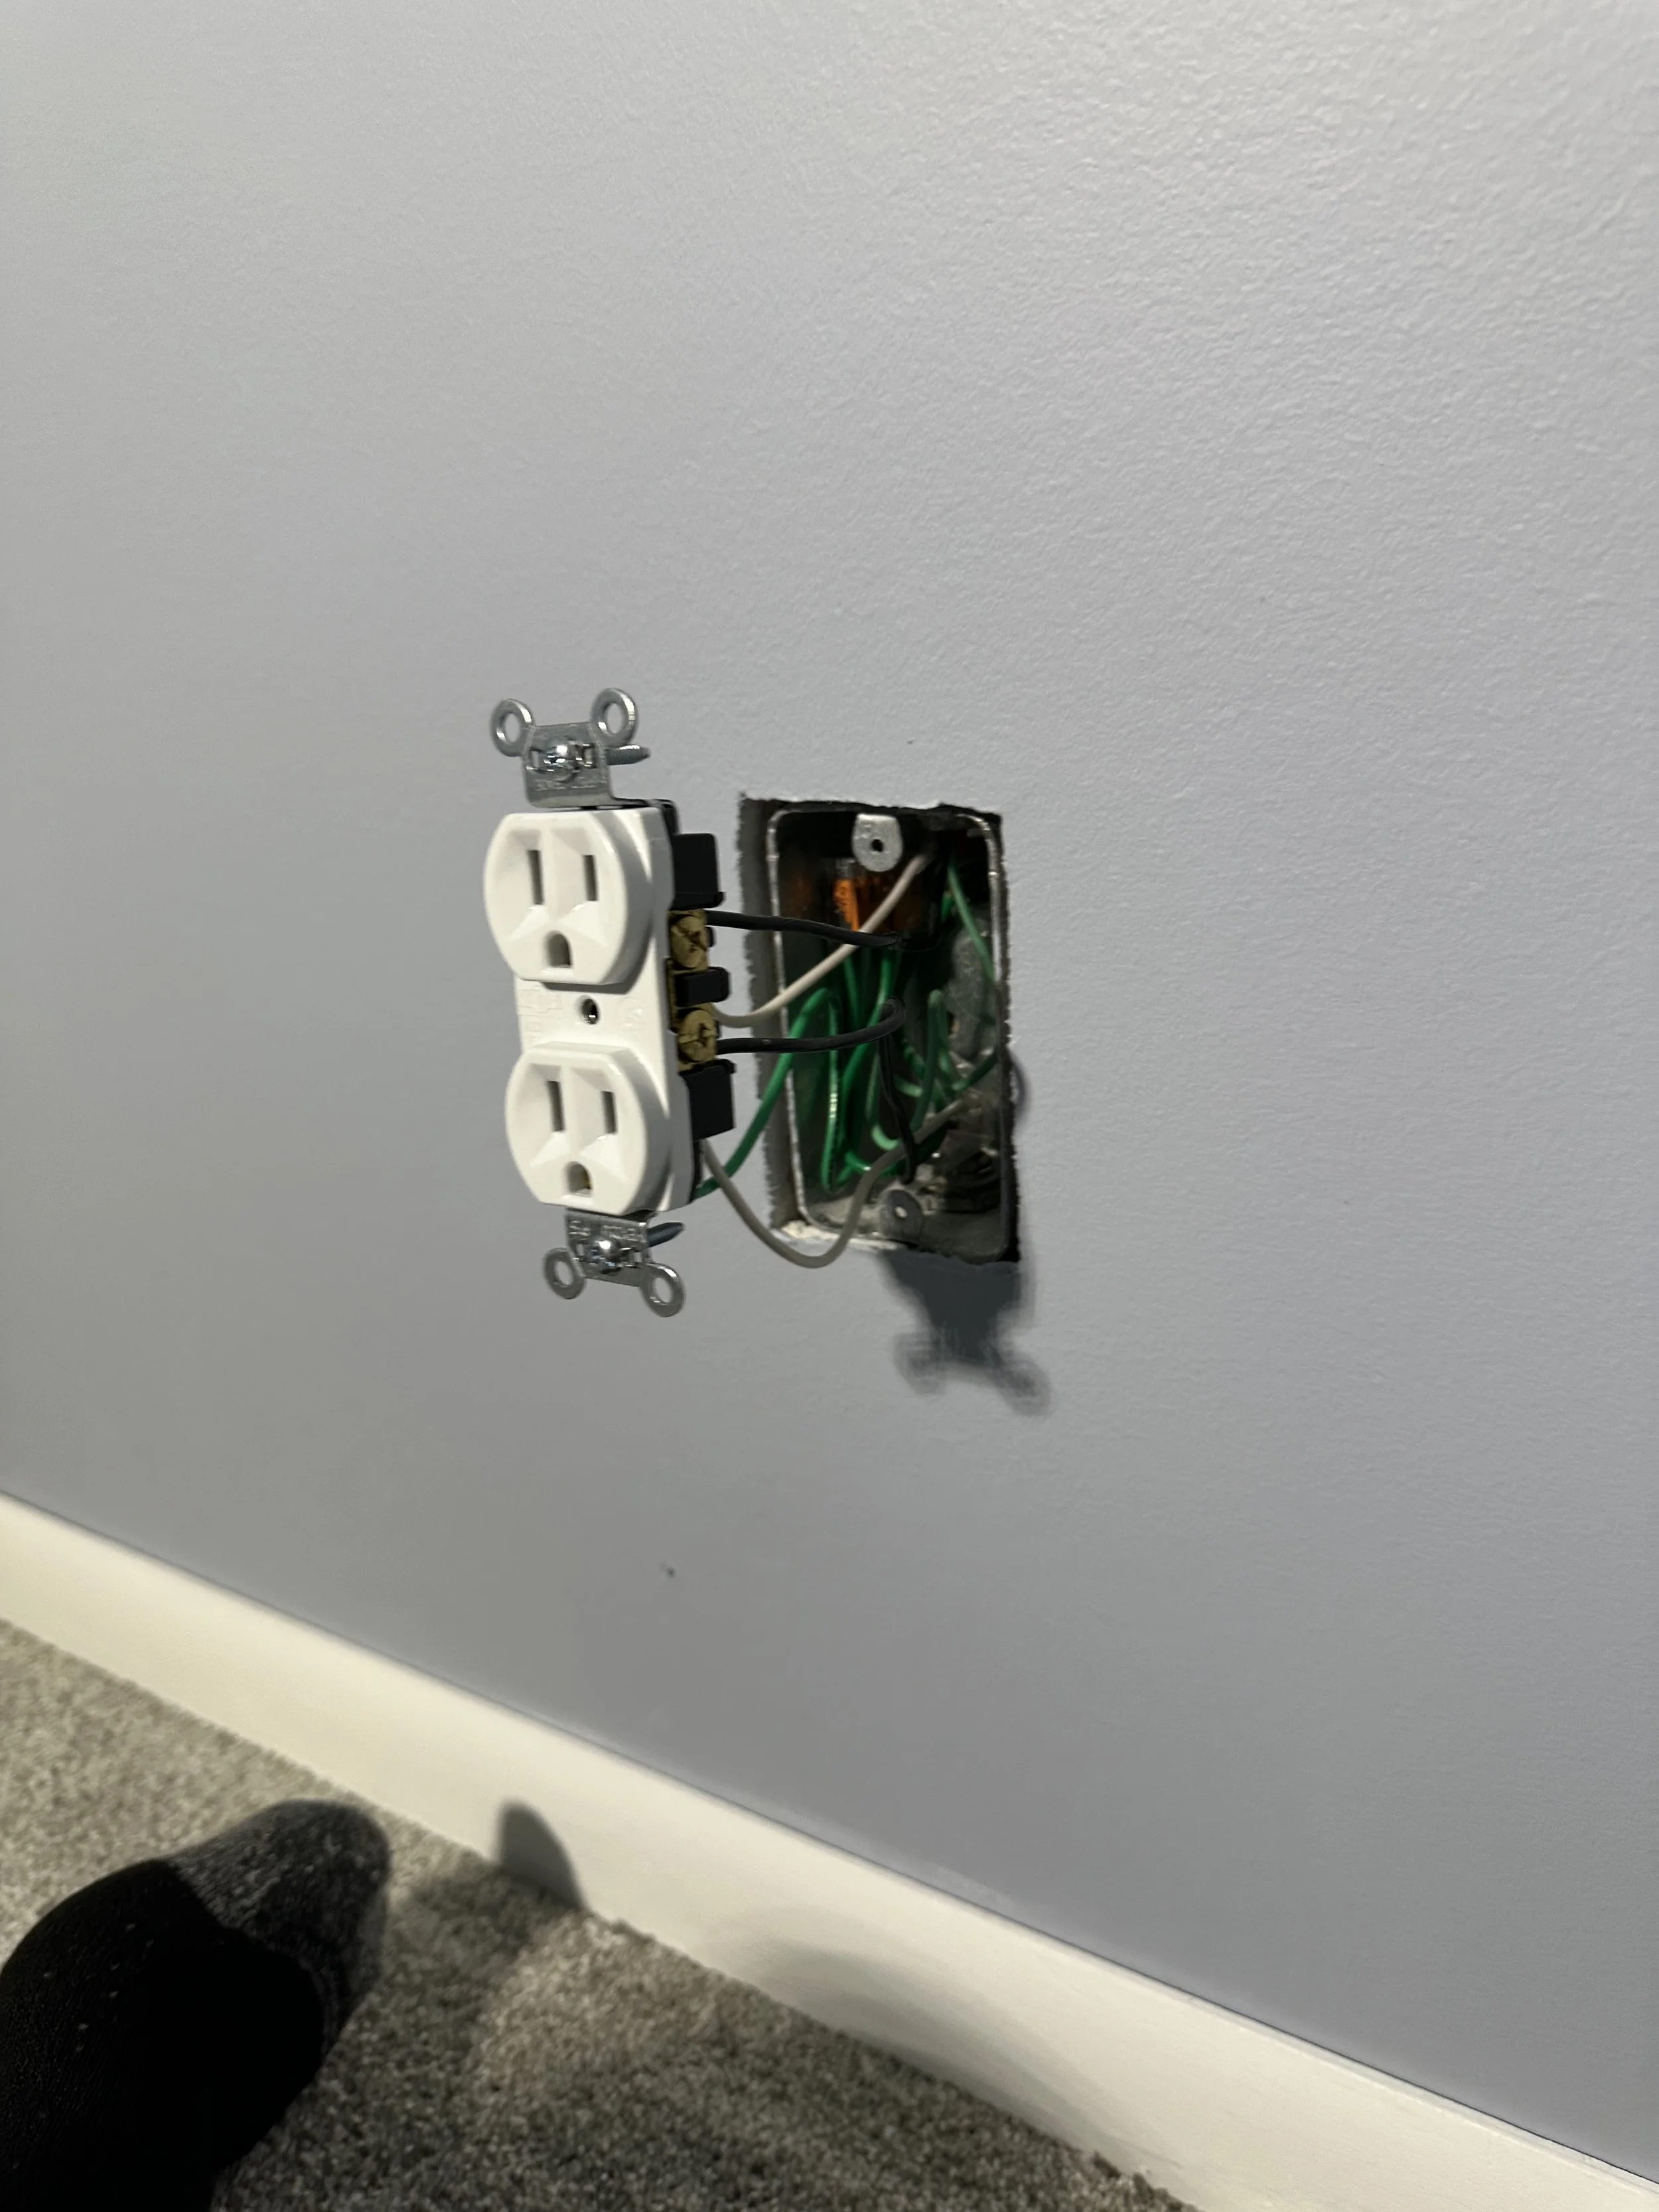
To complete the rooms I wired the outlets, switches and capped off the electrical boxes (see above picture third from the left). Added door knobs to the doors, re-hung the closet doors and did some additional paint touch ups.